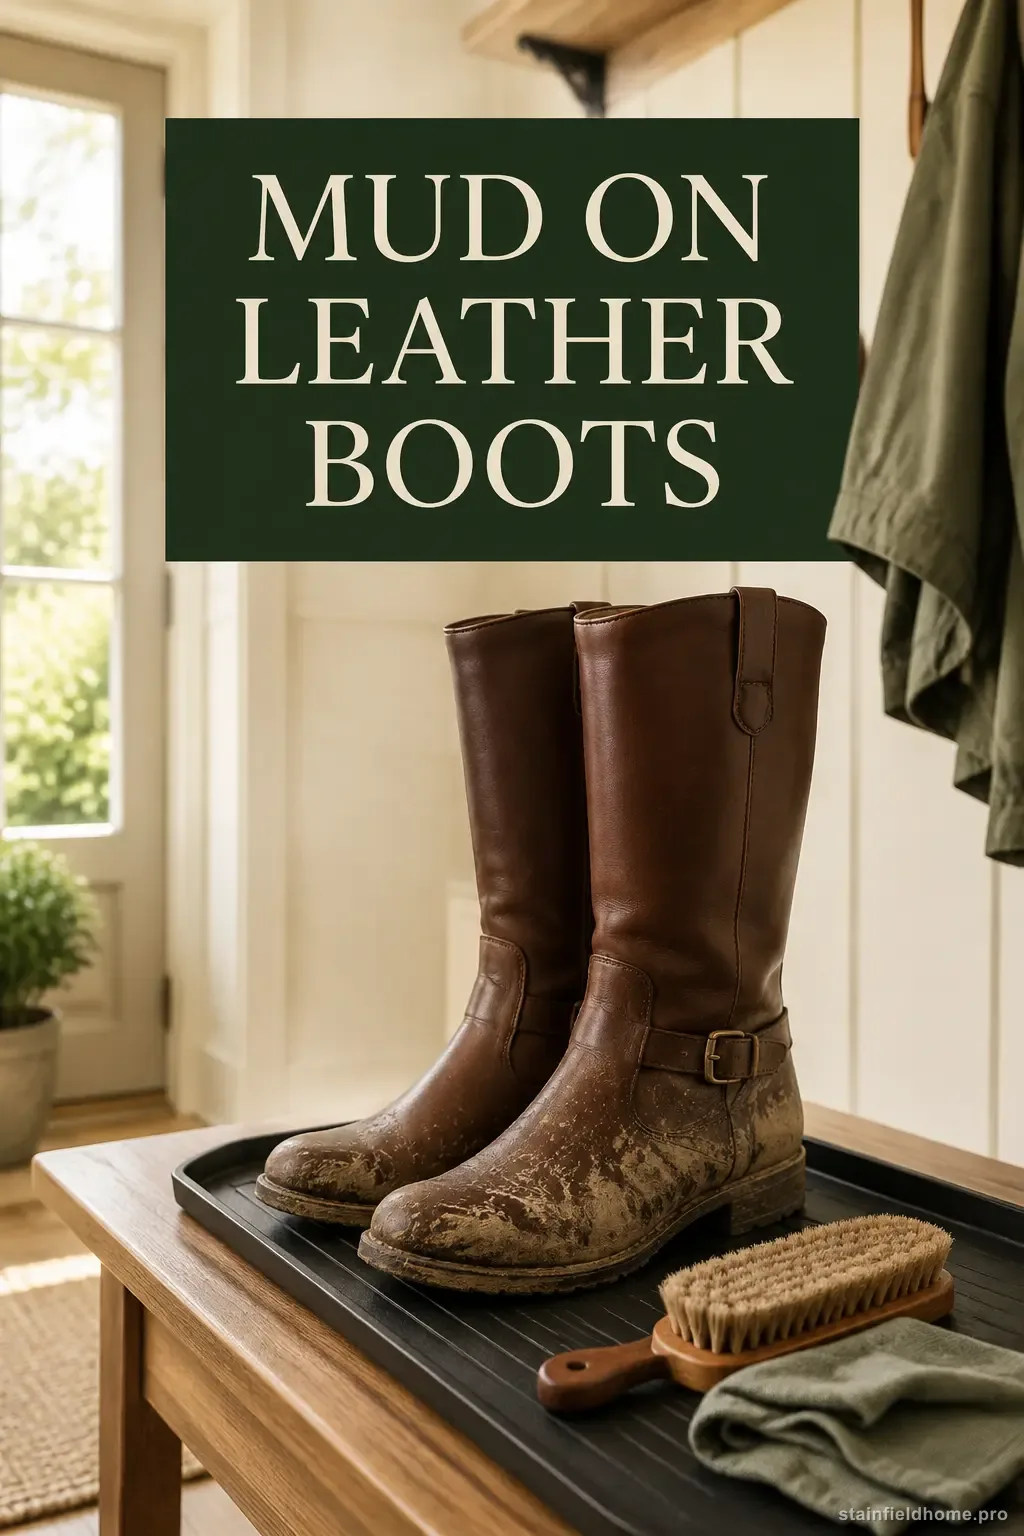
The quick answer
Let ordinary mud dry, remove the laces, and brush off loose soil with a soft boot brush. Wipe the remaining film with a barely damp cloth; use a small amount of mild soap or cleaner approved for the exact leather if needed. Wipe away residue and let the boots air-dry at room temperature, away from radiators and hair dryers. Condition only after they are dry and only with a product suited to that finish.
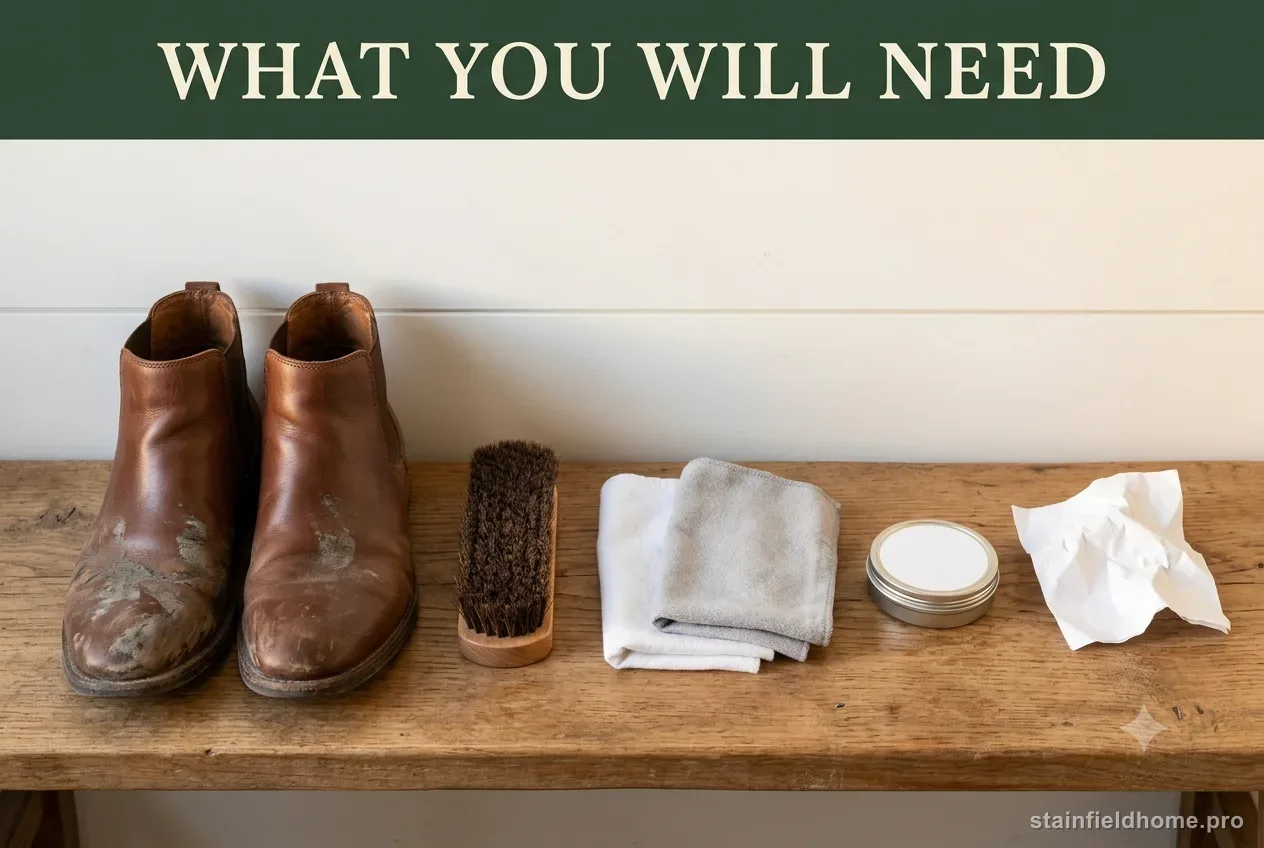
What you’ll need
- Soft horsehair or boot brush
- A dull spoon for thick mud on the sole edge
- Two clean soft cloths
- Lukewarm water
- Mild soap or cleaner approved for smooth-finished leather
- Leather conditioner compatible with the finish
- Plain paper or boot trees for shape support
Make sure the leather is smooth-finished
This method is for smooth-finished leather: it has an even surface rather than the velvety nap of suede or nubuck. It is not for roughout, exotic leather, patent leather, or fabric-and-leather hiking boots with a special waterproof membrane. Those materials need different brushes, cleaners, and restoration steps.
Check the boot maker’s care page before choosing a cleaner or conditioner. Oil-tanned, waxed, waterproof, and dress leathers can all look smooth but accept different products. Some oils and conditioners intentionally darken leather. A hidden test near the top inside edge helps you see the color change before treating the visible vamp.
Remove dry soil before adding moisture
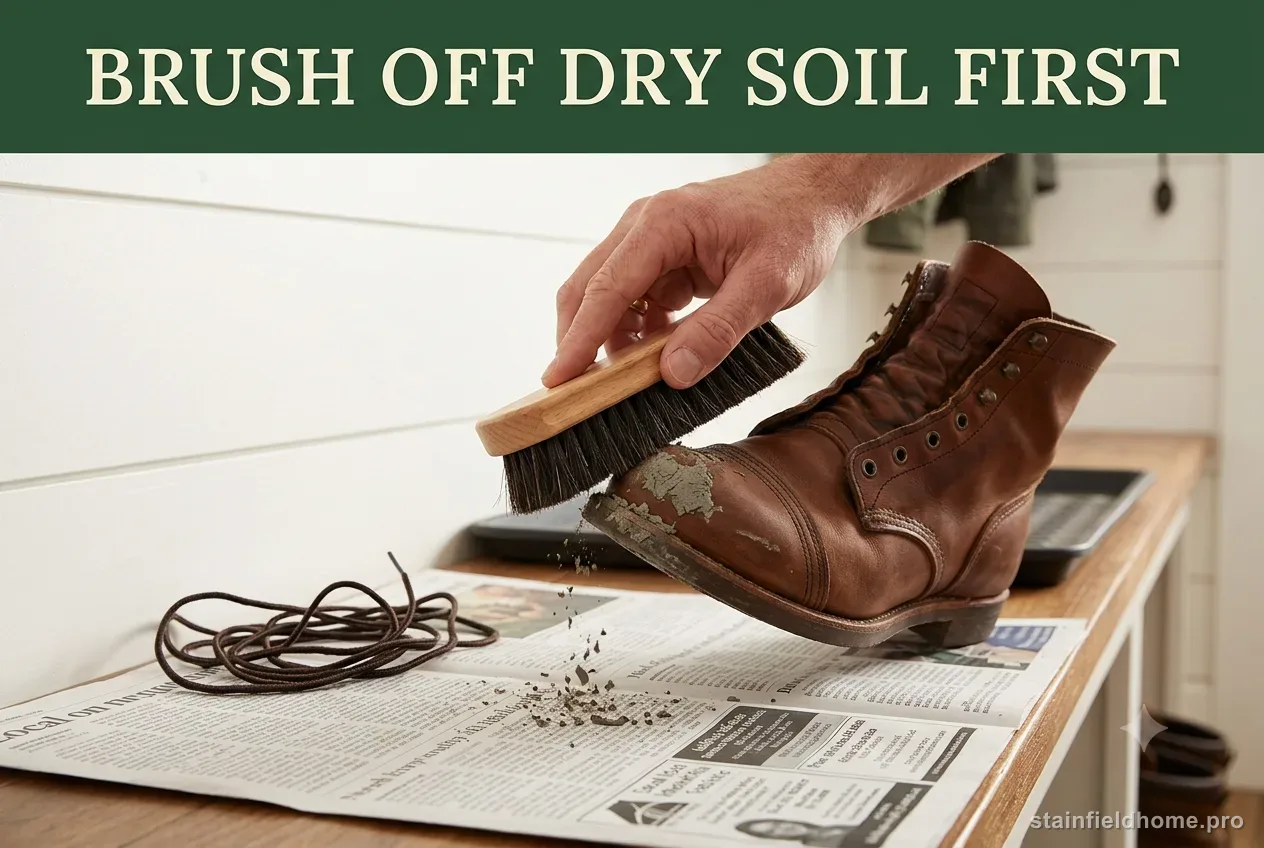
Dry brushing keeps you from turning loose soil into more mud. Dirt particles left in creases can abrade the finish during wear, so take time around the flex points before wiping the upper.
- 01
Take the boots outside or work over newspaper. Remove the laces so mud is not trapped around eyelets and the tongue.
- 02
If mud is still wet and thick, lift the bulk gently from the sole edge with a spoon. Let the remaining surface soil dry naturally.
- 03
Brush from the top downward with light, repeated strokes. Flex the tongue and seams so dry flakes fall free.
- 04
Use a dry cotton swab or the edge of a soft cloth around welts and hardware. Avoid sharp tools that can cut stitching or scratch the finish.
- 05
Knock the soles together outdoors, then use a separate stiff sole brush if needed. Do not bring a grit-filled sole brush onto the leather upper.
Clean the remaining mud film
Red Wing’s smooth-finished and oil-tanned care guidance uses warm water and a brush for dirt, then a compatible leather cleaner for heavily soiled areas, followed by wiping with a damp cloth. The exact branded product is not the point here; compatibility with the leather type is.
- 01
Dampen a soft cloth with lukewarm water and wring it well. Wipe a small section without saturating the leather.
- 02
For a persistent film, place a small amount of mild soap or leather cleaner on the cloth—not directly on the boot—and test an inconspicuous spot.
- 03
Work one panel at a time with gentle strokes. Pay attention to stitching, where cleaner can collect.
- 04
Wipe again with a separate barely damp cloth to remove loosened soil and cleaner residue.
- 05
Blot with a dry cloth. Repeat only where soil remains rather than washing the entire boot again.
Dry slowly, then condition if appropriate
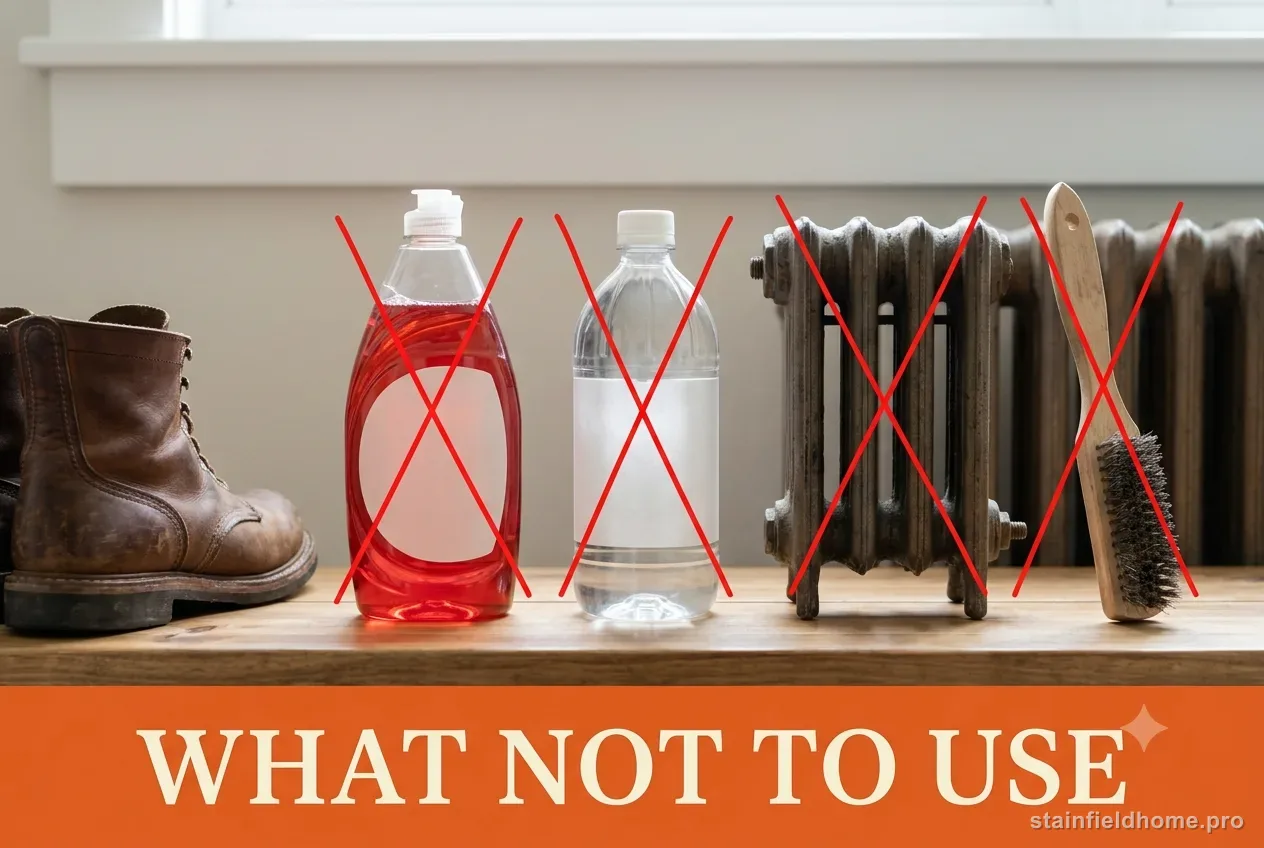
Loosely fill the boots with plain paper or insert clean boot trees to support their shape. Replace soaked paper rather than packing it tightly. Set the boots in a ventilated room away from a radiator, fireplace, sunny windowsill, clothes dryer, or hair dryer. Direct heat can dry and stiffen leather and may affect adhesives.
When the boots are completely dry, brush them again. If the maker recommends conditioner for that leather, apply a light, even coat with a soft cloth. More is not better. Allow it to absorb for the time on the label, then buff away excess. Condition the full matching area—not just the former mud spot—so sheen and color stay even.
Distinguish ordinary soil from salts and finish damage
Normal garden mud usually brushes away as dry particles and leaves a dull soil film. Road slush can contain salt, deicer, oil, or fine grit, and a pale line after drying may be mineral residue rather than remaining mud. Do not keep scrubbing the whole boot because one white edge remains. Photograph the line, check the maker’s winter-care guidance, and use only a product approved for salt on that leather. Household vinegar is not a universal leather remedy and can alter some finishes.
A dark area during cleaning may simply be damp leather. Allow the panel to dry fully before trying to match it with more cleaner or conditioner. A patch that stays rough, sticky, pale, or unusually glossy after drying suggests the finish changed. Conditioner can replenish feel on a compatible leather, but it cannot recreate a removed pigment coat or repair a scratched surface. A cobbler can tell whether recoloring or refinishing is appropriate.
If mud contains fuel, pesticide, sewage, or an unknown chemical, ordinary boot care is not the right scope. Avoid brushing contaminated dust into the air or using the same tools elsewhere. Follow the product or local disposal guidance and consider replacing the footwear. This article covers everyday soil, not hazardous contamination.
Clean construction details without soaking them
Mud hides under laces, tongue gussets, speed hooks, welt stitching, and the lip where the upper meets the sole. Remove laces and wash or replace them separately according to their material. Hold the boot so loosened dirt falls away from the opening, then use a dry soft brush around hardware. A cotton swab should be barely damp and changed often; pushing a wet swab deep into a seam can carry soil farther inside.
For a stitched welt, brush along the line rather than stabbing between stitches. If the sole edge needs stronger scrubbing, shield the leather upper with a dry cloth and use a separate sole brush. Cemented boots deserve the same moisture control because prolonged soaking can affect adhesives. Check for a lifted sole edge while cleaning and stop if water can enter the joint.
Once dry, compare the pair under neutral light before conditioning. Treating only the dirty boot can create an uneven sheen or color, but blindly coating both can also darken them. Test the product, apply the thinnest even layer the maker recommends to matching panels, and buff with a clean brush. Wait until the finish is stable before applying any protector, and never stack wet conditioner and waterproofing products in one session unless the manufacturer directs it.
Stop if you see these warning signs
A cobbler or leather-care specialist can clean and recolor damage that ordinary surface care cannot. Stop early rather than layering soap, saddle soap, oil, vinegar, and household stain removers in an attempt to force an instant match.
- Color transfers heavily to the cloth during a hidden test
- The finish becomes sticky, cloudy, or noticeably lighter
- Mud has entered a cut, deep crack, or separated seam
- A pale tide line remains after the boot is fully dry
- The boot contains suede, nubuck, roughout, exotic leather, or mixed technical materials
Protect boots before the next wet day
After cleaning and conditioning, apply a protector only if the boot maker approves it for that finish. Re-lace when everything is dry. Keep a small brush near the entryway and remove surface dirt after muddy wear; frequent light care is gentler than an occasional deep scrub. Avoid storing leather in sealed plastic, because ventilation helps residual moisture escape.
Common questions
FAQ
Should I clean mud while it is wet or wait for it to dry?
Lift thick wet clumps without smearing, then let the remaining film dry so loose soil can be brushed away. Do not leave soaked boots packed with mud for days.
Can I use dish soap on leather boots?
Use the boot maker’s compatible leather cleaner when possible. If the maker permits mild soap, use very little on a damp cloth, test first, wipe away residue, and never soak the leather.
Why did conditioner make my boots darker?
Many oils and conditioners deepen leather color, especially on oil-tanned finishes. Test in a hidden place and use a product recommended for the exact leather when preserving the original shade matters.
Sources reviewed
Keep reading
Related guides
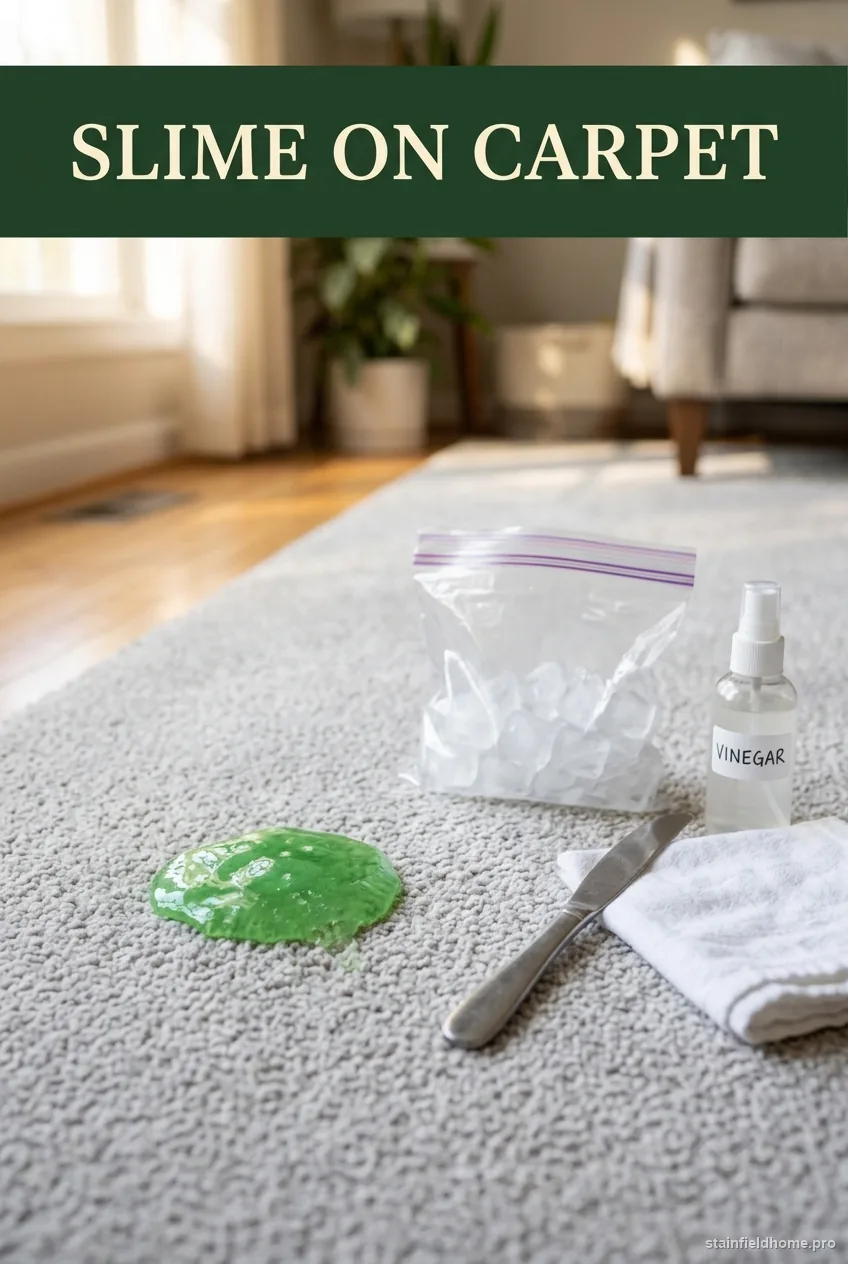
Slime on Carpet
How to Remove Slime From Carpet Without Damaging the Fibers
Lift dried or fresh slime out of carpet fibers with an ice-and-scrape method plus a vinegar or rubbing alcohol rinse, without soaking the backing or bleaching the color.
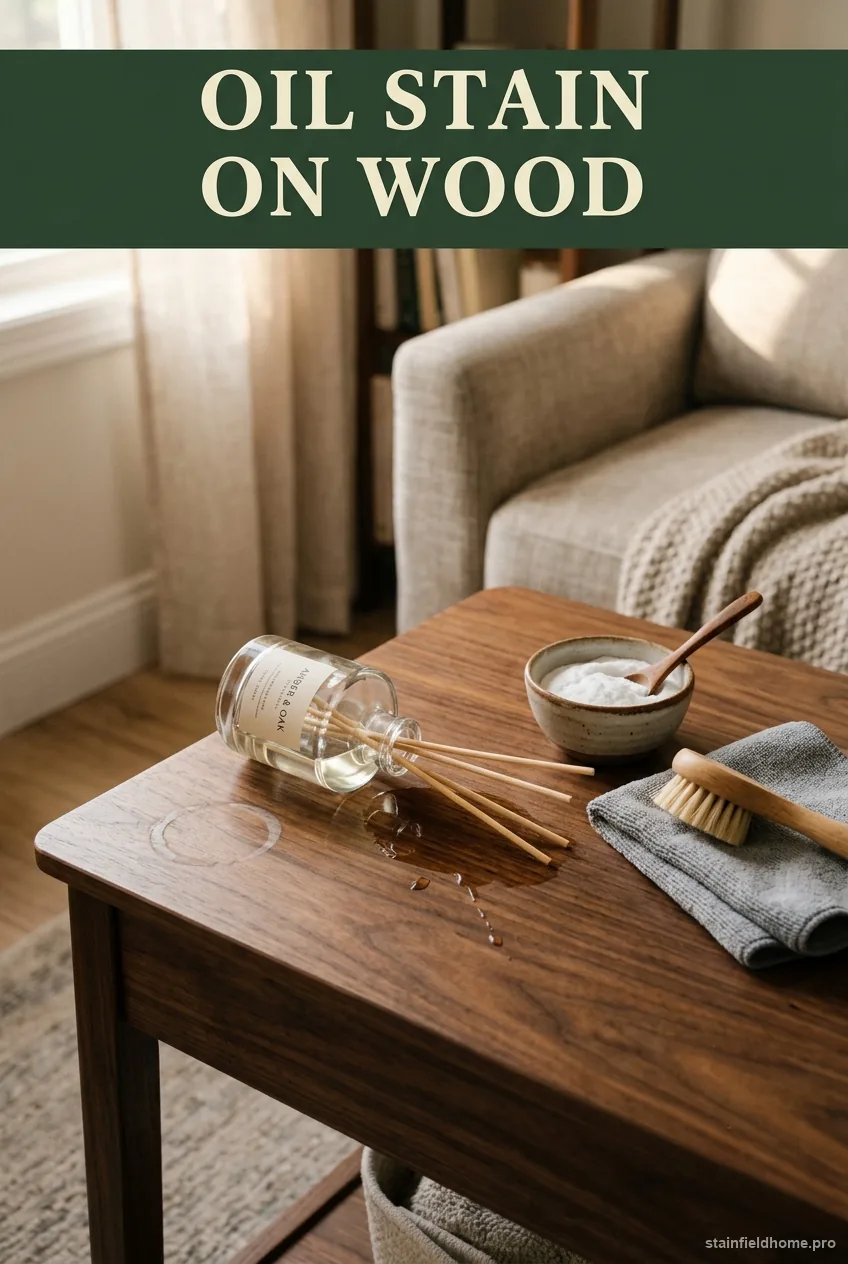
Essential oil and reed-diffuser oil on Finished wood furniture
How to Remove Essential Oil and Diffuser Stains From Wood Furniture
Blot a diffuser-oil spill on finished wood, use a cautious absorbent step, and recognize when the finish needs a furniture repair professional.

Pumpkin (carving, decorating, or puree) on Carpet
How to Remove Pumpkin Stains From Carpet
Remove pumpkin pulp and treat any remaining orange mark on carpet with a careful, low-moisture sequence that follows the carpet maker's guidance.
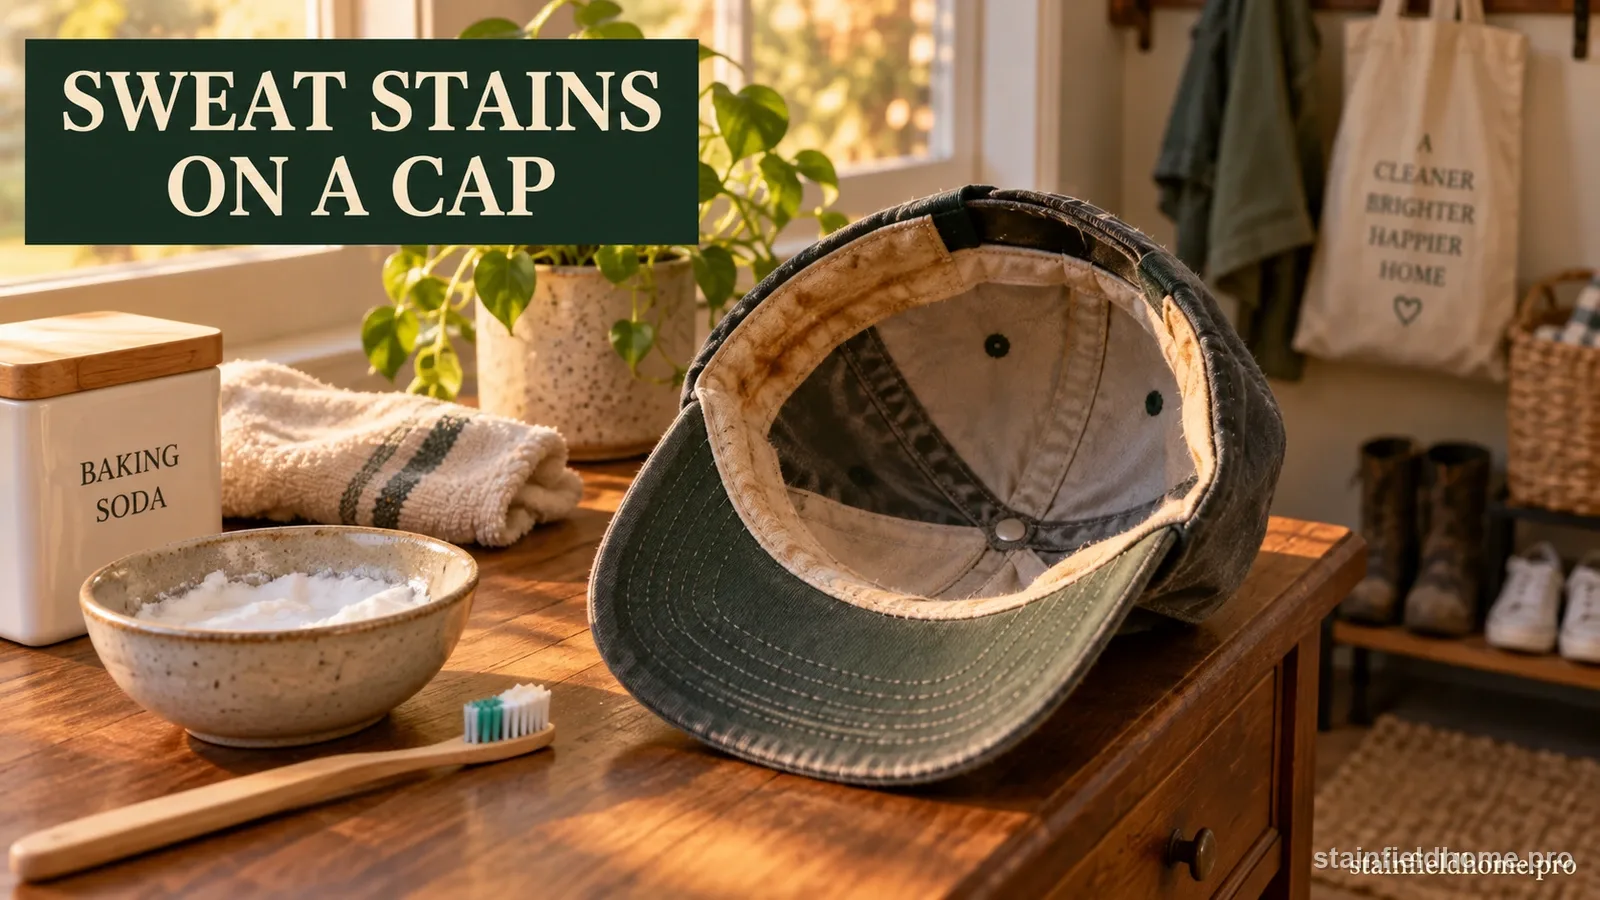
Sweat on Baseball cap
How to Remove Sweat Stains and Odor From a Baseball Cap
Lift yellow sweat stains and odor from the sweatband of a baseball cap without warping the brim or shrinking the crown.