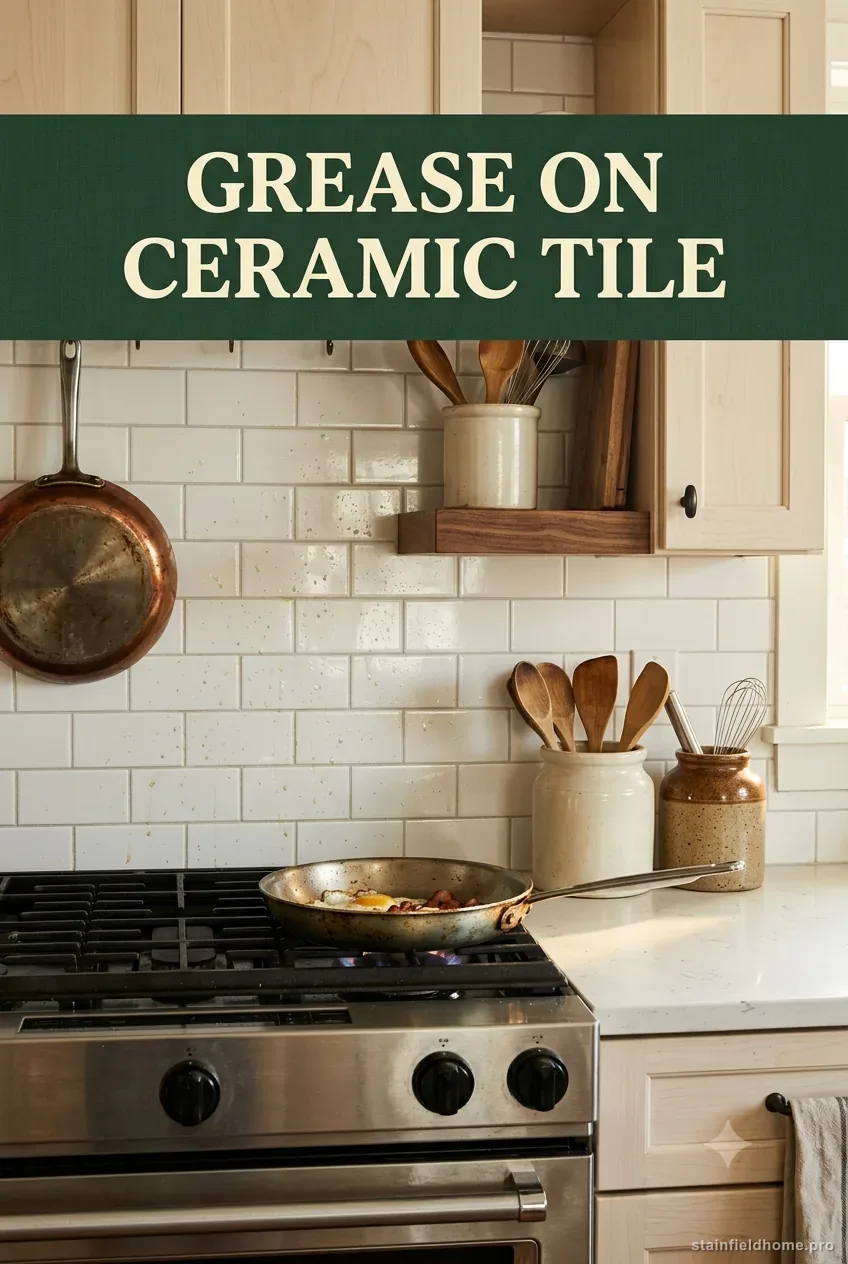
The quick answer
Let the cooking area cool, lift any thick grease, then clean glazed ceramic tile with a soft cloth or sponge and a tile-safe cleaner or a small amount of mild detergent in warm water. Work in short sections, rinse with clean water, and dry so loosened grease and cleaner do not settle back as a film. Treat grout more cautiously because it can be more absorbent than the tile face. For old sticky buildup, repeat a manufacturer-approved degreasing cycle instead of reaching for steel wool, scouring powder, oven cleaner, or a concentrated acid.
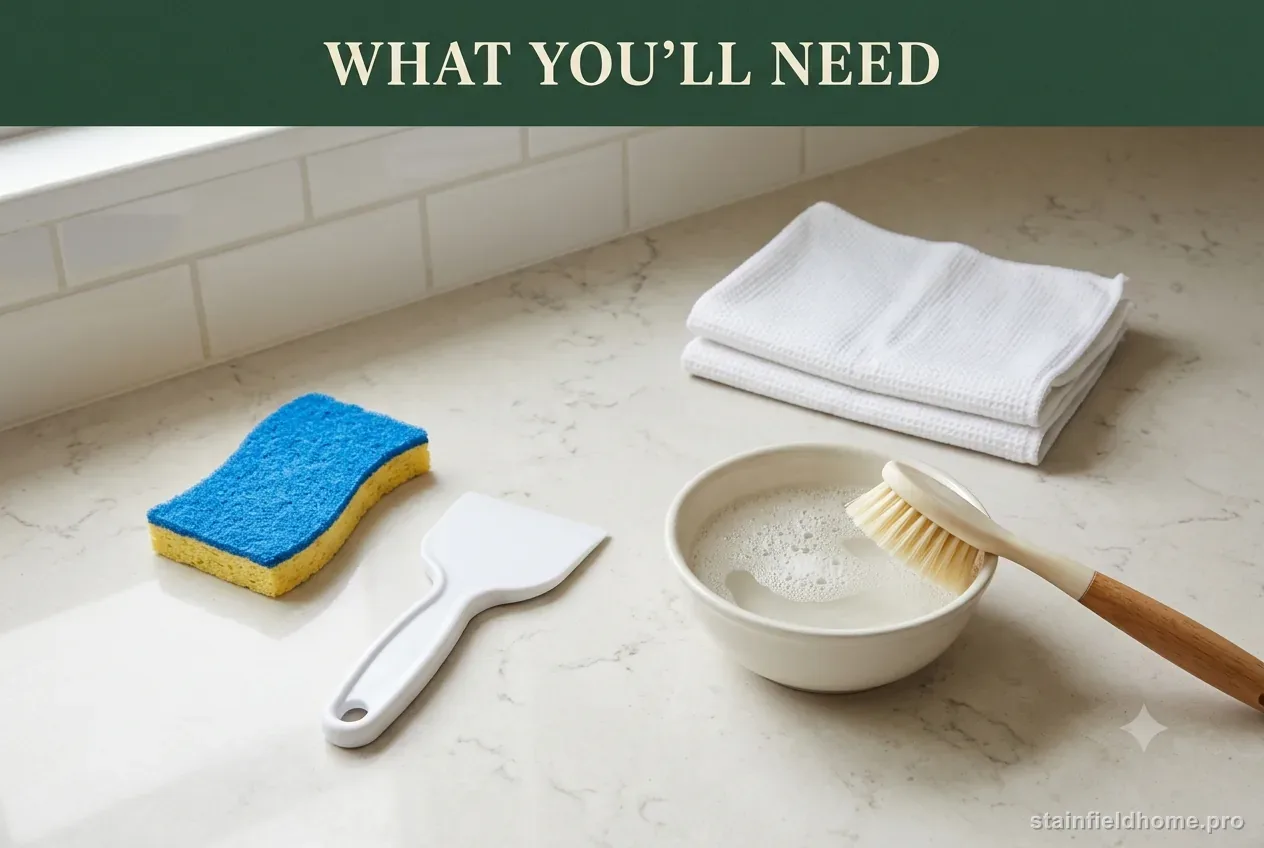
What you’ll need
- Soft white microfiber or cotton cloths
- Nonabrasive sponge
- Warm water
- Mild dish detergent or a cleaner labeled safe for ceramic tile and grout
- Plastic scraper or spoon for thick cooled residue
- Soft nylon brush for grout when the grout maker allows it
- Clean dry towel
Confirm the backsplash is glazed ceramic tile—and identify the grout
A ceramic backsplash is usually easy to clean because the fired glaze is far less absorbent than unfinished stone. The weak point is often the installation around it: cementitious grout can absorb oily soil, caulk can discolor, and decorative metal or stone inserts may have completely different chemical limits. Before treating the wall, look closely at the field tile, grout joints, edge trim, and any accent pieces. If the backsplash includes marble, limestone, metal leaf, crackle glaze, hand-painted tile, or an unknown sealer, do not assume a cleaner that is safe on ordinary ceramic is safe everywhere in the pattern.
Daltile's ceramic and porcelain care guidance emphasizes using products specified for tile installations, following dilution and dwell-time directions, rinsing with clean water, testing first, and removing cleaner residue. LATICRETE likewise sells pH-neutral and stronger tile-and-grout cleaners for grease and grime, which is useful evidence for the basic sequence: start gentle, increase only when the product is compatible with the material, then rinse. A kitchen backsplash is vertical, so control runoff. Cleaner that drips into outlets, countertop seams, wood trim, or an unsealed grout joint creates a second problem.
Check the condition before you clean. A dark grout line may be oil, but it may also be permanently stained grout or old sealer. A cloudy patch on glossy tile may be cleaner residue; a dull scratch that catches a fingernail is surface damage, not soil. Photograph a dry section in side light. That baseline makes it easier to tell whether the method is lifting grease or simply changing the sheen.
For fresh grease splatter: cool, lift, wash, rinse, and dry
The important step is not a particular homemade recipe; it is removal of both the grease and the cleaner. Daltile specifically warns that residue can remain on tile and recommends clear-water rinsing. That matters on a backsplash because a thin detergent film can catch cooking aerosol and make the wall look dirty again within days. More soap is not more cleaning. If the first pass leaves a slippery or streaky surface, rinse before adding more product.
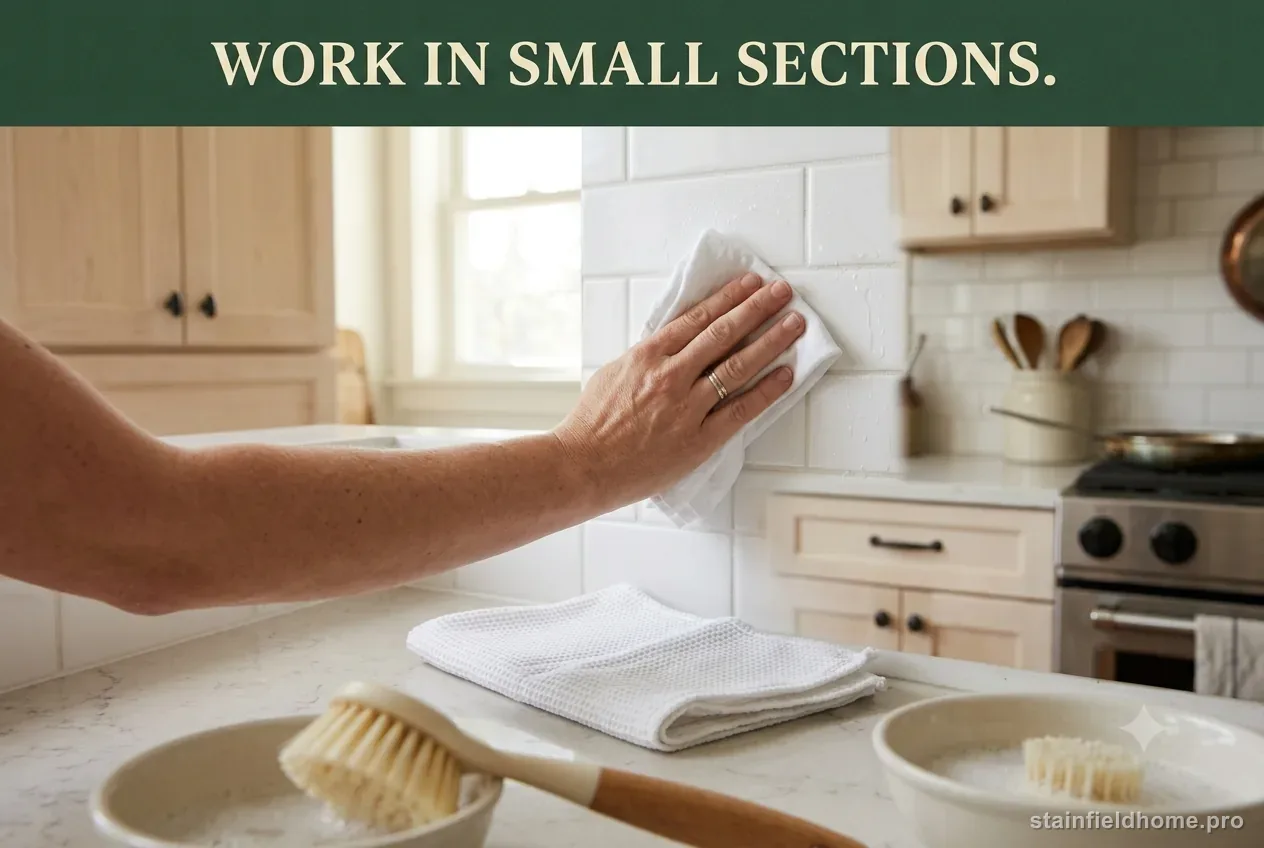
Work from the least-soiled outer area toward the heaviest splatter. On a vertical wall, keep a folded towel at the countertop line to catch drips, but do not leave a wet towel pressed against a wood or laminate seam. Use fresh cloth faces frequently. Once a cloth is saturated with oil, it redistributes soil instead of collecting it.
- 01
Turn off the burner and allow the backsplash, cooktop, pan, and grease to cool to a safe temperature. Do not spray cleaner toward a hot element or flame.
- 02
Lift thick droplets or food particles with a plastic scraper held nearly flat. Wipe the tool between passes so you do not smear grease across clean tile.
- 03
Press a dry white cloth onto oily spots first. Removing free oil before adding water makes the washing step easier and keeps the detergent solution from becoming overloaded immediately.
- 04
Dampen a soft cloth or nonabrasive sponge with warm water and a small amount of mild detergent, or use a cleaner explicitly labeled for ceramic tile and grout. Apply it to a small section rather than flooding the entire wall.
- 05
Wipe with light overlapping strokes. Around grout lines, blot and lift rather than repeatedly dragging oily solution along the joint.
- 06
Rinse the cleaned section with a separate cloth dampened in clean water. Change rinse water when it turns cloudy or greasy.
- 07
Dry the tile and grout with a clean towel. Inspect after the surface is fully dry because residual detergent can mimic a greasy haze while wet.
Fresh splatter versus old, sticky cooking film
Fresh splatter is mostly a transfer problem: remove the excess before it spreads, then wash the thin film. Old kitchen grease behaves differently. Heat and oxygen change cooking oils over time, and airborne dust becomes embedded in the tacky layer. The result may feel varnished or gummy and can require several short cleaning cycles. Do not treat that slower response as permission to scrub harder.
For established film, use a tile-and-grout cleaner whose label specifically includes grease or grime and whose directions permit your tile and grout. LATICRETE's STONETECH products, for example, include both a pH-neutral daily cleaner and stronger alkaline cleaners intended for stubborn grease on tile and grout. That does not mean the strongest product should be the first choice. Follow the exact dilution, dwell time, ventilation, personal-protection, and rinsing instructions on the product you actually use. Test an inconspicuous area and avoid letting cleaner dry on the wall.
Treat a palm-sized section, allow only the labeled dwell time, gently agitate with a soft sponge, rinse, dry, and compare the result. If the greasy feel improves, repeat rather than lengthening the contact time on your own. If only the grout remains dark while the glazed tile is clean, stop treating the tile face. The grout may need its own approved cleaner, professional extraction, resealing, or color restoration depending on its type and condition.
Clean grout without turning a tile job into a grout-repair job
Grout is not one material. Traditional cement grout is porous unless properly sealed, epoxy grout is much less absorbent, and some modern premixed grouts have manufacturer-specific restrictions. If you know the grout brand, use its maintenance document. If you do not, assume the joint is more vulnerable than the glazed ceramic surrounding it.
Start by blotting grease from the joint and using the same mild tile-safe solution. A soft nylon brush can help only when the grout and tile manufacturer permit it. Brush along the joint with light pressure rather than sawing across the tile edges. Rinse carefully and dry. Do not gouge a soft or cracked joint with a stiff brush, screwdriver, razor, or abrasive pad. Missing, powdery, or cracked grout is an installation or repair issue, not a cleaning challenge.
A dark joint that becomes evenly lighter as it dries was probably wet, not necessarily still greasy. Give grout time to dry before deciding on another treatment. Repeatedly soaking a backsplash joint can move moisture behind the tile, especially near countertop corners and penetrations. If greasy discoloration returns from within the grout after correct cleaning, a tile professional can determine whether deep cleaning, resealing, or grout replacement is more appropriate than stronger household chemistry.
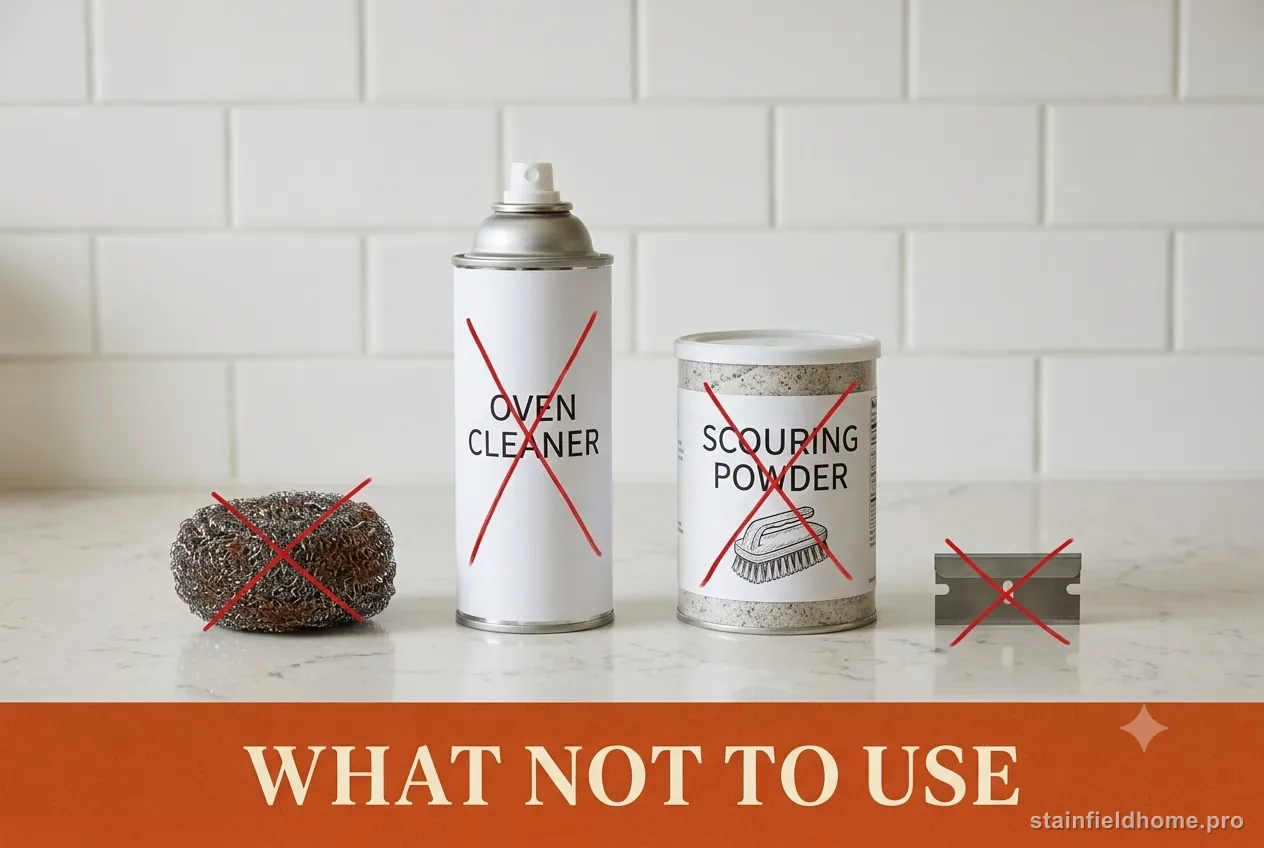
What not to use on a ceramic tile backsplash
The backsplash usually survives grease better than aggressive cleanup. The common failure is trading removable soil for a scratched glaze, etched accent, bleached grout line, softened caulk, or permanent haze. If a mild tile-safe method is not moving a set deposit, identify the grout and tile product before escalating.
- Do not use steel wool, metal scrapers, pumice, gritty scouring powder, or a damaged abrasive pad on glazed tile.
- Do not use oven cleaner or another highly caustic degreaser simply because the backsplash is beside the range; the product may attack grout, caulk, finishes, or adjacent materials.
- Do not mix bleach, ammonia, acids, vinegar, peroxide, or branded cleaners with one another.
- Do not use hydrofluoric-acid or fluoride-containing cleaners on ceramic tile; Daltile specifically warns against fluorine compounds.
- Do not flood outlets, switches, countertop seams, caulk joints, or unsealed grout.
- Do not let a cleaning solution dry on the wall or skip the clean-water rinse when the product calls for one.
- Do not assume a natural-stone or metal accent can be cleaned with the same chemistry as the surrounding ceramic field tile.
If the wall still looks greasy after it dries
First decide whether the remaining problem is oil, detergent residue, or surface change. Wipe a small dry patch with a clean white cloth. If it picks up greasy soil, another controlled cleaning cycle is reasonable. If the cloth stays clean but the area feels slick, make a plain-water rinse and dry again. If the patch remains dull, scratched, or different in gloss with no transfer, stop. That is more consistent with abrasion, chemical change, or a finish difference than removable grease.
Look at the boundary. A greasy film often fades gradually into the surrounding area. A sharp rectangular or circular dull spot may trace a previous abrasive pad, suction cup, cleaner puddle, or decorative finish. Photograph the dry surface under side light and send the image plus the tile and grout product information to the manufacturer or installer if the appearance changed during cleaning.
For recurring grease, clean the range hood filters on the appliance maker's schedule and use ventilation during frying. Wiping splatter after the cooking area cools prevents a thin aerosol film from becoming a dust-binding layer. Regular gentle cleaning is less work—and usually safer—than periodic heavy degreasing.
When to stop and call a tile or cleaning professional
Stop DIY treatment if the backsplash includes valuable hand-painted tile, natural stone inserts, failing grout, loose tile, open countertop joints, unknown coatings, or a finish that changes during a test. Also stop if a dark oily area appears to come through the grout from behind the installation. Stronger chemistry cannot repair water intrusion, failed adhesive, or a contaminated substrate.
A professional is also the better choice when grease covers a large commercial-style cooking area, when ventilation deposits extend into cabinets and ceilings, or when the wall has accumulated years of film. Ask what cleaner will be used, whether it is compatible with your specific tile and grout, how runoff will be controlled, and how residue will be rinsed. The goal is not simply to make the wall look better while wet; it is to leave the glazed face, grout, caulk, and surrounding surfaces intact after everything dries.
Common questions
FAQ
Can I use dish soap on a ceramic tile backsplash?
Yes, a small amount of mild dish detergent in warm water is a reasonable starting point for ordinary glazed ceramic when the installation has no conflicting manufacturer restriction. Use a soft cloth or sponge, rinse with clean water, and dry so soap residue does not become a new film.
Is vinegar safe for greasy ceramic tile and grout?
Do not treat vinegar as a universal tile cleaner. Glazed ceramic may tolerate mild acids, but grout, stone accents, metal trim, sealers, and caulk can have different limits. Use a cleaner approved for the whole installation rather than guessing from the tile face alone.
Why does the grout stay dark after the tile is clean?
Grout can absorb oil or simply look darker while damp. Let it dry fully first. If it remains stained, identify the grout type and use its approved deep-cleaning or restoration method instead of repeatedly soaking the surrounding tile.
Sources reviewed
Keep reading
Related guides
Slime on Carpet
How to Remove Slime From Carpet Without Damaging the Fibers
Lift dried or fresh slime out of carpet fibers with an ice-and-scrape method plus a vinegar or rubbing alcohol rinse, without soaking the backing or bleaching the color.
Essential oil and reed-diffuser oil on Finished wood furniture
How to Remove Essential Oil and Diffuser Stains From Wood Furniture
Blot a diffuser-oil spill on finished wood, use a cautious absorbent step, and recognize when the finish needs a furniture repair professional.
Pumpkin (carving, decorating, or puree) on Carpet
How to Remove Pumpkin Stains From Carpet
Remove pumpkin pulp and treat any remaining orange mark on carpet with a careful, low-moisture sequence that follows the carpet maker's guidance.
Sweat on Baseball cap
How to Remove Sweat Stains and Odor From a Baseball Cap
Lift yellow sweat stains and odor from the sweatband of a baseball cap without warping the brim or shrinking the crown.