The quick answer
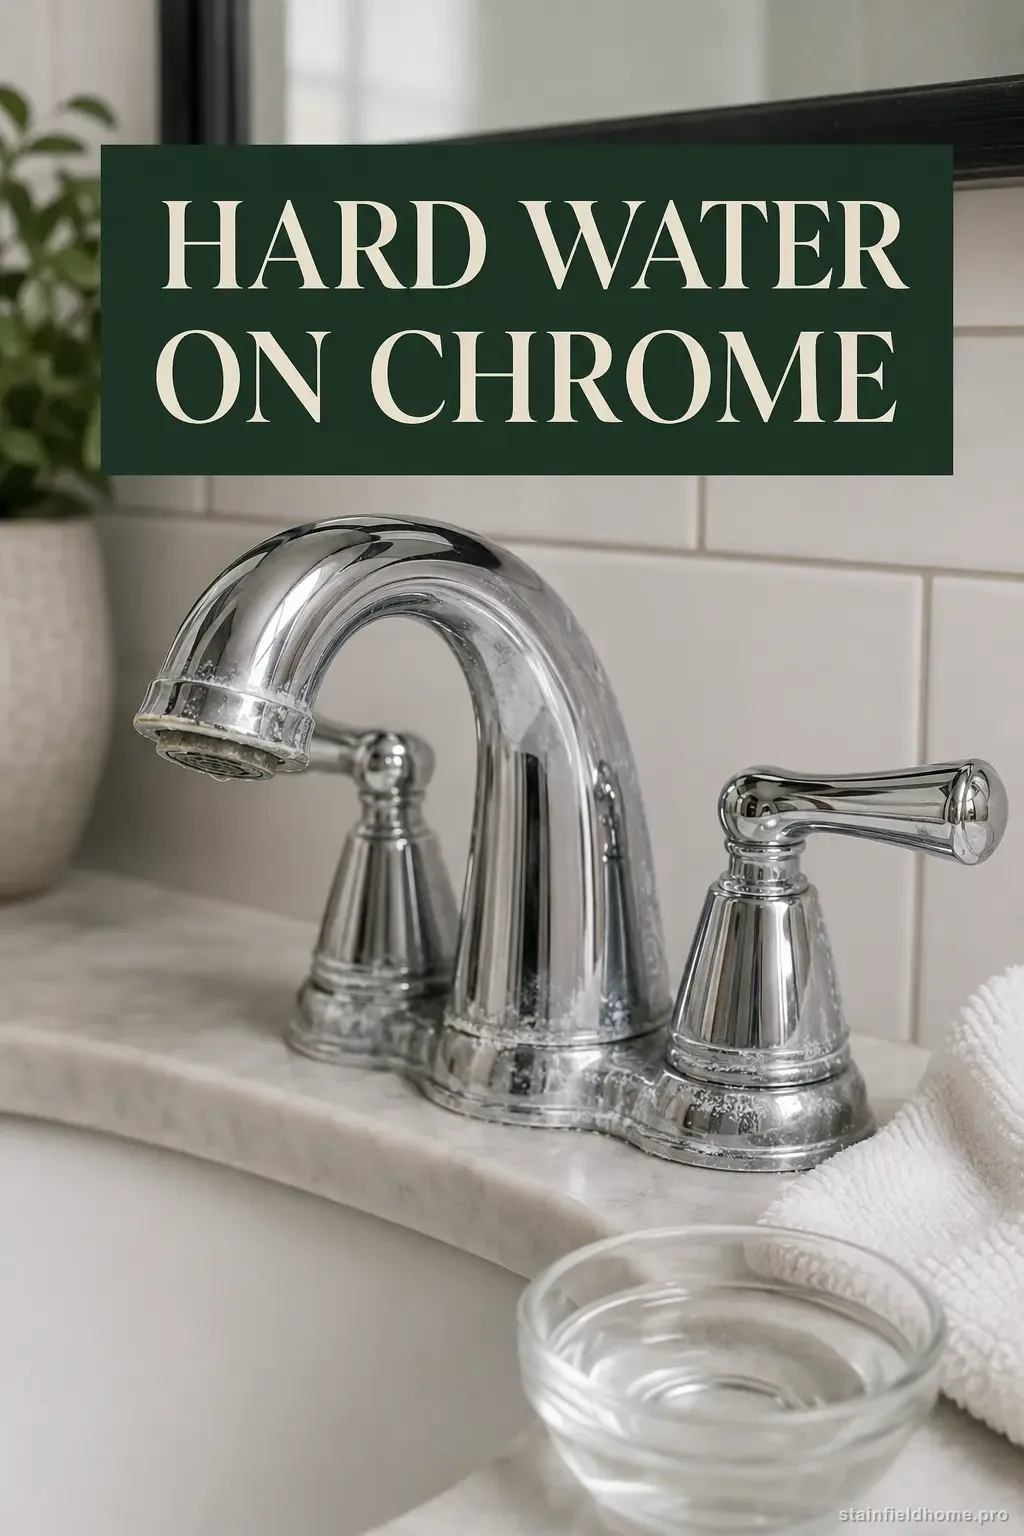
Verify that the finish is polished chrome, then wash it with a soft cloth, warm water, and a little mild dish soap. Rinse and dry. For deposits that remain, follow the exact faucet maker’s care sheet. Delta and Moen allow a 50/50 mixture of white vinegar and water for hard-water spots with limited contact, followed by thorough rinsing and soft-cloth drying. Apply the solution to a cloth, not the fixture, and keep it off natural-stone counters. Stop if the chrome is flaking, pitted, cloudy, or unchanged after two short cycles. Do not use steel wool, melamine foam, toilet-bowl cleaner, bleach, ammonia, pumice, or undiluted acid.
What you’ll need
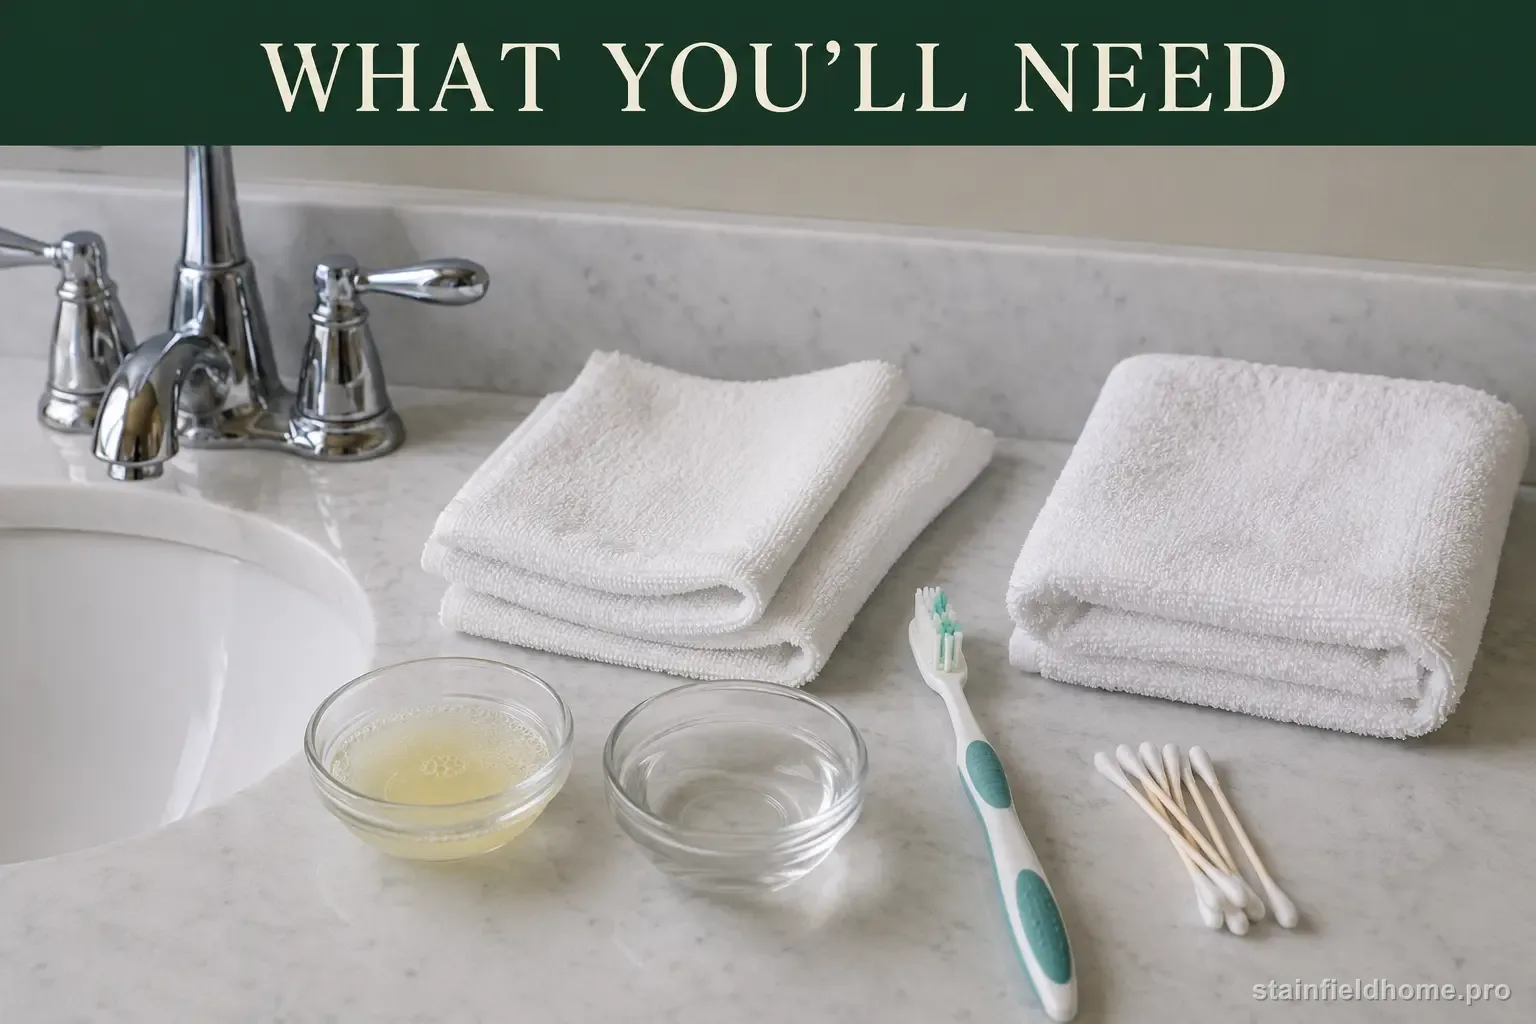
- Several soft plain white microfiber cloths
- Warm water and a small amount of mild liquid dish soap
- A soft toothbrush or cotton swabs for joints
- White vinegar diluted 1:1 with water only if the faucet maker permits it
- A small glass or ceramic bowl
- A dry towel to protect nearby stone, wood, and cabinet finishes
- The faucet’s model-specific care instructions
Confirm the finish and separate scale from finish failure
A bright silver faucet may be chrome, stainless steel, polished nickel, a physical-vapor-deposition finish, or a coated spot-resistant finish. These are not interchangeable. Find the brand and model on purchase records, the installation sheet, or the underside of the fixture, then open its current care instructions. Moen, for example, places extra restrictions on Spot Resist finishes, while a standard chrome line may have different limits.
Hard-water scale is mineral residue left when droplets evaporate. It is usually chalky white or gray, feels slightly raised, and concentrates around the base, handle joints, and aerator. Soap film can look cloudy but often softens with dish soap. Rust is orange-brown and may point to iron in water, corroding hardware, or a break in the plating. Green-blue residue can involve copper or brass below the finish and deserves manufacturer or plumbing advice.
Inspect in strong side light before cleaning. Flaking, bubbles, pinholes, permanent rainbow color, black pits, or a sharp edge where the reflective layer is missing are signs of finish failure. No cleaner can replace chrome plating. Photograph the condition, test plain soap underneath, and stop if a soft cloth catches on a lifted area. Continued rubbing can enlarge a defect and may affect the faucet warranty.
For fresh water spots: mild soap is usually enough
Both Delta and Moen start general finish care with nonabrasive wiping, rinsing, and drying. That sequence distinguishes ordinary bathroom soil from true mineral buildup without exposing the finish to acid. It also removes soap that would shield limescale from a later maker-approved treatment.
Fresh spots may disappear when dry even though the wet faucet looked cloudy. Do not escalate while the finish is still wet. If a white outline returns as the last moisture evaporates, move to the controlled set-deposit method rather than scrubbing harder.
- 01
Clear the vanity and protect nearby marble, limestone, wood, painted surfaces, and open drain hardware with dry towels.
- 02
Wipe loose dust from the dry faucet with a clean microfiber cloth so grit is not dragged across the plating.
- 03
Dampen a second cloth with warm water and a drop of mild liquid dish soap. Wipe the faucet without spraying cleaner into joints or openings.
- 04
Fold the cloth around the base and handles, using gentle pressure. Use a damp cotton swab at a narrow joint instead of forcing a brush into it.
- 05
Rinse by wiping with a separate cloth dampened in plain water. Do not leave soap to dry on the finish.
- 06
Buff dry immediately with a third soft cloth. Check from different angles only after the surface is completely dry.
For set scale: use the maker’s shortest approved acid contact
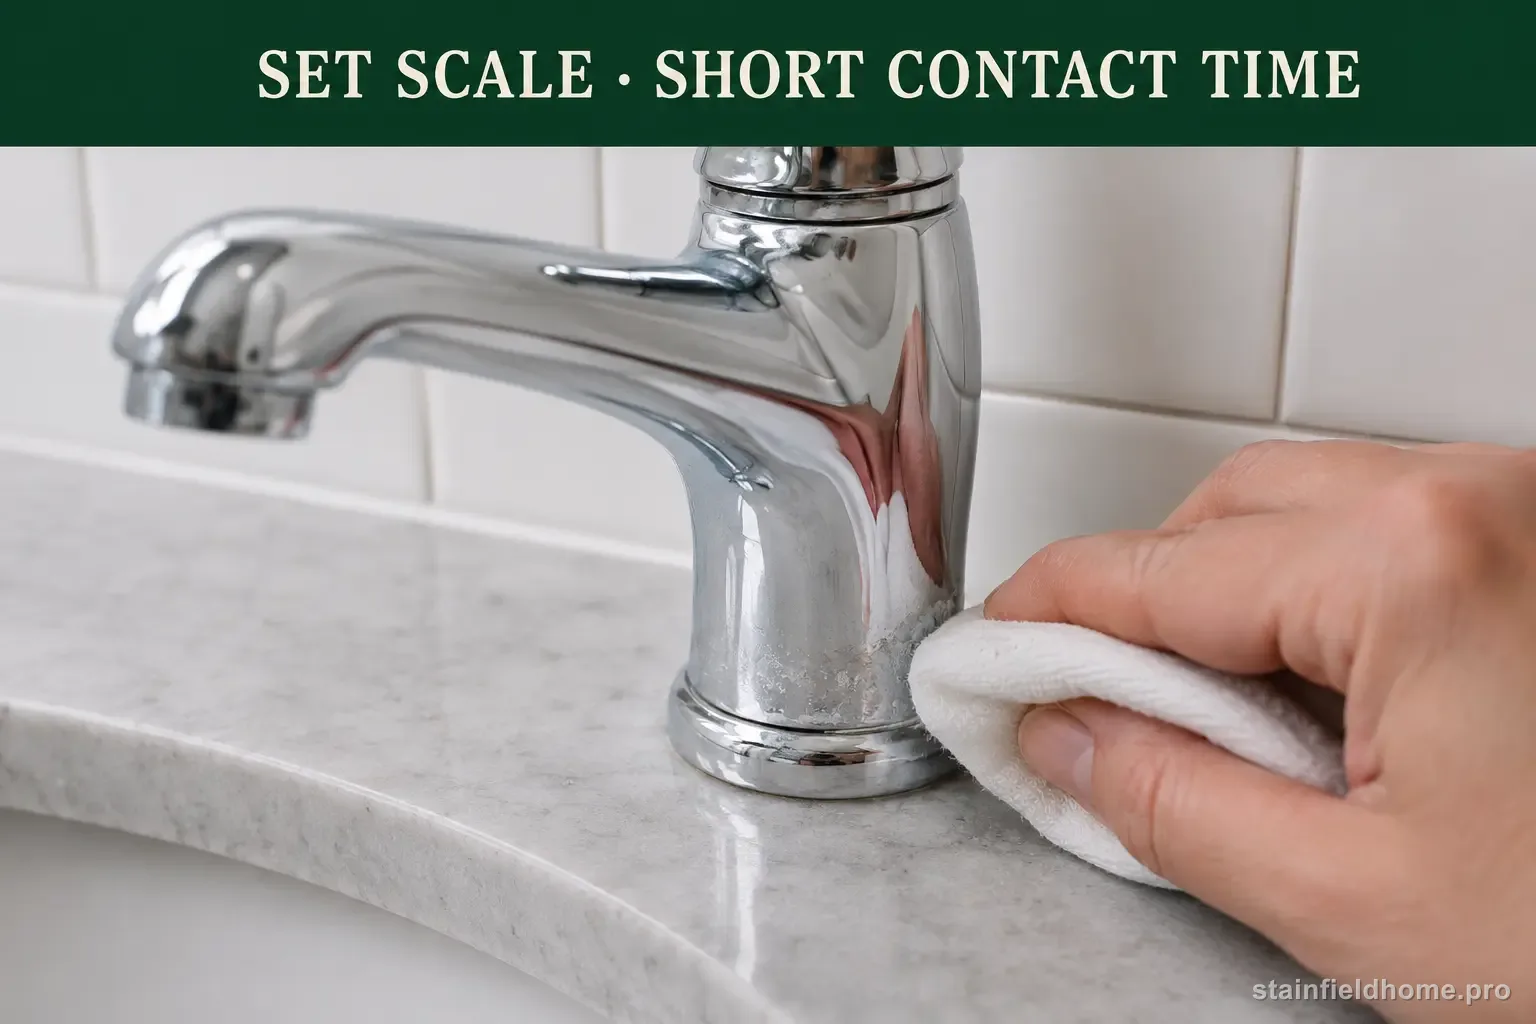
Delta and Moen publish a 50/50 white-vinegar-and-water method for hard-water spots on covered finishes, followed by a thorough water rinse and soft-cloth drying. Treat that as model-specific permission, not a universal chrome rule. Check your faucet’s current instructions first. If the maker prohibits vinegar, follow its named cleaner or contact customer support with the model and finish code.
When permitted, mix a small fresh amount in a bowl. Dampen a white cloth, wring it so it cannot drip, and place it against only the scaled area for the shortest interval stated by the maker. If no exact interval is given, start with a brief contact of one to two minutes, then remove, rinse, and inspect dry rather than wrapping the faucet for an hour. Never allow the solution to dry on the plating.
For a ridge at the base, fold the cloth into a narrow strip and keep it above the counter joint. A soft toothbrush can move loosened mineral from a crevice only if the maker allows it; keep pressure light and rinse out grit often. Repeat one short cycle if scale is visibly softer and the finish is unchanged. If nothing transfers after two cycles, stop. The remaining haze may be etched plating, an incompatible finish, or a deposit that requires manufacturer service.
Clean the aerator without soaking the whole faucet
Weak or irregular flow can come from mineral debris in the aerator, but the exterior and internal screen are different maintenance tasks. Look up the model diagram before removing anything. Some aerators need a supplied key, contain small screens in a specific order, or are integrated into a spray head. Close the drain and place a towel in the sink so parts cannot disappear or chip the basin.
If the manual permits removal, photograph the part order, unscrew without gripping the finished surface with bare pliers, and rinse loose debris. Use only the soaking solution and time named for those removable parts. Rinse thoroughly and reinstall by hand before using a protected tool as instructed. Do not hang a heavy vinegar bag from a faucet spout; it can stress the joint and exposes the entire finish for too long.
If the aerator is seized, the chrome is flaking, or flow remains poor after a manual-directed clean, contact the manufacturer or a plumber. Supply-line debris, a cartridge problem, or corrosion deeper in the fixture will not be fixed by polishing the outside.
Protect surrounding stone, caulk, and cabinet finishes
White vinegar can etch marble, limestone, travertine, and some cement-based grout. Make a dry towel collar around the faucet and apply diluted solution to a cloth away from the vanity. Never spray the whole area. If a drop reaches acid-sensitive stone, blot and rinse that surface promptly according to its care instructions rather than wiping the acid outward.
At the faucet base, scale may sit over failed caulk or an open installation gap. Keep liquid out of the joint and do not pry mineral with a blade. Once the fixture is clean and dry, have failed sealant replaced with the material specified by the faucet or countertop installer. Persistent dampness below the vanity, swelling cabinet material, or a dark ring that returns may signal a leak.
Painted vanities and mirror frames also need protection from drips. Work with small bowls, nearly dry cloths, and a catch towel. Rinse every treated surface completely because residual acid can continue acting after the visible deposit is gone.
What not to use on chrome faucets
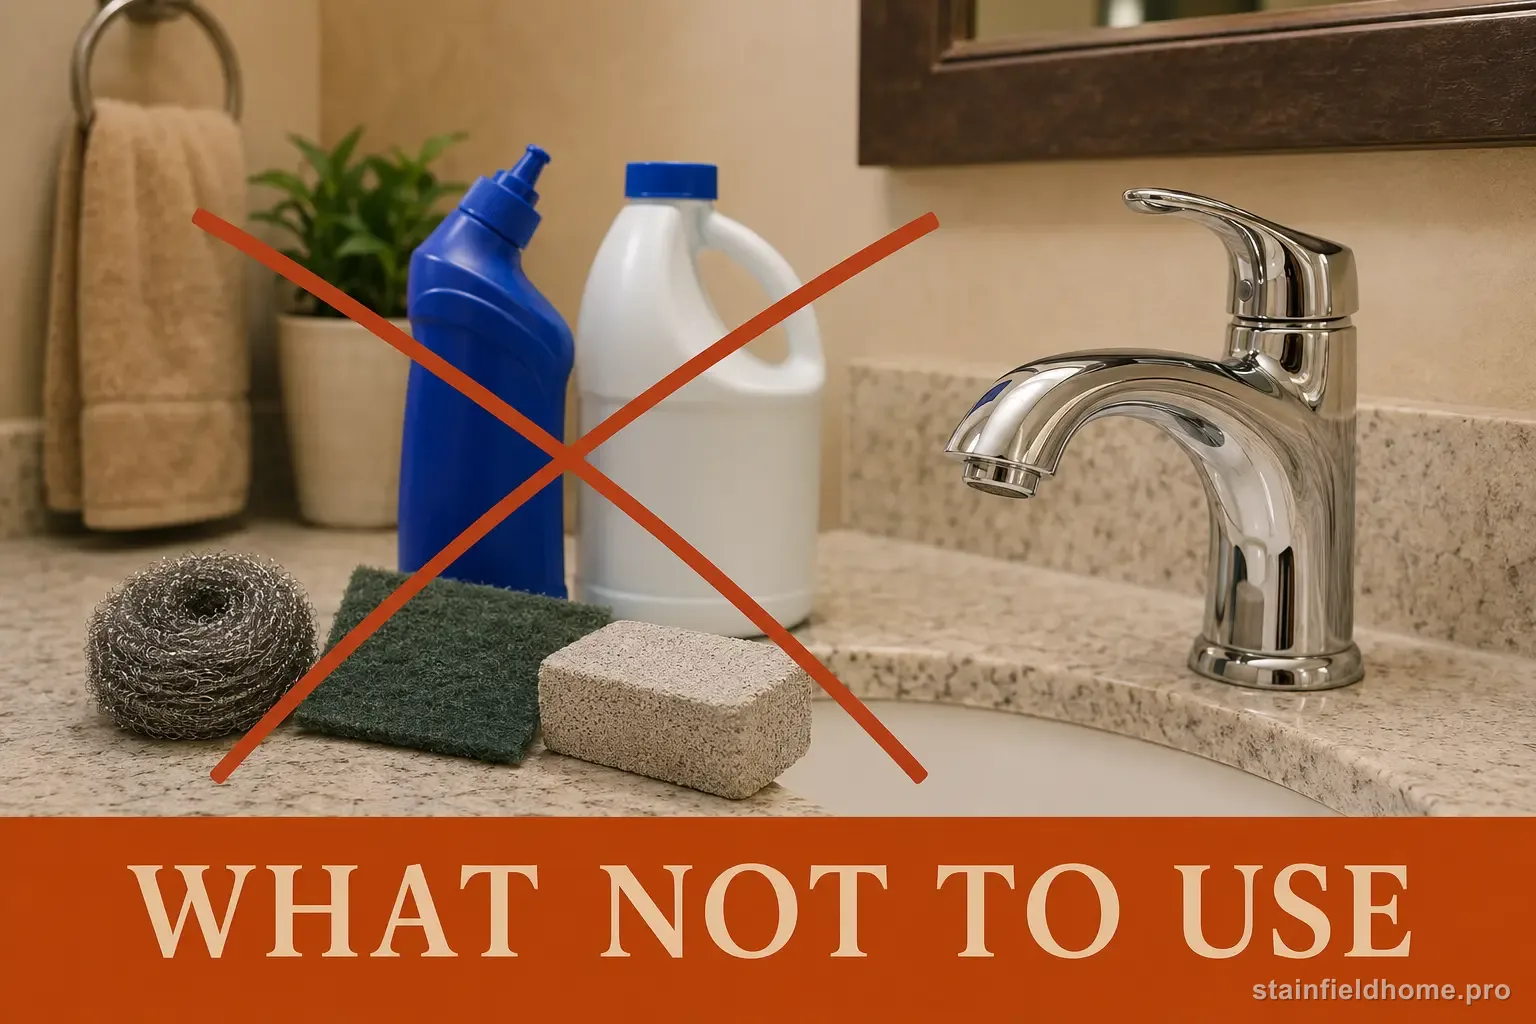
Chrome on a household faucet is a decorative finish, not a thick block of automotive metal. Abrasive success can be deceptive because the deposit and part of the finish may leave together. Warranty care instructions—not the strength of an online recommendation—set the limit.
- Do not use steel wool, metal brushes, pumice, scouring pads, scouring powder, or melamine foam.
- Do not use toilet-bowl cleaner, drain cleaner, oven cleaner, rust remover, undiluted vinegar, hydrochloric acid, or a generic strong limescale remover.
- Do not use bleach, ammonia, alcohol, or organic solvents when the finish maker prohibits them.
- Do not mix vinegar with bleach or any other cleaner.
- Do not scrape scale with a razor, knife, screwdriver, or coin.
- Do not leave a wet acidic wrap on overnight or let any cleaner dry on the fixture.
- Do not use automotive chrome polish, wax, oil, or water-repellent coating unless the faucet manufacturer explicitly approves it for that finish.
Prevent deposits and catch plumbing problems early
Keep a small dry microfiber cloth in the vanity and wipe the faucet after the last use of the day. Drying prevents minerals from concentrating as droplets evaporate and is gentler than repeated descaling. Fix a drip promptly, because a constant wet path can build a dense ridge and may indicate a worn cartridge.
Clean on a regular mild-soap schedule before scale becomes thick. If every fixture, shower panel, and glass surface builds deposits rapidly, a water test and qualified plumbing advice can identify hardness and appropriate treatment. A softener is a system decision involving water chemistry, maintenance, and local requirements—not a substitute cleaner sprayed onto a faucet.
Save the model number, finish name, receipt, and care page. If a haze remains after correct cleaning, send the manufacturer a dry close-up and a full-fixture photo. That evidence helps distinguish residue from warranty-covered finish change without risking another round of abrasive experiments.
Common questions
FAQ
Is vinegar safe on a chrome bathroom faucet?
Only when the faucet maker permits it for that exact finish. Delta and Moen publish a 50/50 white-vinegar-and-water method for certain finishes, with limited contact, thorough rinsing, and immediate drying. Other finishes may have different restrictions.
Can I leave a vinegar towel on heavy limescale overnight?
No. Long acid contact can damage finishes and nearby stone. Use the shortest maker-approved interval, rinse, dry, and reassess. Stop if two short cycles do not soften the deposit.
Why does the faucet still look cloudy after the scale is gone?
If the dry haze does not transfer to a soft cloth, the finish may be etched, pitted, or chemically changed. Stop polishing and contact the faucet manufacturer with the model and finish information.
Sources reviewed
Keep reading
Related guides
Slime on Carpet
How to Remove Slime From Carpet Without Damaging the Fibers
Lift dried or fresh slime out of carpet fibers with an ice-and-scrape method plus a vinegar or rubbing alcohol rinse, without soaking the backing or bleaching the color.

Essential oil and reed-diffuser oil on Finished wood furniture
How to Remove Essential Oil and Diffuser Stains From Wood Furniture
Blot a diffuser-oil spill on finished wood, use a cautious absorbent step, and recognize when the finish needs a furniture repair professional.

Pumpkin (carving, decorating, or puree) on Carpet
How to Remove Pumpkin Stains From Carpet
Remove pumpkin pulp and treat any remaining orange mark on carpet with a careful, low-moisture sequence that follows the carpet maker's guidance.
Sweat on Baseball cap
How to Remove Sweat Stains and Odor From a Baseball Cap
Lift yellow sweat stains and odor from the sweatband of a baseball cap without warping the brim or shrinking the crown.