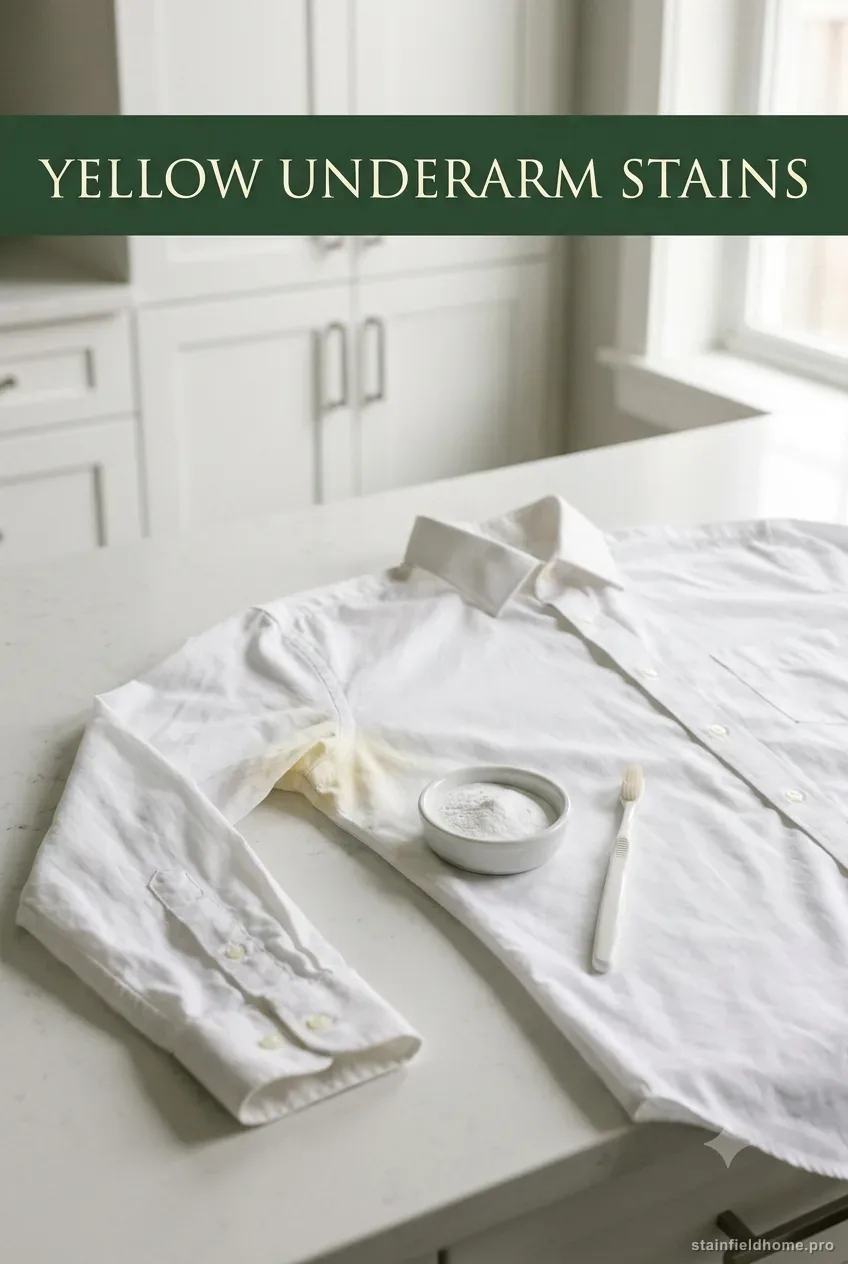
The quick answer
Pretreat the dry underarm area with an enzyme laundry detergent or presoak and give it 30 minutes or more. For the yellow itself, on a colorfast white shirt, spread a paste of oxygen bleach powder or 3% hydrogen peroxide with a little baking soda, wait up to an hour, then launder in the warmest water the label allows. Air-dry and check before any dryer or iron. On colored or delicate shirts skip the peroxide and use white vinegar or an enzyme soak instead.
What you’ll need
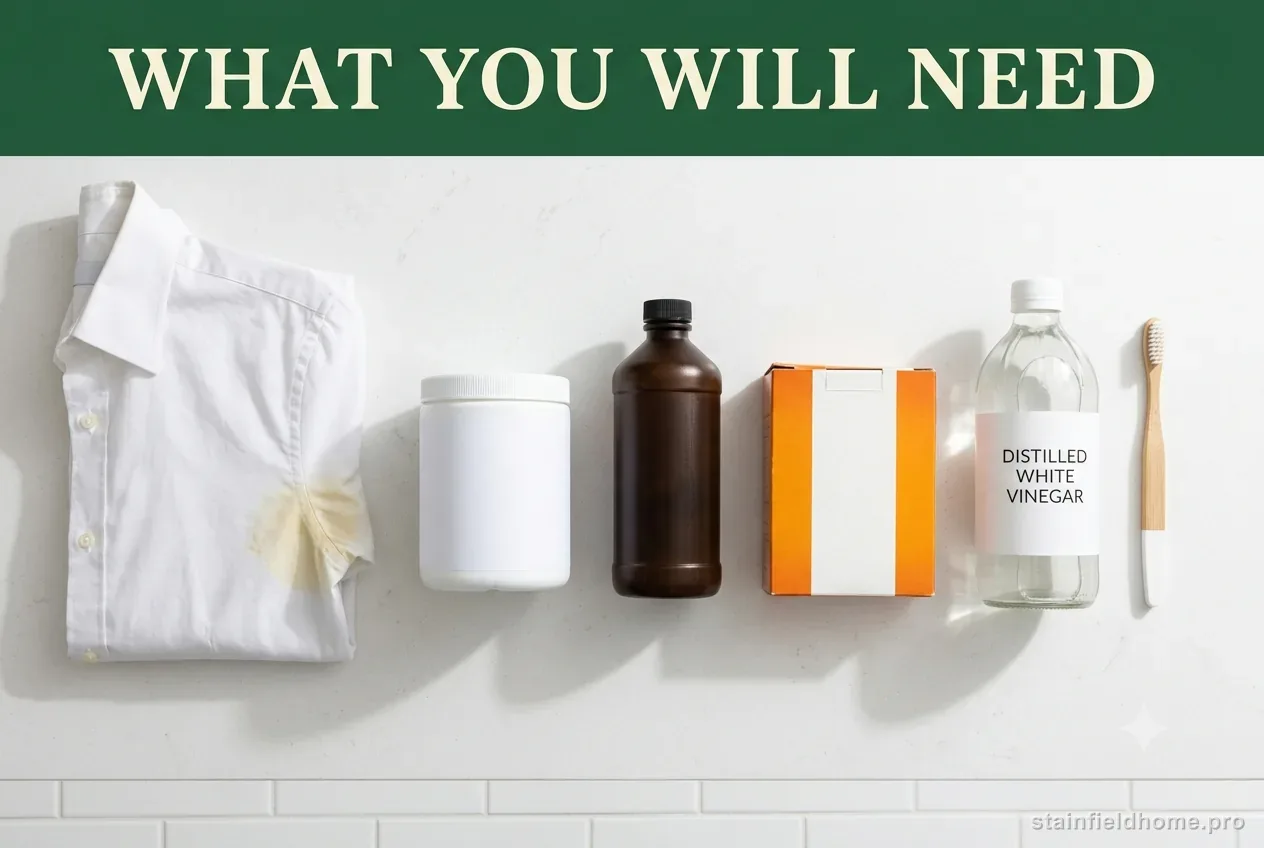
- Enzyme-containing laundry detergent or presoak
- Oxygen bleach powder, or 3% hydrogen peroxide, for white or colorfast shirts
- Baking soda
- Soft toothbrush
- White vinegar, for colored or delicate shirts
- White towel
What the yellow actually is
Fresh sweat is nearly colorless. The yellow shows up later, after sweat has soaked into the fabric and reacted with the aluminum salts in antiperspirant and with the oils on your skin. Manufacturers including Arm & Hammer describe it the same way: the marks form when the ingredients in deodorant or antiperspirant mix with sweat and body oils, and the color deepens over time as fatty acids in that mix oxidize. Heat from a dryer or iron speeds up the same reaction, which is why a shirt that goes straight from hamper to dryer often comes out worse.
Because the stain is part protein (sweat) and part mineral and oil (antiperspirant), no single product removes all of it. You treat the protein with enzymes and the discoloration with a mild acid or an oxygen-based whitener, and you keep heat away until both are done.
Timing matters as much as product choice. A shirt treated the day it was worn, before it has seen the dryer, often comes clean with just the enzyme pretreatment. Once the yellow has been through a hot wash or a tumble-dry it is chemically set: the fatty acids have oxidized and the aluminum residue has bonded into the fibers, so you will need the peroxide or vinegar step and, usually, more than one pass. This is why it pays to keep worn dress shirts out of the hamper pile and pretreat them promptly.
Check the shirt first
This guide assumes a washable white or light cotton, linen, or cotton-poly shirt. Silk, wool, and anything dry-clean-only should go to a professional, described as a protein-plus-antiperspirant stain. For a colored shirt, the peroxide and oxygen-bleach steps below can lighten the dye, so use the vinegar or enzyme-only path and test on an inside seam first.
Read the care label for the hottest water allowed. Warm water helps enzymes and oxygen bleach work; a cold-only shirt limits how aggressive you can be, so lean on longer soak times instead.
Step 1 — break down the sweat with enzymes
- 01
Work on the dry shirt. Lay it flat with a white towel inside so treatment does not transfer to the back.
- 02
Rub an enzyme laundry detergent or a dedicated enzyme presoak into the yellowed underarm area, front and back of the fabric.
- 03
Let it sit at least 30 minutes. For a stain that has built up over months, several hours or an overnight soak in a cool enzyme solution is better.
- 04
Rinse with cool water. Do not wash with hot water yet—you want to see how much yellow is left before heat gets involved.
Step 2 — lift the yellow discoloration
For a colored or delicate shirt, skip the peroxide paste. The University of Illinois Extension's guidance for perspiration is to treat fresh stains with ammonia and old stains with vinegar. A safe home version: dab white vinegar onto an older yellow mark, wait 20 to 30 minutes, rinse, then repeat the enzyme step. If you use ammonia on a fresh stain, dilute it to about one tablespoon per quart of water, and never let it come near a chlorine bleach product—the fumes are dangerous.
- 01
For a white or confirmed colorfast shirt, mix a spoonful of oxygen bleach powder, or a few tablespoons of 3% hydrogen peroxide, with enough baking soda to make a loose paste.
- 02
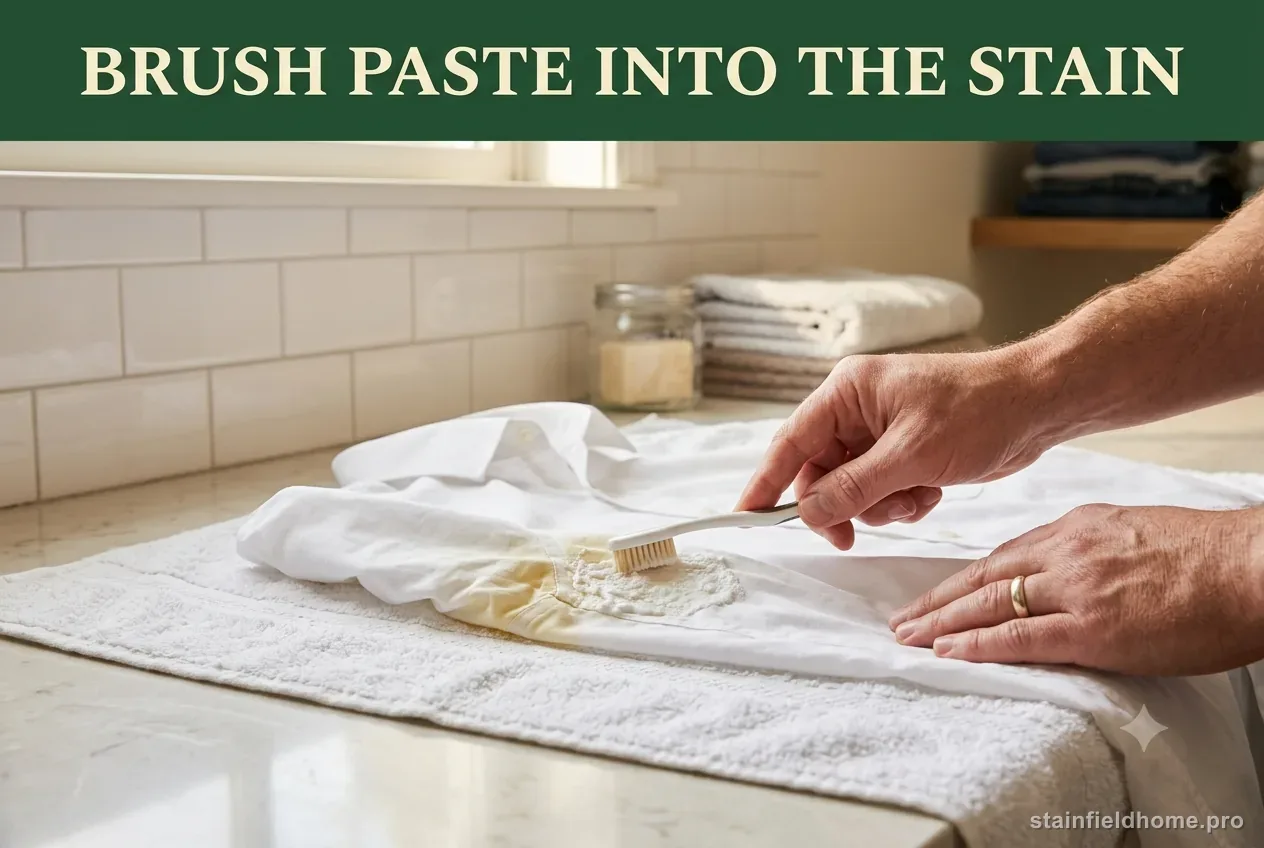
Spread it over the yellow area and work it in gently with a soft toothbrush. Leave it up to one hour and do not let it dry to a crust.
- 03
Brush off the paste, rinse, and check in daylight. Repeat once if the yellow has faded but not gone.
- 04
Launder the shirt in the warmest water the care label allows, with your regular detergent.
- 05
Air-dry and inspect. Use the dryer or iron only once the underarms are clean.
Stubborn buildup and stiff patches
A crusty, stiffened underarm is antiperspirant residue that has accumulated wash after wash. It usually needs the two steps above repeated two or three times, with a full enzyme soak between rounds. Flex the dry fabric in your hands first to crack the residue, then treat it. A soft brush lifts loosened material out of the weave; a stiff brush just abrades the cotton.
White shirts that have yellowed evenly across both underarms over a long time may not return to bright white. At that point an oxygen-bleach soak of the whole shirt—package directions, warm water, a few hours—does more than repeated spot-treating and evens out the result.
Resist chlorine bleach. On protein and antiperspirant stains it can react with the residue and turn the area a deeper yellow or brown, and repeated use weakens cotton fibers at the exact spot that already takes the most stress.
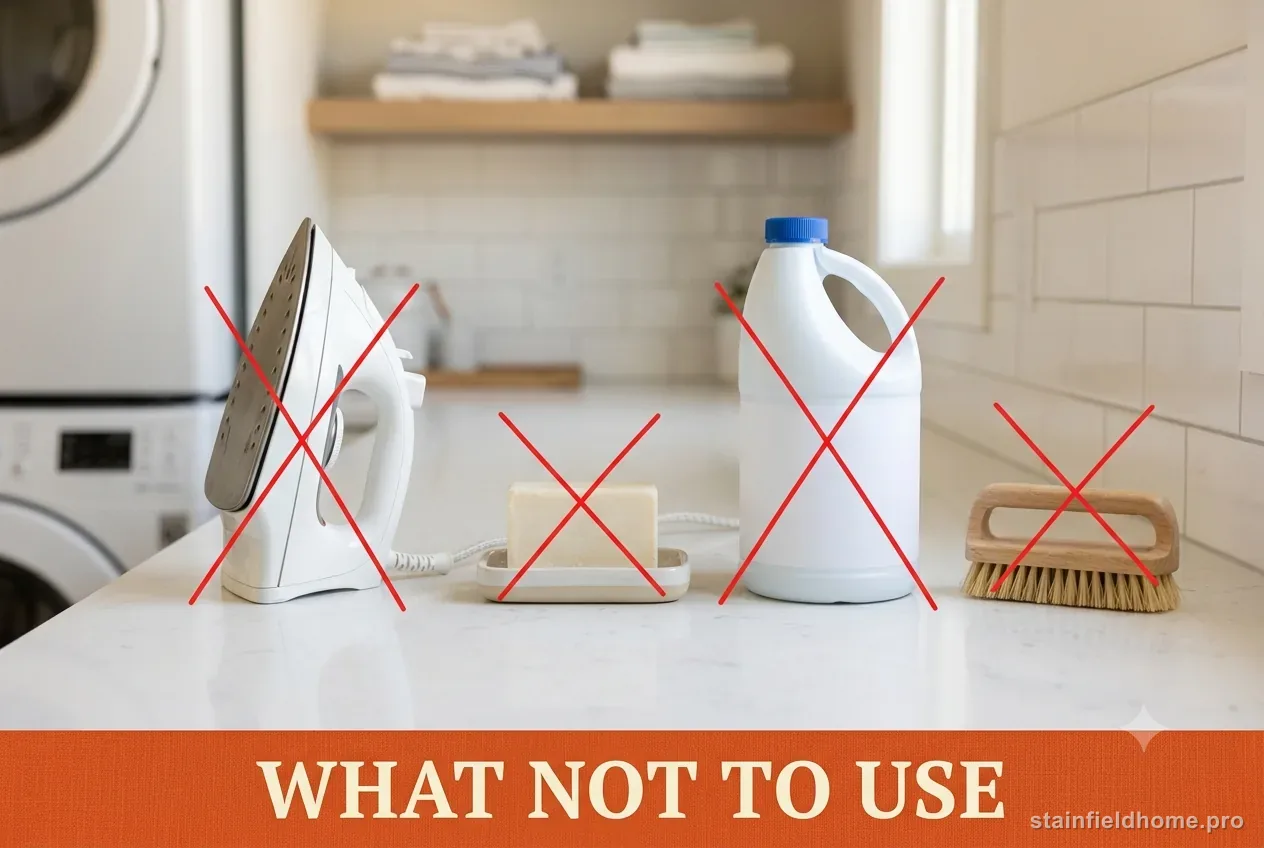
The moves that make yellowing worse
- The dryer or a hot iron before the stain is fully gone—heat sets the yellow and can turn it brown
- Chlorine bleach, which often darkens antiperspirant stains and weakens the fabric
- Peroxide or oxygen-bleach paste on colored or delicate shirts without an inside-seam test
- Mixing ammonia with any chlorine bleach product—the fumes are hazardous
- Fabric softener on shirts prone to these stains; it can trap residue in the fibers
- Hard scrubbing with a stiff brush, which thins the cotton at the underarm
Prevent the next one
Let antiperspirant dry fully before dressing, and apply a thin layer rather than a thick one—most of the stain is transferred product. Applying at night, so it absorbs before you sweat, measurably reduces how much ends up on the shirt.
Wash sweat-damp shirts promptly instead of leaving them in a warm hamper, where the yellowing reaction has time to run. An undershirt takes the antiperspirant contact for you and is far easier to treat or replace. Aluminum-free deodorants do not form the same yellow salts, though they do not stop sweat.
Common questions
FAQ
Why did chlorine bleach make my white shirt's underarms look worse?
Chlorine bleach reacts with the protein in sweat and the aluminum-and-oil residue from antiperspirant, and that reaction commonly turns the area a deeper yellow or brown. Use oxygen bleach or 3% hydrogen peroxide on whites instead, after an enzyme pretreatment.
Can I get yellow stains out of a shirt washed and dried many times?
Often you can fade them a lot, but a shirt that has yellowed evenly over months may not come fully white again. Do a full-shirt oxygen-bleach soak in warm water for a few hours after an enzyme presoak; that usually helps more than repeated spot treatment.
Is it the sweat or the deodorant causing the stain?
It is the combination. Sweat alone is nearly colorless; the yellow comes from sweat proteins and skin oils reacting with antiperspirant aluminum salts, with time and heat deepening the color. That is why you treat both the protein and the discoloration.
Sources reviewed
Keep reading
Related guides
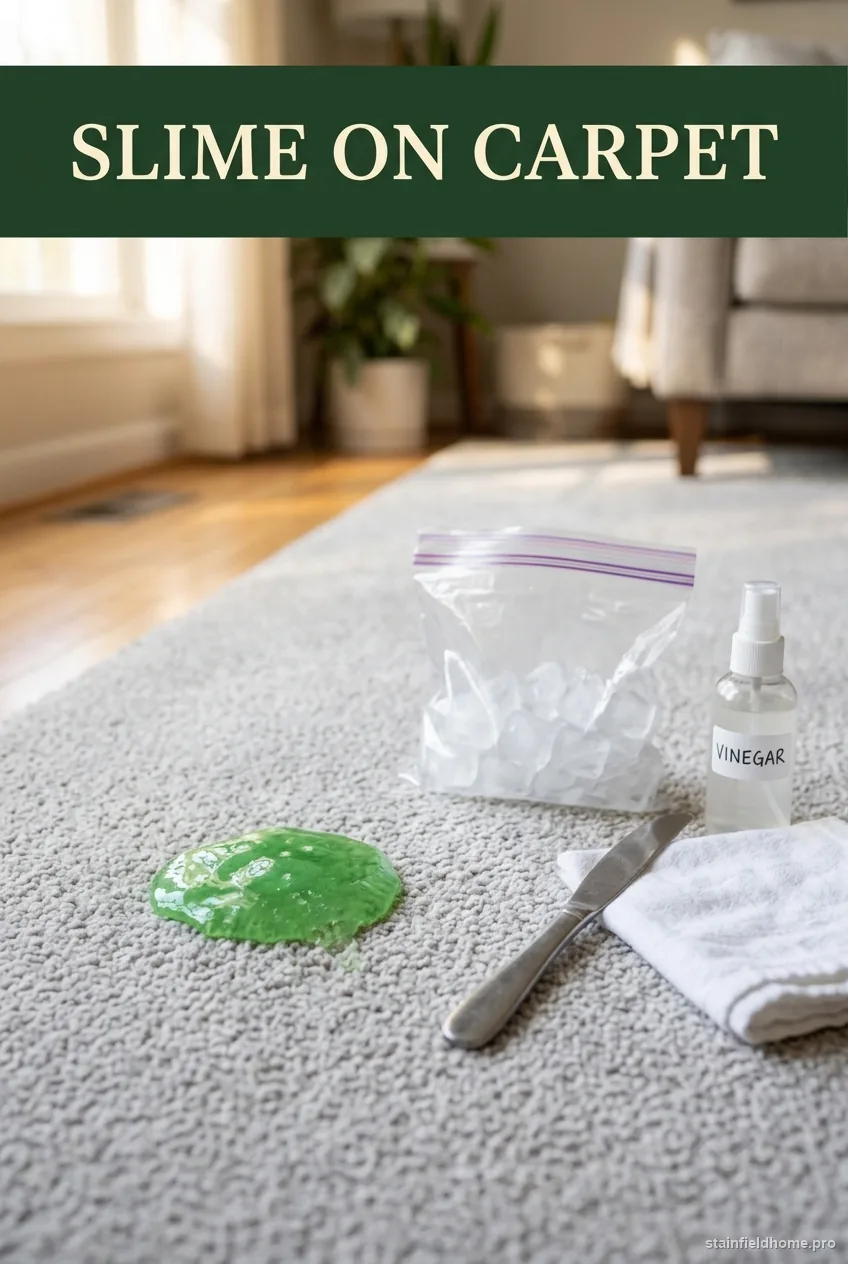
Slime on Carpet
How to Remove Slime From Carpet Without Damaging the Fibers
Lift dried or fresh slime out of carpet fibers with an ice-and-scrape method plus a vinegar or rubbing alcohol rinse, without soaking the backing or bleaching the color.
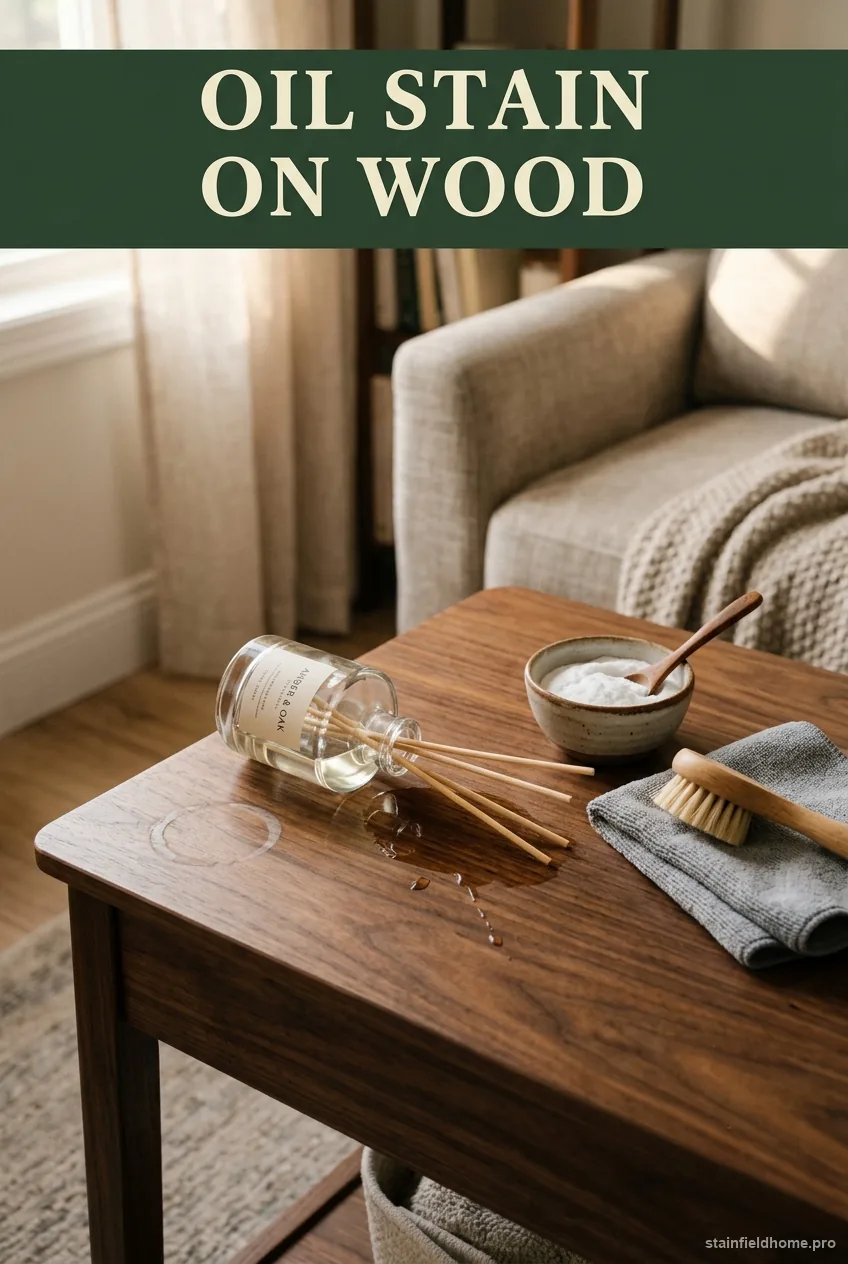
Essential oil and reed-diffuser oil on Finished wood furniture
How to Remove Essential Oil and Diffuser Stains From Wood Furniture
Blot a diffuser-oil spill on finished wood, use a cautious absorbent step, and recognize when the finish needs a furniture repair professional.
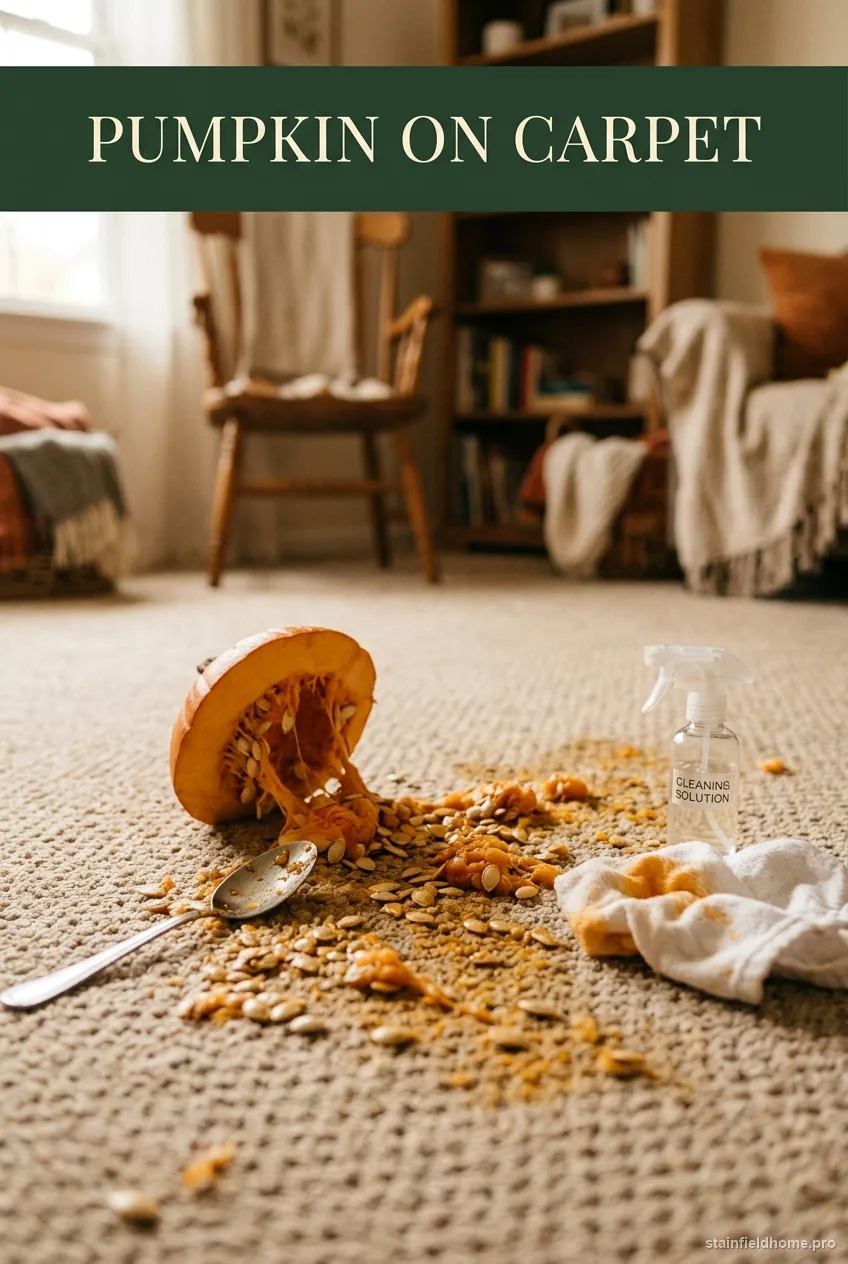
Pumpkin (carving, decorating, or puree) on Carpet
How to Remove Pumpkin Stains From Carpet
Remove pumpkin pulp and treat any remaining orange mark on carpet with a careful, low-moisture sequence that follows the carpet maker's guidance.
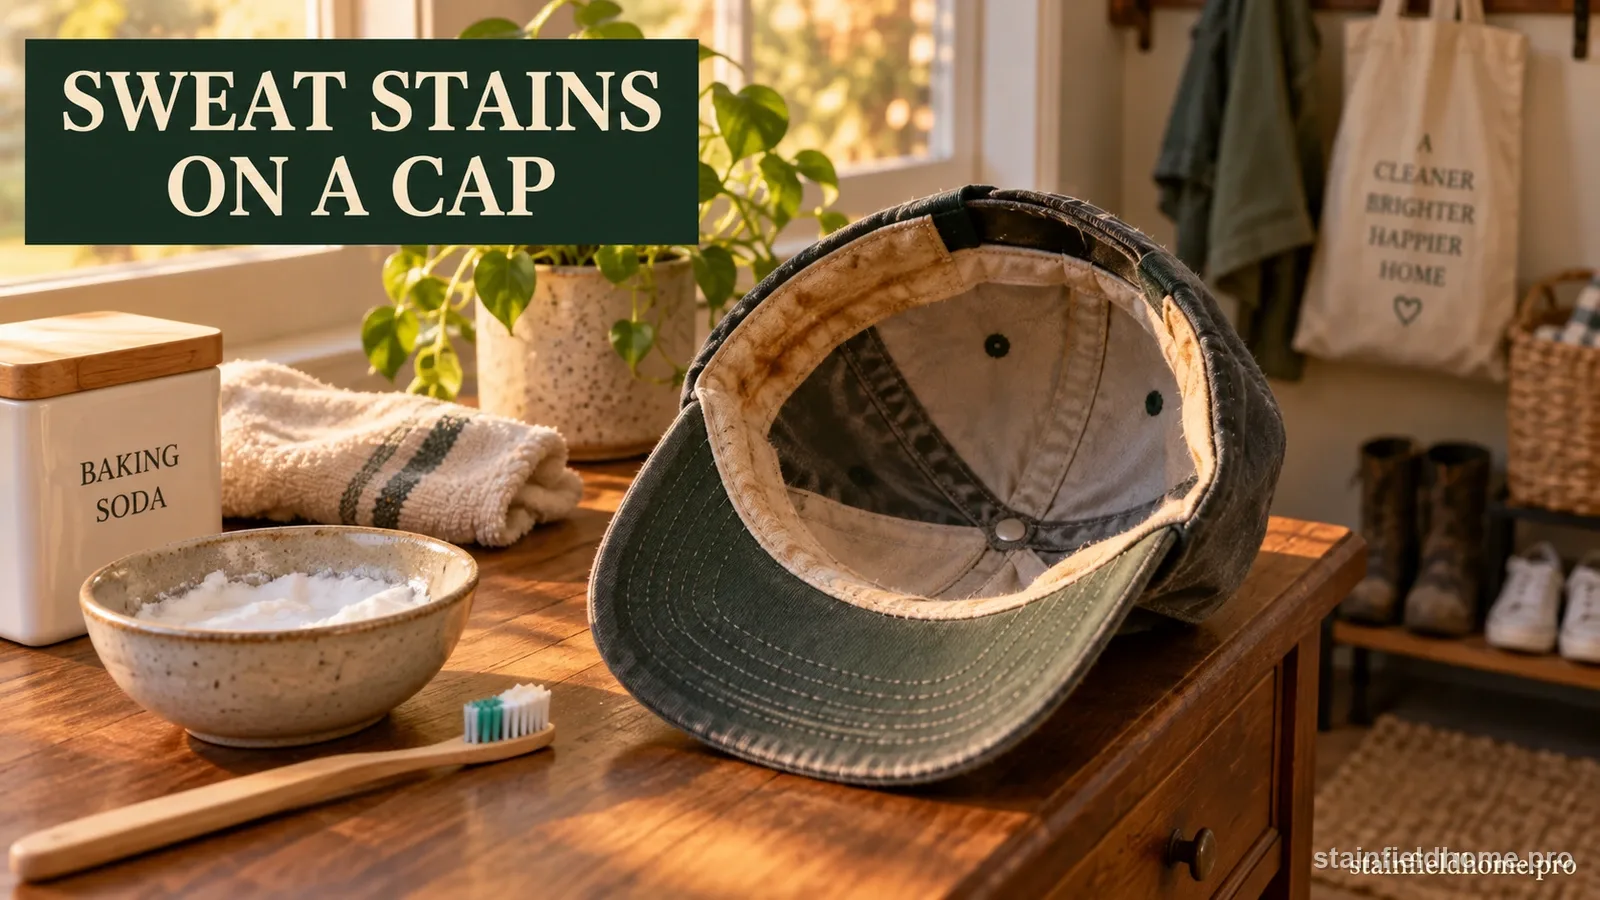
Sweat on Baseball cap
How to Remove Sweat Stains and Odor From a Baseball Cap
Lift yellow sweat stains and odor from the sweatband of a baseball cap without warping the brim or shrinking the crown.