The quick answer
Rinse a protein shaker immediately after use, then disassemble every removable lid, gasket, straw, and whisk component and wash with warm soapy water or the dishwasher if the manufacturer allows it. For persistent odor, use the maker's approved deodorizing method and dry the bottle completely with the lid off. Replace damaged seals or parts that retain odor after thorough cleaning.
What you’ll need
- warm water
- dishwashing liquid
- bottle brush
- small detail brush
- straw brush if needed
- dishwasher basket if parts are dishwasher-safe
- baking soda or other manufacturer-approved deodorizer
- drying rack
Why shaker bottles go sour so fast
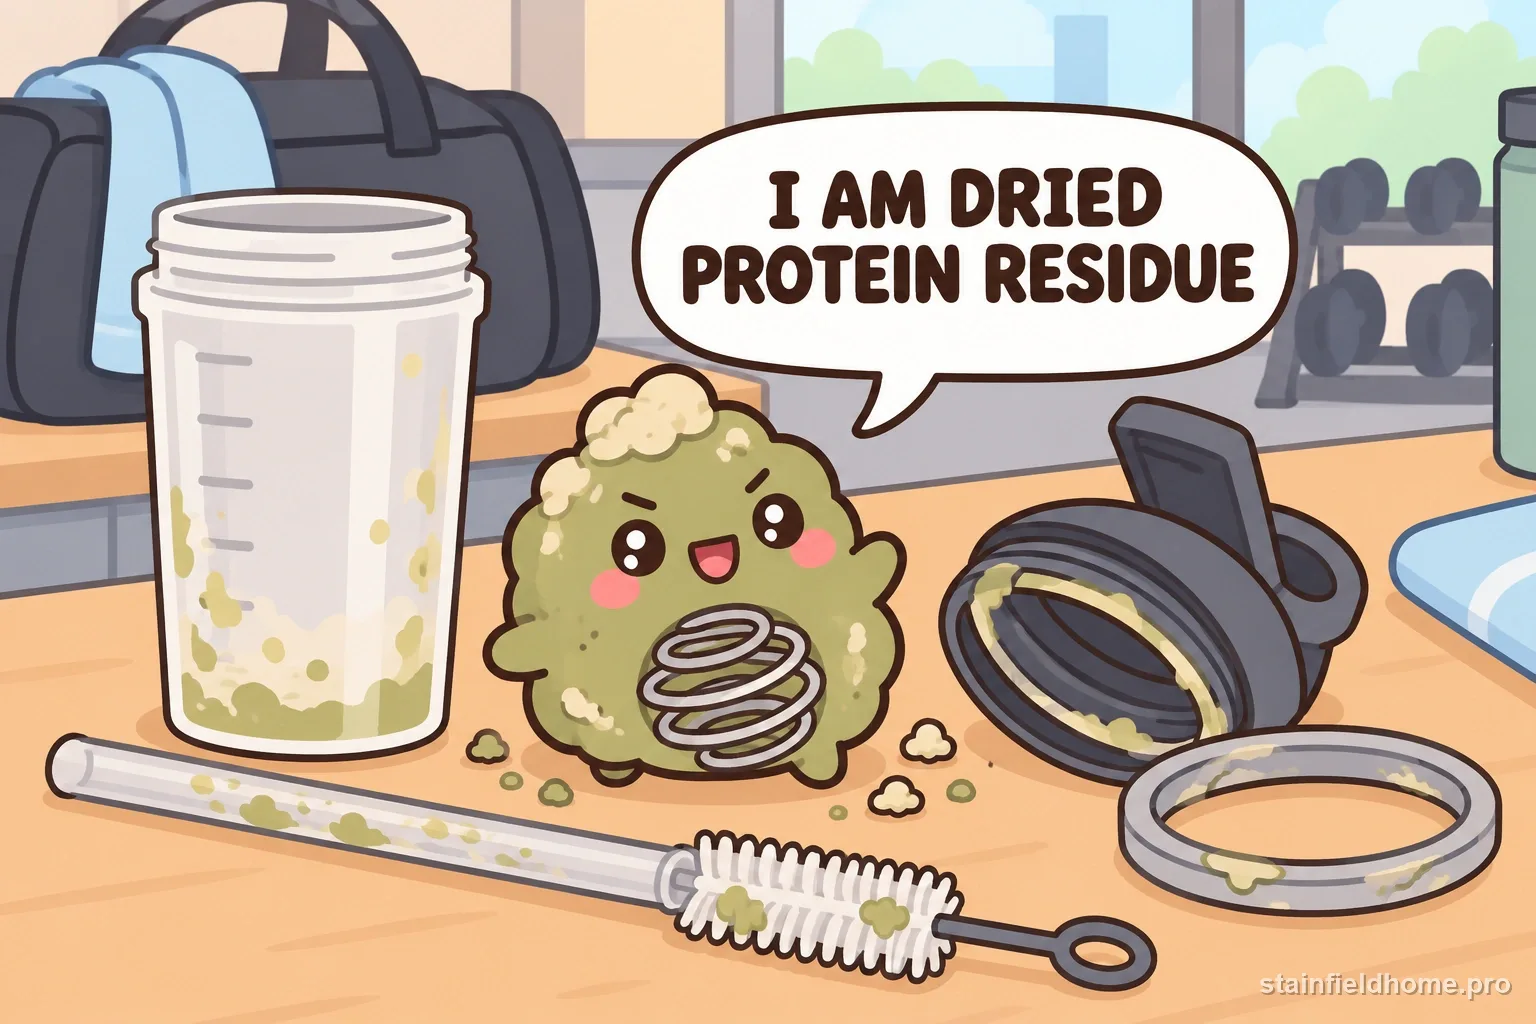
Whey and plant protein are rich in the exact nutrients that bacteria and mold thrive on, and a shaker gives them everything else they need: a warm gym bag, a sealed lid, and a film of leftover shake in the threads. Within a day, a forgotten bottle can grow a smell that survives an ordinary wash because the residue is trapped where the sponge does not reach.
The two things that keep a shaker fresh are speed — rinsing before the residue dries — and disassembly, so every surface actually gets cleaned. Deodorizers only work after the residue itself is gone.
The 30-second rinse that prevents most of it
If you cannot wash the bottle right after your shake, at least fill it halfway with warm water, add a drop of soap, close it, and shake hard for ten seconds, then dump it and leave the lid open. That single step keeps the protein from cementing onto the wall and into the threads.
The classic mistake is screwing the wet lid back on and tossing the bottle in a bag. A closed damp bottle is a petri dish; an open rinsed one is fine until you get home.
Full disassembly: lid, gasket, straw, whisk ball
- 01
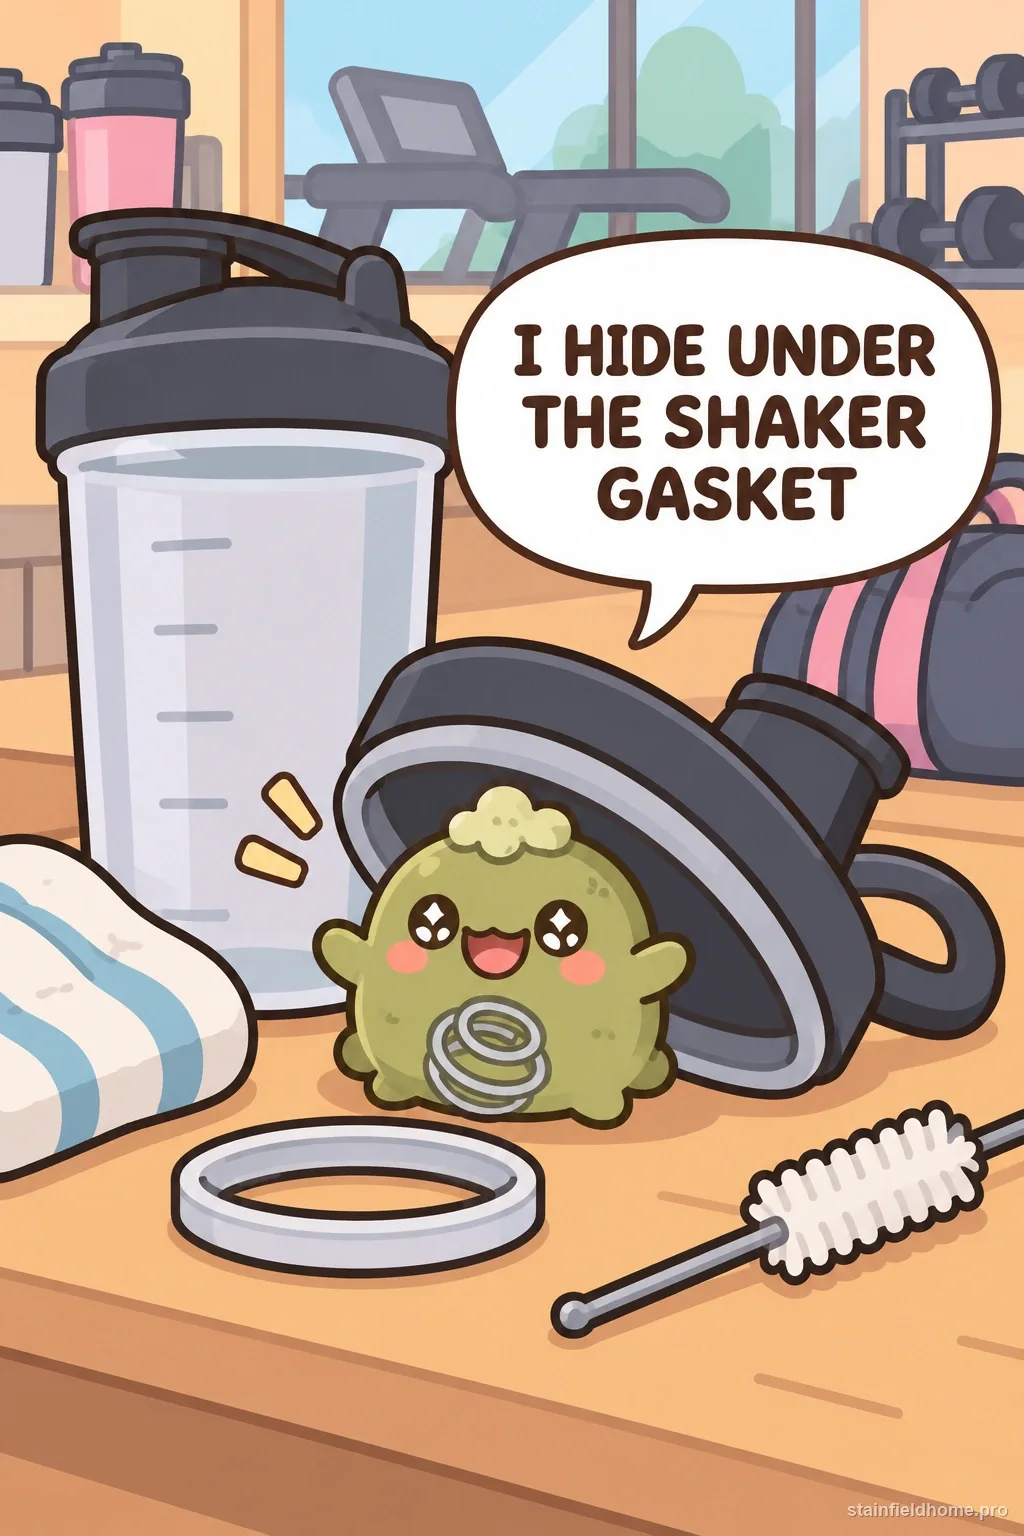
Unscrew the lid and pop out the silicone gasket or O-ring from inside the lid — this is where the worst smell hides.
- 02
Separate any flip cap, spout, straw, and straw stopper.
- 03
Remove the wire whisk ball or mixing disc.
- 04
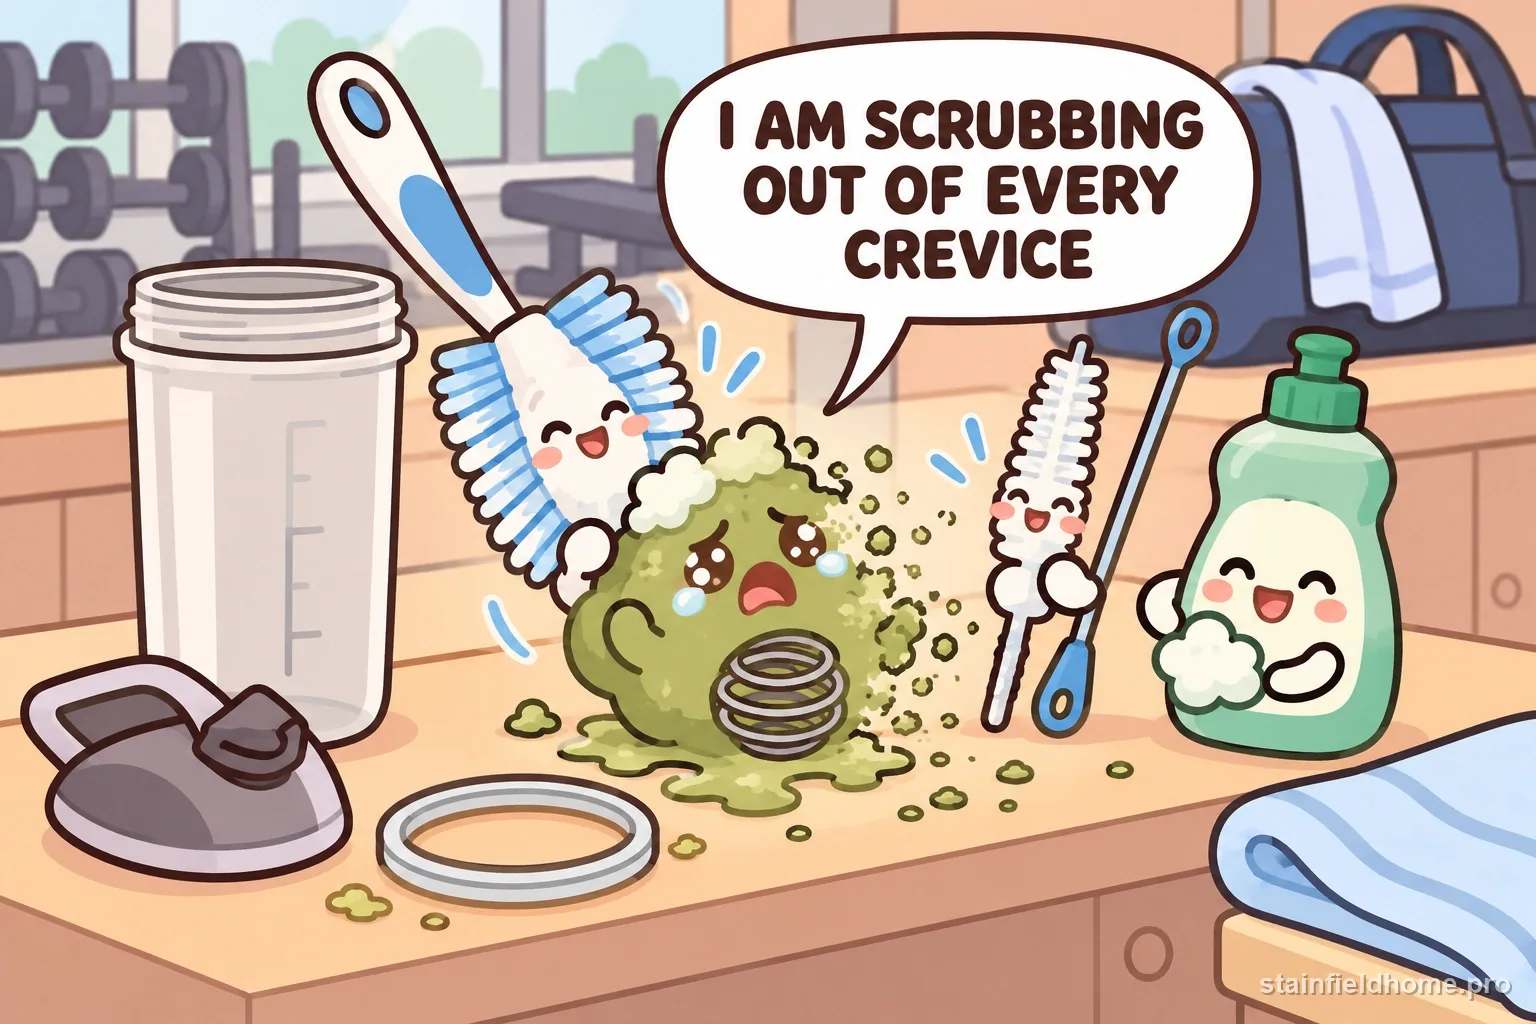
Wash each piece in warm soapy water; run a detail brush around the lid threads and the gasket groove, and a straw brush through any tube.
- 05
Scrub the bottle interior with a bottle brush, paying attention to the bottom edge where powder cakes.
- 06
Rinse everything and stand the parts separately on a rack to air-dry fully before reassembly.
Deodorizing a bottle that already smells
Once the parts are physically clean, fill the bottle with warm water and a tablespoon or two of baking soda, add the lid and gasket, and let it sit several hours or overnight, then wash and rinse again. BlenderBottle also lists a warm-water-and-vinegar soak as an option for odor.
Do not seal a bottle of vinegar-and-baking-soda together and walk away — the gas pressure can pop the lid. Use one or the other. If a smell persists after a soak, the gasket has usually absorbed it.
Dishwasher: only if the maker says so
BlenderBottle Classic and many CamelBak bottles are top-rack dishwasher safe; some insulated stainless shakers and certain lids are not, because heat can warp the plastic or damage a vacuum seal. Check the printed instruction on the bottle or the brand's FAQ.
When you do use the dishwasher, disassemble everything, put small parts in a mesh basket so they do not fall onto the heating element, and still air-dry the gasket separately afterward — dishwashers often leave silicone parts damp.
The gasket is usually the real problem
A silicone lid gasket is porous enough to hold odor permanently once a bottle has been left dirty for days. If you have cleaned and soaked everything and the smell still returns, replace the gasket — BlenderBottle and most brands sell replacement lids and seals cheaply.
The same goes for a straw and bite valve on a straw-lid shaker: those are near-impossible to fully clean once mold gets established, and replacement is the reliable fix.
Keeping a shaker fresh
- Rinse or quick-wash within an hour of use, every time.
- Store the bottle with the lid off or barely resting on top, never sealed.
- Keep a spare clean bottle so a smelly one can get a full overnight soak without disrupting your routine.
- Pre-load powder and add liquid at the gym rather than carrying a mixed shake for hours.
Common questions
FAQ
My shaker smells even after washing. What now?
Take it fully apart, wash every piece with a detail brush, then soak the bottle and lid overnight in warm water with a couple tablespoons of baking soda (or a warm water-and-vinegar soak). Wash again and air-dry all parts separately. If the smell still comes back, replace the silicone gasket — it has absorbed the odor.
Can I leave a vinegar or bleach solution in the bottle overnight?
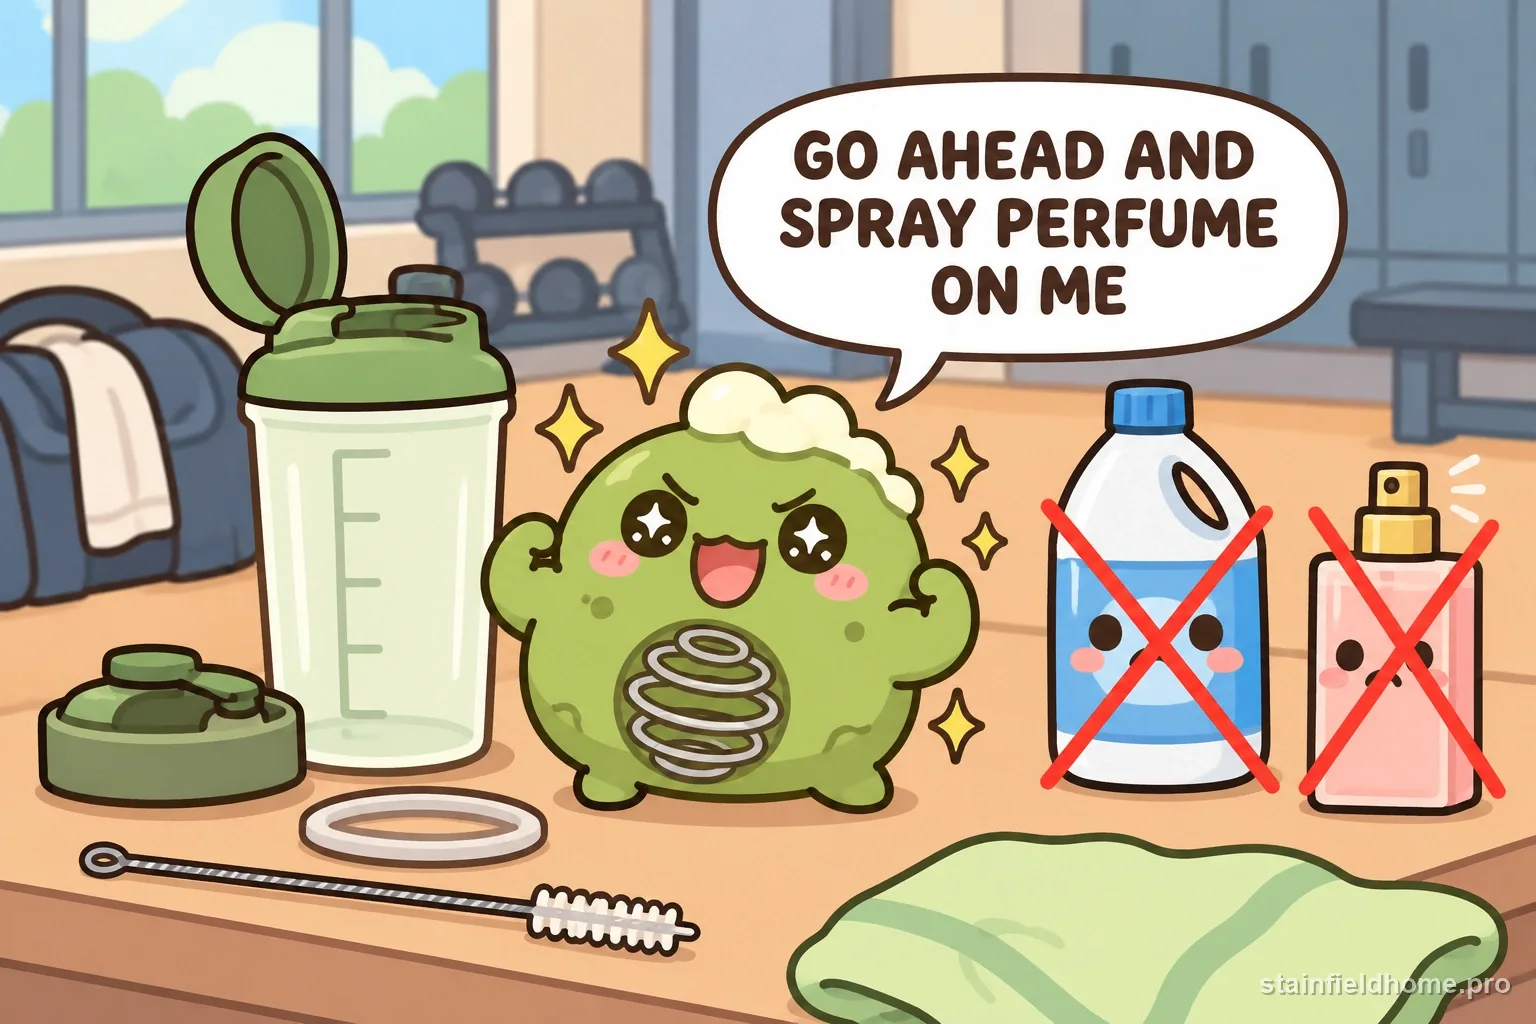
A warm water-and-vinegar or water-and-baking-soda soak overnight is fine, but never combine vinegar and baking soda in a sealed bottle — the gas can force the lid off. Skip bleach unless your bottle maker specifically approves it; for most shakers baking soda or vinegar plus thorough drying is enough.
Are BlenderBottles dishwasher-safe?
The BlenderBottle Classic and Pro plastic bottles and lids are top-rack dishwasher safe. Some insulated stainless models and certain lids are not. Check the brand's FAQ or the bottle print, disassemble before loading, and put the whisk ball and small parts in a mesh basket.
Sources reviewed
Keep reading
Related guides
Spills and body oils on Bouclé sofas and chairs
How to Clean a Bouclé Sofa or Chair Without Flattening the Texture
Spot-clean a bouclé sofa or chair by its cleaning code, protect the looped pile from matting, and know which spills need a dry solvent instead of water.
Burnt-on grease and food residue on Air fryer basket
How to Clean Burnt-On Grease From an Air Fryer Basket
Break down baked-on grease in an air fryer basket with a soak and baking-soda paste, without scratching the nonstick coating or getting water near the heating element.
Permanent hair dye on Bathroom countertop
How to Remove Box Hair Dye From a Bathroom Countertop
Get permanent hair color off quartz, laminate, cultured marble, or sealed stone before it sets, using the mildest method the surface allows and never an abrasive pad.
Yellowed tape adhesive on Painted wall
How to Remove Yellowed Tape Residue From a Painted Wall
Take aged, hardened tape adhesive off painted drywall without pulling the paint, using warm heat, an oil to soften the gum, and the gentlest possible scrape.