The quick answer
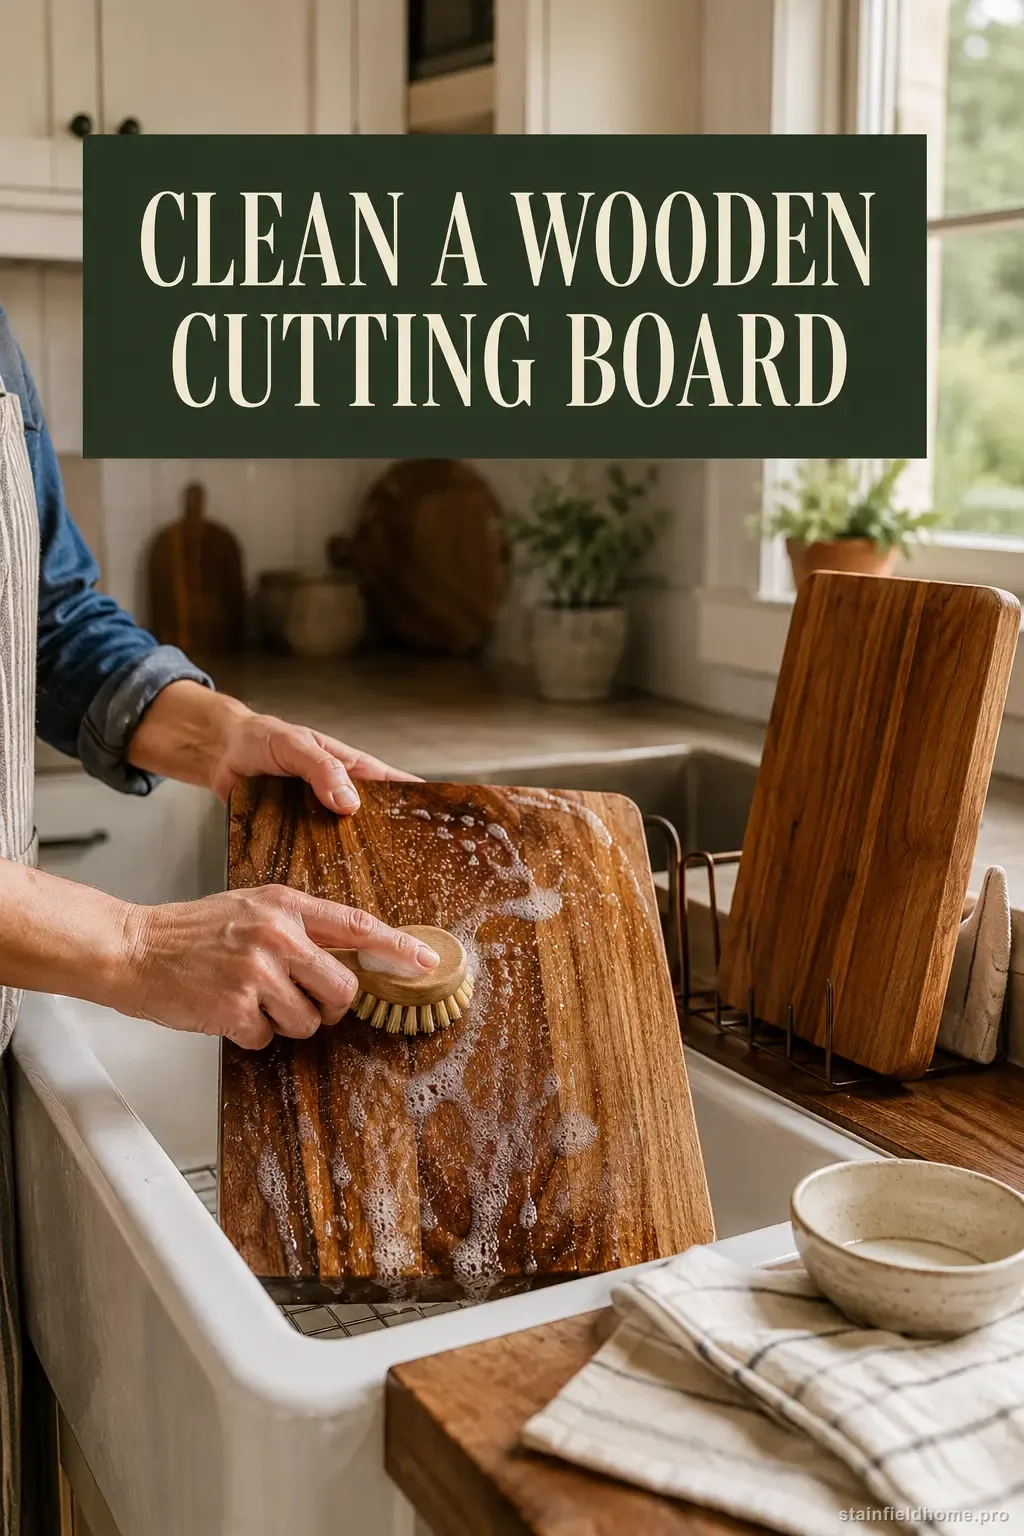
Scrape off food, then hand-wash the board promptly with warm water, mild dish soap, and a clean soft brush or sponge. Wash both faces and all edges so moisture exposure stays even. Rinse, towel-dry, and stand the board upright on an edge with air space on both sides until fully dry. After raw meat, poultry, or seafood, clean first and then sanitize using the board maker’s approved food-contact method; USDA allows 1 tablespoon of unscented liquid chlorine bleach per gallon of water for wood or plastic boards, followed by clear-water rinsing and air-drying. Never mix bleach with vinegar or lemon. Do not soak wood or put it in the dishwasher. Condition only a completely dry board with food-grade mineral oil or the maker’s product—not cooking oil.
What you’ll need
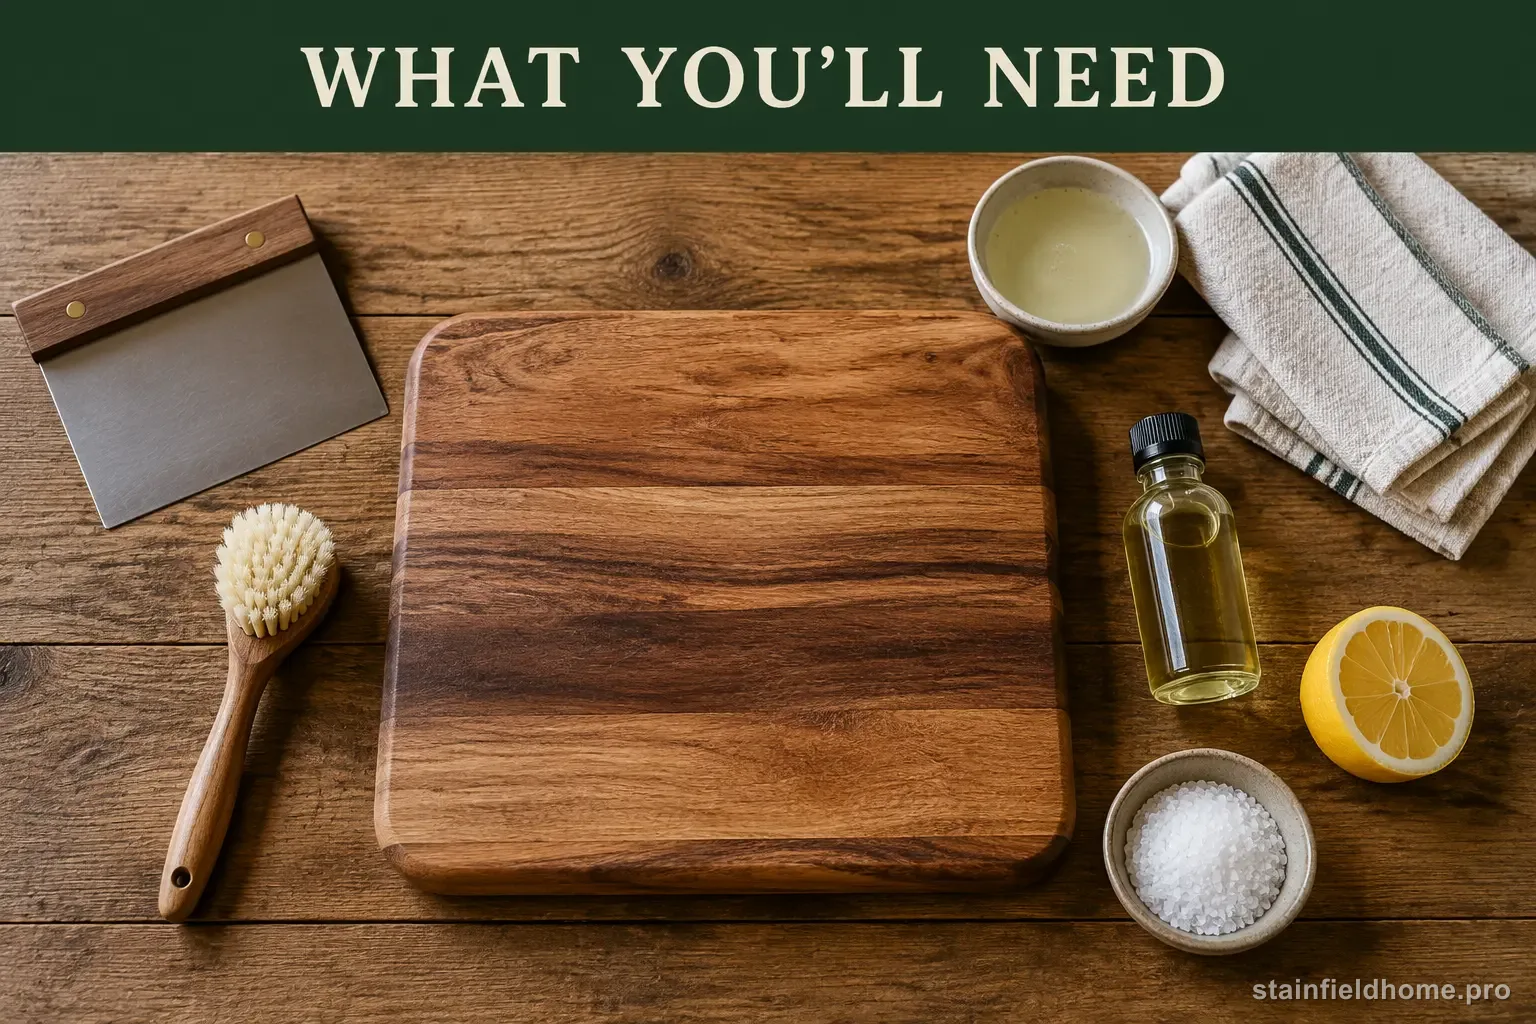
- A bench scraper or silicone scraper
- Warm running water
- Mild unscented dish soap
- A clean soft-bristle dish brush or nonabrasive sponge reserved for food-contact surfaces
- Clean towels or paper towels
- An accurately measured food-contact sanitizer only when needed and permitted
- Food-grade mineral oil or the board maker’s conditioner for periodic maintenance
Inspect the board before deciding to clean or replace it
Wooden cutting boards include edge-grain, end-grain, face-grain, laminated, bamboo, and composite products. Their adhesives, finishes, feet, and warranties differ. Read the maker’s care sheet before sanitizing, sanding, or oiling. This guide covers an intact solid or glued wooden board intended for food preparation, not a decorative serving board with paint, resin art, unknown finish, or loose inlay.
Look under strong light and smell the dry board. Ordinary knife marks and mild food odor can usually be maintained. A deep crack, separated glue joint, soft dark area, widespread mold, splintering edge, unstable foot, or groove that cannot be cleaned is a retirement sign. USDA advises replacing excessively worn boards with hard-to-clean grooves. Do not fill a food-contact crack with ordinary wood filler and call it sanitary.
Decide what touched the board. Bread crumbs, produce, cooked food, raw poultry, and a known allergen create different cleanup needs. Cleaning removes food and grease; sanitizing reduces remaining microorganisms after cleaning; deodorizing changes smell; oiling manages moisture absorption. Lemon and salt can help with odor and surface discoloration, but The Kitchn correctly notes that lemon is not a substitute for a validated sanitizing step.
Routine cleaning: wash every face and dry with airflow
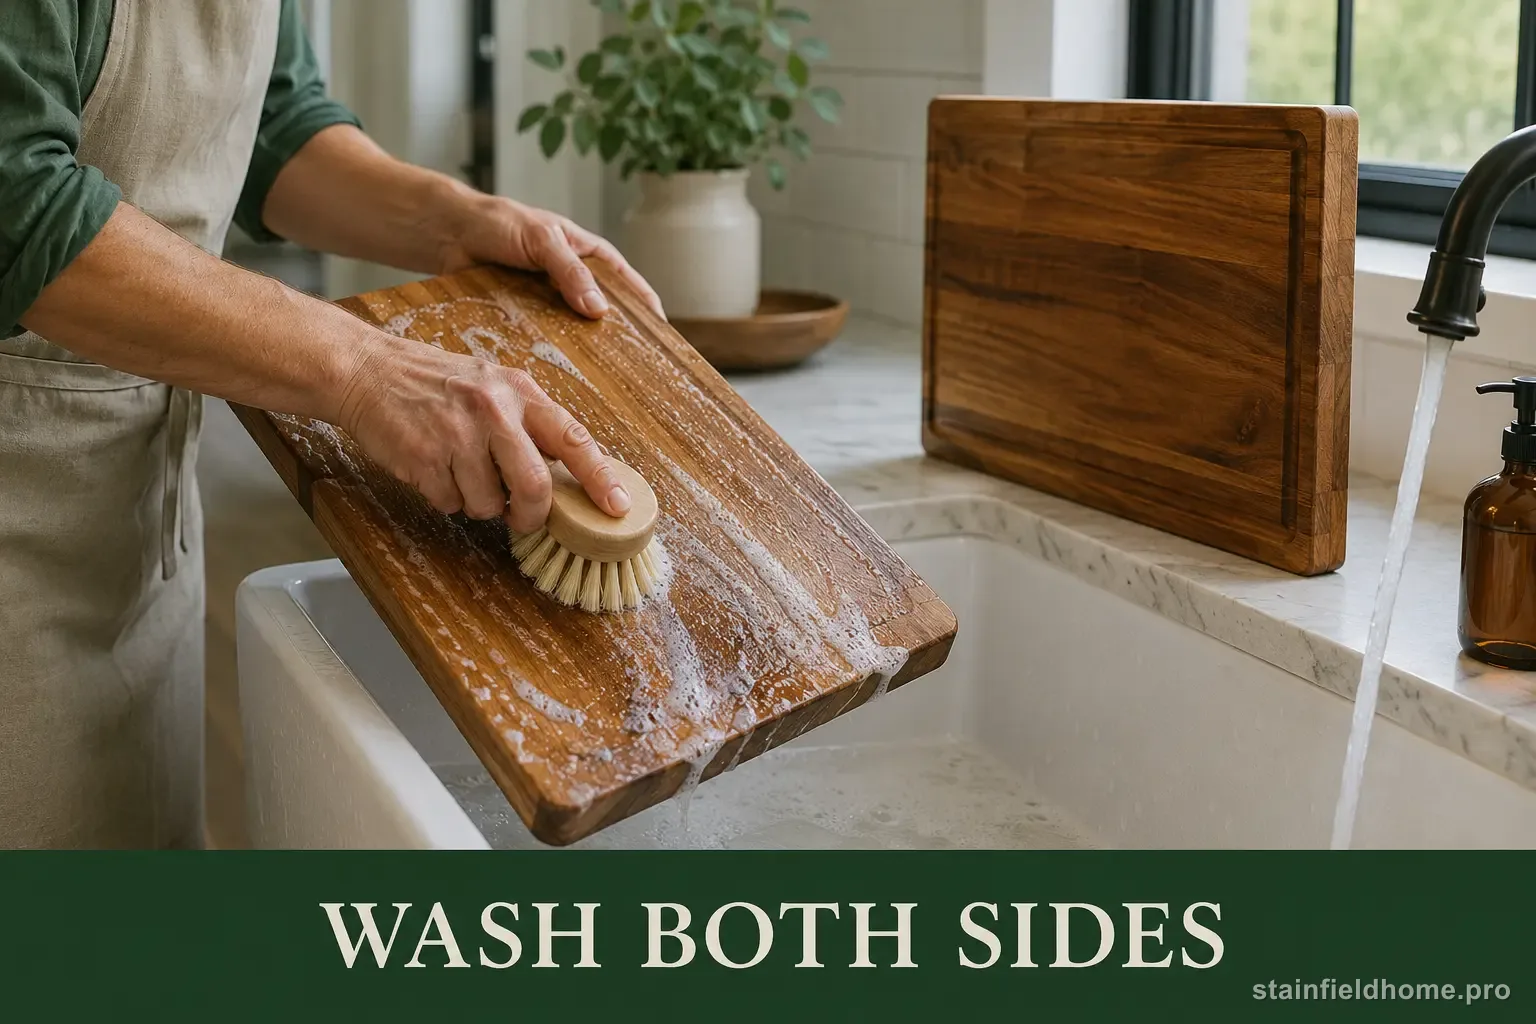
Washing both sides is not cosmetic. Moisture makes wood fibers swell; exposing only one face repeatedly encourages uneven movement and warping. Several top-ranking care guides mention both-side washing, but the important mechanism is even wetting followed by rapid, even drying. A board with rubber feet still needs its underside cleaned; keep the feet above standing water.
Use warm water that is comfortable for hand washing, not a prolonged boiling rinse. Soap and mechanical action lift ordinary food film. An antibacterial dish soap is not necessary unless a product and food-safety authority specify it. Rinse thoroughly so fragrance and surfactant do not transfer to the next food.
- 01
Move food to storage and scrape residue into compost or trash with a bench scraper held at a shallow angle. Do not gouge the grain.
- 02
Wet the board briefly with warm water. Apply a small amount of mild unscented dish soap to a clean soft brush or sponge.
- 03
Scrub the working face, juice groove, handle opening, both long edges, both short edges, and the reverse face. Give extra attention to knife grooves without grinding them wider.
- 04
Rinse all surfaces with clean running water. Keep the wash brief; do not leave the board submerged while washing other dishes.
- 05
Towel the board immediately, including grooves and feet. Use a clean towel or paper towel rather than the damp kitchen towel used all day.
- 06
Stand the board vertically on one edge in a rack or another stable position with airflow on both broad faces. Let it dry completely before storing flat or conditioning.
After raw meat or poultry: clean first, then sanitize
Prevent cross-contamination before it starts by using a dedicated board for raw meat, poultry, and seafood and a separate board for ready-to-eat foods. Move raw-food utensils directly to their wash area, clean the sink and faucet handles they touched, and wash hands. A spray-and-wipe shortcut on visible juice is not a complete clean.
Hand-wash and rinse the wooden board first. If its maker permits chlorine sanitation, USDA says both wood and plastic boards may be sanitized with a solution of one tablespoon of unscented liquid chlorine bleach per gallon of water. Measure accurately in a labeled food-safe container, flood the already-clean surface, let it stand for several minutes, rinse with clear water, then air-dry or pat dry with clean paper towels. Prepare only what you need and follow the bleach label’s ventilation and protective-equipment directions.
Never mix bleach with vinegar, lemon juice, ammonia, alcohol, or any other cleaner. Do not guess at a stronger concentration; more bleach is not a safer food surface and can damage wood, clothing, lungs, or skin. If the board maker prohibits bleach, use only its named food-contact sanitizer at the labeled dilution and dwell time, or reserve a dishwasher-safe nonwood board for raw proteins. A board that cannot be reliably cleaned should be replaced.
For established odor or a surface food stain
First complete the normal soap-and-water wash and let the board dry. Dry assessment matters because wet wood looks darker. If onion, garlic, or fish odor remains on an intact board, rub a cut lemon over coarse salt as a deodorizing scrub only if the maker allows it. Keep the contact brief, scrape away the slurry, wash again with dish soap, rinse, and dry upright. The acidity and salt can dry the surface, so this is occasional maintenance, not the after-every-use routine.
For a pale surface stain, a manufacturer-approved baking-soda-and-water paste may help, but it is mildly abrasive. Test, use a soft brush with the grain, and rinse promptly. Do not mix baking soda with vinegar for theatrical foam; the reaction consumes much of each ingredient’s useful chemistry and adds liquid to the wood. A dark mark that follows a crack, penetrates deeply, feels soft, or smells musty is not a candidate for repeated kitchen experiments.
Widespread mold, a returning black patch, a rancid smell that survives complete drying, or raw-meat odor deep in an open joint is a replacement signal. Sanding can refresh an intact board with shallow knife wear, but it removes material and requires woodworking control. Follow the board maker’s refinishing instructions or use a qualified woodworker; clean off all sanding dust and recondition before food use.
Condition a completely dry board with the right oil
Oiling does not sanitize a board. It reduces rapid water uptake and helps the wood move more evenly through wet-and-dry cycles. Wait until the washed board is completely dry—often overnight in good airflow—then use food-grade mineral oil or the manufacturer’s board oil. Apply a thin, even coat to both faces and all edges with a clean lint-free cloth, observing the product’s contact and wipe-off instructions.
Let the oil absorb for the stated time, wipe off every excess, and keep the board out of service until the surface feels dry rather than greasy. Some makers follow mineral oil with a food-safe beeswax board cream. Do not improvise with olive, vegetable, corn, or other cooking oil; many can oxidize and turn rancid, producing the very odor you are trying to prevent.
Use the board’s behavior rather than a universal calendar. If a drop of water spreads and darkens the wood quickly instead of beading briefly, or the surface looks dry and fuzzy after cleaning, conditioning may be due. Over-oiling can leave a sticky film that holds soil. Follow the maker’s frequency and keep the oil container clean and closed.
Store it dry and prevent cross-contamination
Store the fully dry board on edge or in a rack with airflow, away from the sink splash zone, dishwasher steam, and a damp countertop. Do not nest a barely dry board tightly against another board. Clean any rack or nonslip mat so the board is not placed back onto old food residue.
Use separate boards—or clearly assigned faces—for raw proteins and ready-to-eat foods, but remember that a juice groove does not identify a safe category by itself. Wash knives, hands, faucet handles, and counter surfaces in the same sequence so contamination is not transferred back to the clean board. Replace any board that rocks dangerously or sheds splinters near food.
A board used only for bread may need crumbs brushed away and an occasional damp wipe, but anything moist, oily, allergenic, or potentially hazardous calls for a full wash. In a household with food allergies, a dedicated board and tools can be simpler and safer than trying to verify that a porous, heavily scored board is allergen-free.
What not to use on a wooden cutting board
A wooden board can last for years when washing, drying, and conditioning work as one system. No single natural ingredient replaces inspection, food separation, cleaning, and—when the risk calls for it—measured sanitation.
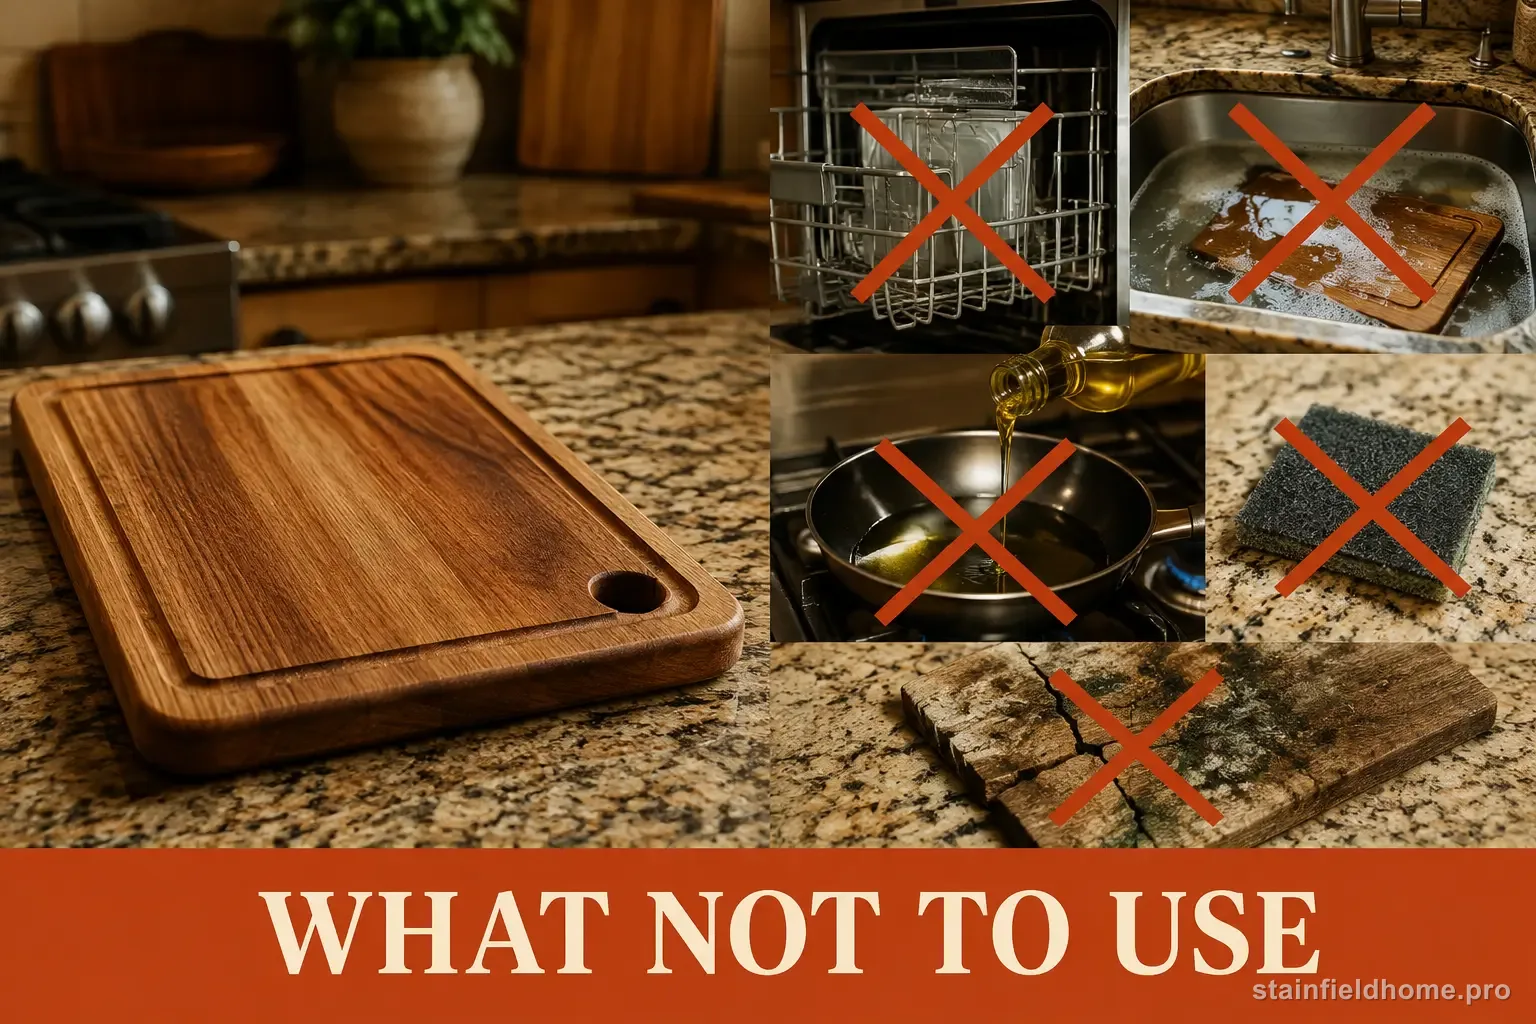
- Do not put a wooden board in the dishwasher or soak it in a sink; prolonged heat and water can warp wood and weaken glue joints.
- Do not use cooking oil as conditioner; it can oxidize and smell rancid.
- Do not mix bleach with vinegar, lemon, ammonia, alcohol, or another cleaner.
- Do not use unmeasured bleach, toilet cleaner, oven cleaner, furniture polish, or a disinfectant not labeled for food-contact surfaces.
- Do not treat lemon and salt, vinegar, essential oil, or a quick spray as a guaranteed sanitizer.
- Do not scour with steel wool or a damaged abrasive pad that can leave fragments and rough grooves.
- Do not keep using a board with deep cracks, failed glue joints, soft moldy areas, or grooves that no longer clean.
Common questions
FAQ
Can I cut raw chicken on a wooden cutting board?
USDA allows either wood or nonporous boards, but separation and complete cleaning matter. Use a dedicated board, wash it promptly, then use the maker-approved food-contact sanitizing method. Replace a deeply cracked or hard-to-clean board.
Does lemon disinfect a wooden cutting board?
Do not rely on lemon as a sanitizer. It can help deodorize and loosen some surface discoloration, but food-safety sanitation requires a validated, correctly diluted food-contact method after cleaning.
How often should I oil a wooden cutting board?
Follow the maker and the board’s condition. Oil a fully clean, fully dry board when water stops beading briefly or the wood looks dry, using food-grade mineral oil or the specified conditioner. Do not use cooking oil.
Sources reviewed
Keep reading
Related guides
Spills and body oils on Bouclé sofas and chairs
How to Clean a Bouclé Sofa or Chair Without Flattening the Texture
Spot-clean a bouclé sofa or chair by its cleaning code, protect the looped pile from matting, and know which spills need a dry solvent instead of water.
Burnt-on grease and food residue on Air fryer basket
How to Clean Burnt-On Grease From an Air Fryer Basket
Break down baked-on grease in an air fryer basket with a soak and baking-soda paste, without scratching the nonstick coating or getting water near the heating element.

Permanent hair dye on Bathroom countertop
How to Remove Box Hair Dye From a Bathroom Countertop
Get permanent hair color off quartz, laminate, cultured marble, or sealed stone before it sets, using the mildest method the surface allows and never an abrasive pad.
Yellowed tape adhesive on Painted wall
How to Remove Yellowed Tape Residue From a Painted Wall
Take aged, hardened tape adhesive off painted drywall without pulling the paint, using warm heat, an oil to soften the gum, and the gentlest possible scrape.