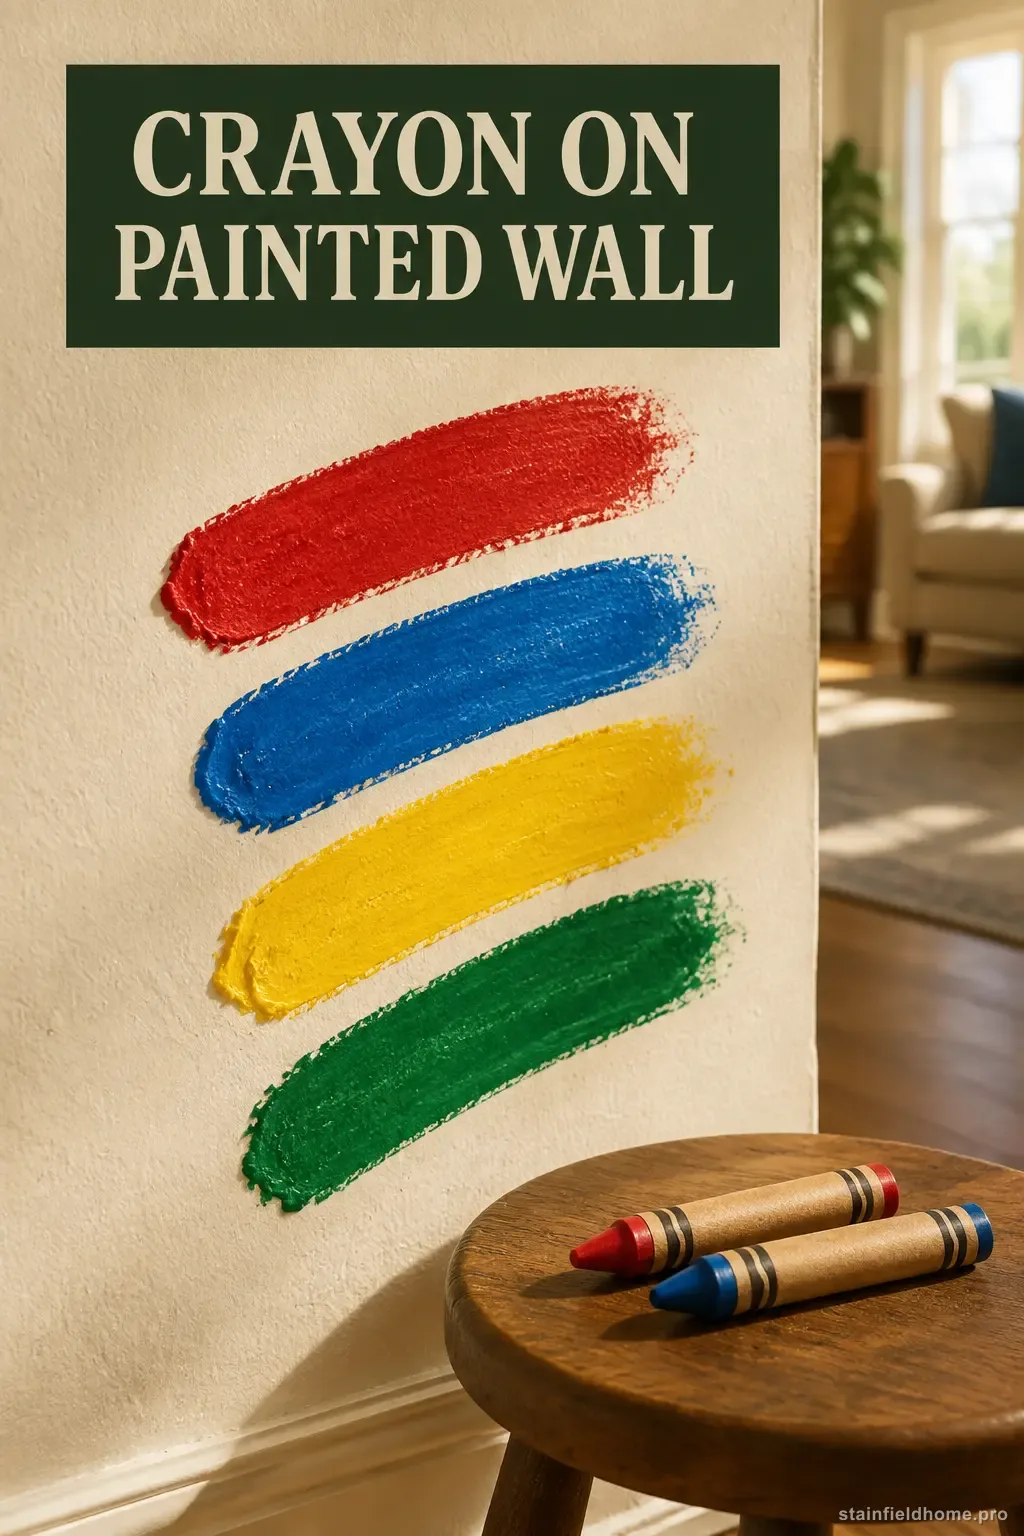
The quick answer
Dust the wall, lift any thick crayon ridge with a plastic card, and test at a hidden spot. Wipe the mark gently with a soft white cloth wrung nearly dry in water with a few drops of mild dish detergent. Work in small circles or short strokes without scrubbing, then rinse with a separate barely damp cloth and dry. Flat and matte paint mark easily, so stop if color or sheen changes. Avoid melamine foam, toothpaste, baking soda, heat, solvents, and oily sprays unless the paint manufacturer explicitly approves them.
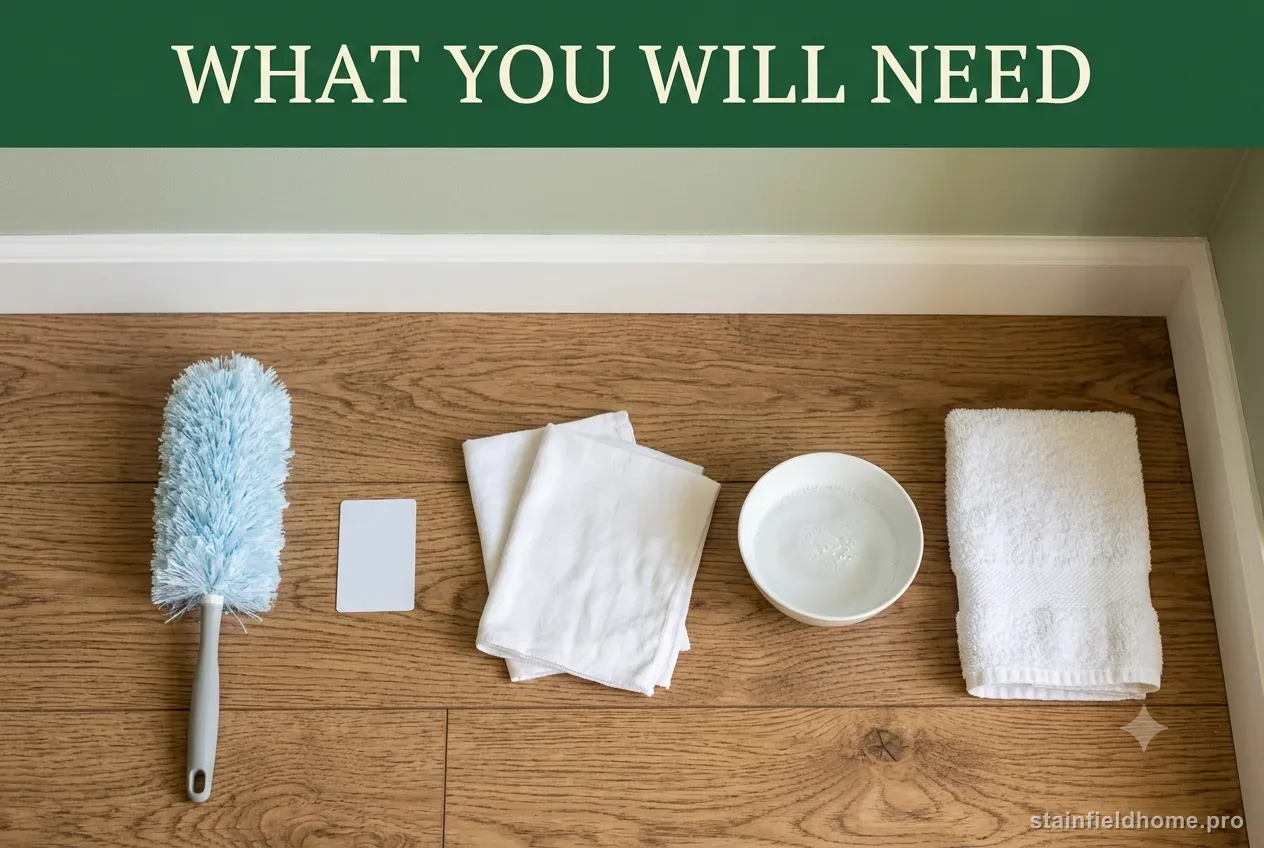
What you’ll need
- A clean microfiber duster or soft vacuum brush
- A dull plastic card
- Two or three soft white cloths or nonabrasive sponges
- Mild clear dish detergent
- Two bowls of lukewarm water for washing and rinsing
- A dry white towel
- Matching touch-up paint, only if cleaning reveals finish damage
Identify the paint sheen and condition
Flat and matte paint hide wall imperfections but can burnish—develop a shiny patch—when rubbed. Eggshell and satin are often more washable, while semi-gloss and gloss generally tolerate gentle wiping better. Those are tendencies, not guarantees. Paint quality, age, color, cure time, previous cleaning, and the wall substrate all affect the result. Check leftover cans, the painter’s record, or the manufacturer’s product page if possible.
Do not wet-clean uncured paint. Many coatings feel dry quickly but need much longer to cure fully; use the paint maker’s stated cure time. Also inspect for chalking, peeling, bubbling, water damage, or a soft drywall surface. If a dry white cloth picks up wall color in an inconspicuous test, stop. Cleaning cannot restore a coating that is already failing.
Place a towel at the baseboard and move furniture away without scraping it along the wall. Turn off nearby electrical power before working around outlets or switches, and never let liquid run into them. Crayon directly on wallpaper, limewash, distemper, murals, textured plaster, or an unknown decorative finish needs its own method, not this painted-drywall routine.
For a fresh crayon mark
University of Georgia Extension guidance for crayon on painted surfaces begins by lifting excess with a dull edge and using detergent and water, followed by rinsing and drying. Benjamin Moore likewise recommends removing dust, cleaning gently with soap and water, rinsing, and avoiding hard scrubbing.
Keep the cloth damp, not wet. Runs can carry crayon pigment into a larger streak and may leave tide marks, especially on flat paint. Wiping a broad clean circle around the mark can also change sheen, so work close to the crayon line and evaluate only after the coating dries.
- 01
Dust the area so loose grit cannot scratch the paint. Work from the top of the wall down only after dust is removed.
- 02
If the crayon has a raised wax ridge, hold a plastic card almost flat and lift the excess without digging into the coating.
- 03
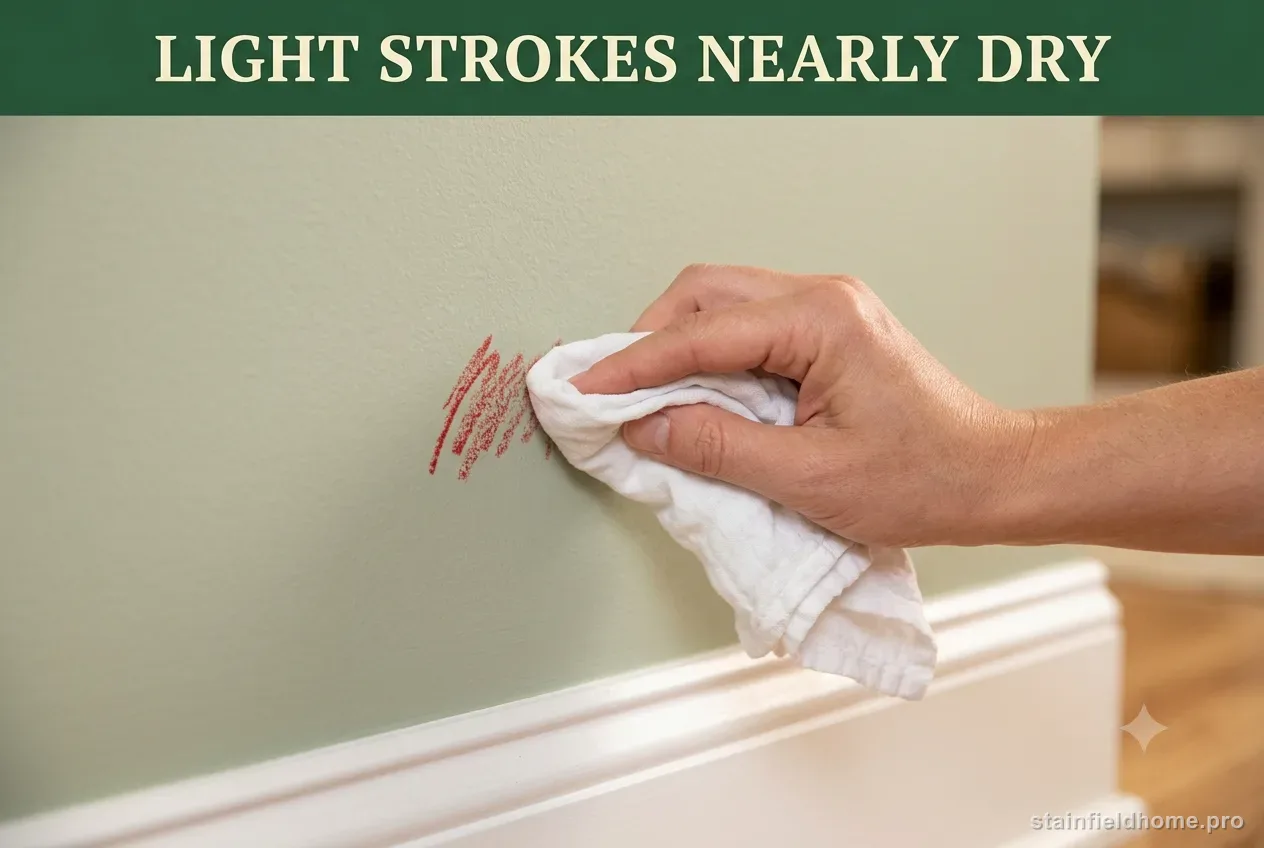
Mix a few drops of mild clear dish detergent into lukewarm water. Dip a white cloth and wring it until it is nearly dry.
- 04
Test low behind furniture or in another hidden area. Let the test dry and check for paint color, dullness, or extra shine.
- 05
Wipe the crayon with light, short strokes or gentle circles. Turn the cloth as color transfers and keep the working area small.
- 06
Follow immediately with a second white cloth barely dampened with plain water, then pat dry with a towel.
- 07
Allow the wall to dry before repeating. Stop after the second light cycle if the mark is not becoming smaller.
For an older or set crayon drawing
Old crayon may have collected dust or been polished into the paint by hands and furniture. Begin with dry dusting and a plastic-card lift, then use the same hidden-tested mild-detergent method. Hold the nearly dry cloth against a small part of the line for a few seconds before wiping. Do not lengthen the contact time if the paint softens or becomes tacky.
On a durable paint whose manufacturer permits it, a clean art-gum eraser may reduce a small remaining trace. Test first, use almost no pressure, and lift crumbs frequently rather than rubbing them into the wall. Skip this on flat, dark, old, or chalking paint unless the maker specifically approves it; even a gentle eraser can polish or remove pigment.
When the waxy feel is gone but color remains, the pigment may be in or under the coating. Repeated cleaning can create a larger sheen change. Let the wall dry overnight and compare from several angles. A neat, localized touch-up—or repainting from corner to corner—often gives a better result than a third abrasive treatment. Follow the original paint maker’s touch-up directions and use the same product, color, sheen, applicator, and batch when available.
Adapt pressure to flat, textured, and dark paint
On flat or matte paint, use the lightest possible touch and make fewer passes. Patting and lifting is safer than fast circles. Dark colors show burnishing, pale detergent residue, and touch-up differences more readily than many light colors. Stop while a faint crayon trace remains if the surrounding finish begins to look polished; a controlled touch-up can hide pigment, but it cannot easily reverse a shiny scrubbed patch.
For orange-peel or knockdown texture, fold the cloth over a fingertip and follow the high points. Do not force a brush into the valleys, where it can knock down texture or leave lint. If crayon fills deep grooves, a professional painter can assess whether gentle cleaning, spot priming, or a small texture repair is the cleaner route.
At corners, baseboards, trim, and switch plates, identify each material separately. Wall paint, enamel trim, caulk, plastic, and wood finish may all meet within an inch. Shield adjacent material with a dry cloth instead of letting cleaner cross the joint. Remove switch plates only with power safely off and only if you are comfortable doing so; otherwise clean around them without introducing liquid.
Know when cleaning should become touch-up painting
Touch-up is appropriate when the wax has been removed but the coating has a stable color shadow, scuff, or sheen change. First clean away soap and let the wall dry fully. Painting over wax or oily cleaner can cause poor adhesion, flashing, or a visible ring. If an oily home remedy was already applied, tell the paint retailer or painter so the area can be prepared and, if needed, spot-primed correctly.
Stir saved paint thoroughly and test a small amount. Paint changes as it ages on the wall and in the can, so the original color name is not always an invisible match. Use the same roller nap or brush type and feather lightly within the repair. Benjamin Moore notes that differences in application method, sheen, and environmental conditions affect touch-ups; a full wall from corner to corner may be necessary for a seamless result.
If the crayon came through a damaged coating into drywall paper, or cleaning caused paper fibers to rise, stop adding water. The surface may need drying, a compatible sealer or primer, and repainting. A painter can repair the substrate without turning a small drawing into a large fuzzy patch.
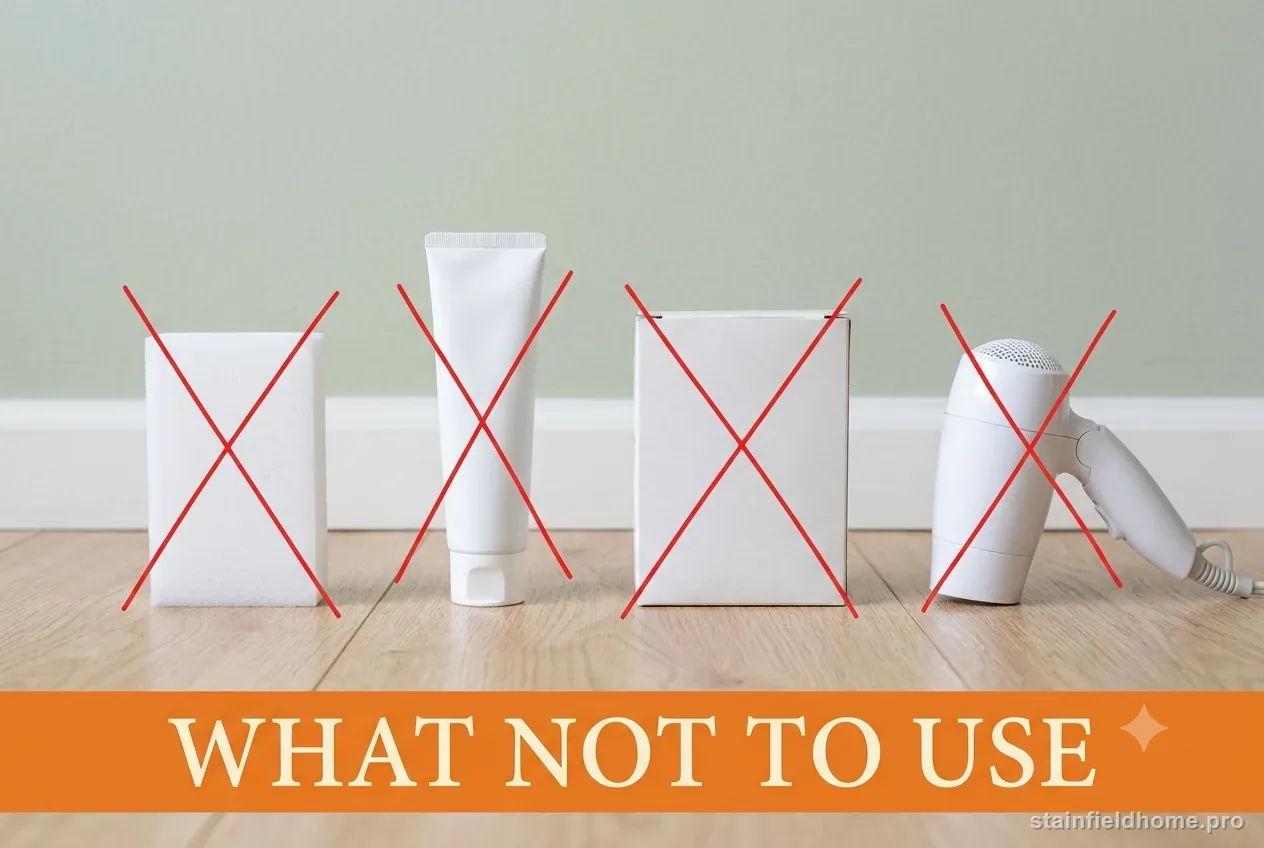
What not to use on a painted wall
Colored cloths and printed paper towels can transfer dye to light paint, so use plain white material. Work with fresh rinse water; dirty water can leave a gray halo that is wider than the original crayon. Never mix cleaners in an attempt to make the method stronger.
- Do not use a melamine foam eraser as a default; it is abrasive and can change paint sheen.
- Do not scrub with baking soda, toothpaste, scouring powder, a stiff brush, or the rough side of a sponge.
- Do not heat crayon with a hair dryer or iron; softened wax can spread and heat can affect the coating.
- Do not use rubbing alcohol, acetone, citrus solvent, adhesive remover, or aerosol lubricant without paint-maker approval.
- Do not saturate drywall, allow drips into outlets, or keep the wall wet with a compress.
- Do not paint over wax, soap film, or an oily home remedy before proper surface preparation.
Prevent another wall drawing
Create a defined art zone with a washable mat, a large paper pad, or a properly installed drawing surface. Store crayons in a tray that stays on the table and keep chairs far enough from the wall that a hand cannot reach it easily. Washable crayons may be easier to remove, but still test their marks because paint finish controls cleanability.
Keep a labeled jar of touch-up paint, the product data sheet, and the original roller type with home records. Clean ordinary fingerprints with the paint maker’s approved method before soil builds up; that way, a future crayon mark can be treated locally without revealing a large contrast between a clean patch and the rest of the wall.
Common questions
FAQ
Can I use a magic eraser on crayon marks?
It can abrade paint and leave a shiny or pale patch, especially on flat or dark walls. Start with a hidden-tested, nearly dry cloth and mild soap. Use an abrasive only if the paint manufacturer approves it.
Will dish soap damage wall paint?
A few drops in water may be suitable for a cured, washable coating, but test first and wring the cloth nearly dry. Stop if paint color transfers or the sheen changes, and rinse away residue gently.
Should I keep cleaning or touch up the paint?
When the waxy feel is gone but pigment or sheen change remains after drying, stop rubbing. Clean off residue, let the wall dry, and use a compatible touch-up method or repaint the wall for an even finish.
Sources reviewed
Keep reading
Related guides
Permanent marker on Painted wall
How to Remove Permanent Marker From a Painted Wall
Lift fresh or set permanent marker from cured wall paint with controlled dabbing, a finish test, and a planned switch to stain-blocking primer when cleaning would damage the coating.
Yellowed tape adhesive on Painted wall
How to Remove Yellowed Tape Residue From a Painted Wall
Take aged, hardened tape adhesive off painted drywall without pulling the paint, using warm heat, an oil to soften the gum, and the gentlest possible scrape.
Slime on Carpet
How to Remove Slime From Carpet Without Damaging the Fibers
Lift dried or fresh slime out of carpet fibers with an ice-and-scrape method plus a vinegar or rubbing alcohol rinse, without soaking the backing or bleaching the color.
Essential oil and reed-diffuser oil on Finished wood furniture
How to Remove Essential Oil and Diffuser Stains From Wood Furniture
Blot a diffuser-oil spill on finished wood, use a cautious absorbent step, and recognize when the finish needs a furniture repair professional.