The quick answer
Disassemble every removable straw, bite valve, gasket, and cap part according to the bottle maker's instructions. Scrub accessible surfaces with hot soapy water and the right-size bottle or straw brush, then use the manufacturer's approved deeper-cleaning soak if needed, rinse thoroughly, and air-dry all parts separately. Replace silicone pieces that remain mold-stained, damaged, or inaccessible to cleaning.
What you’ll need
- bottle care guide
- dish soap
- bottle brush
- straw brush
- small soft brush
- clean jar for approved soak
- bleach only if manufacturer-approved
- drying rack
Mold in a bottle lives where you cannot see
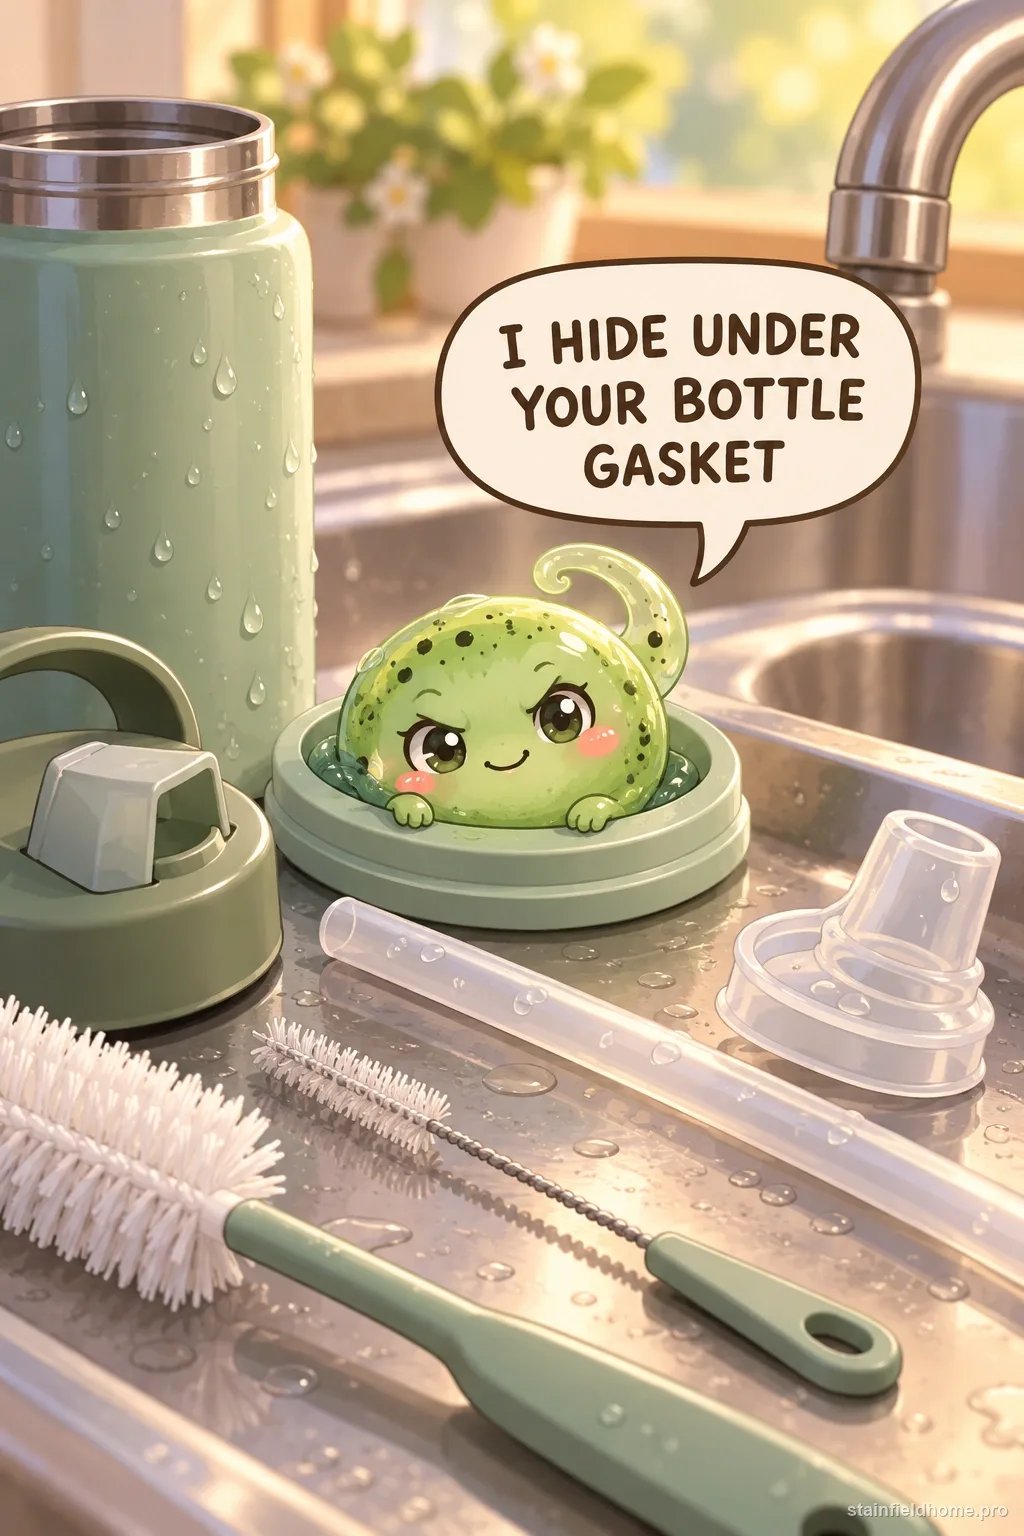
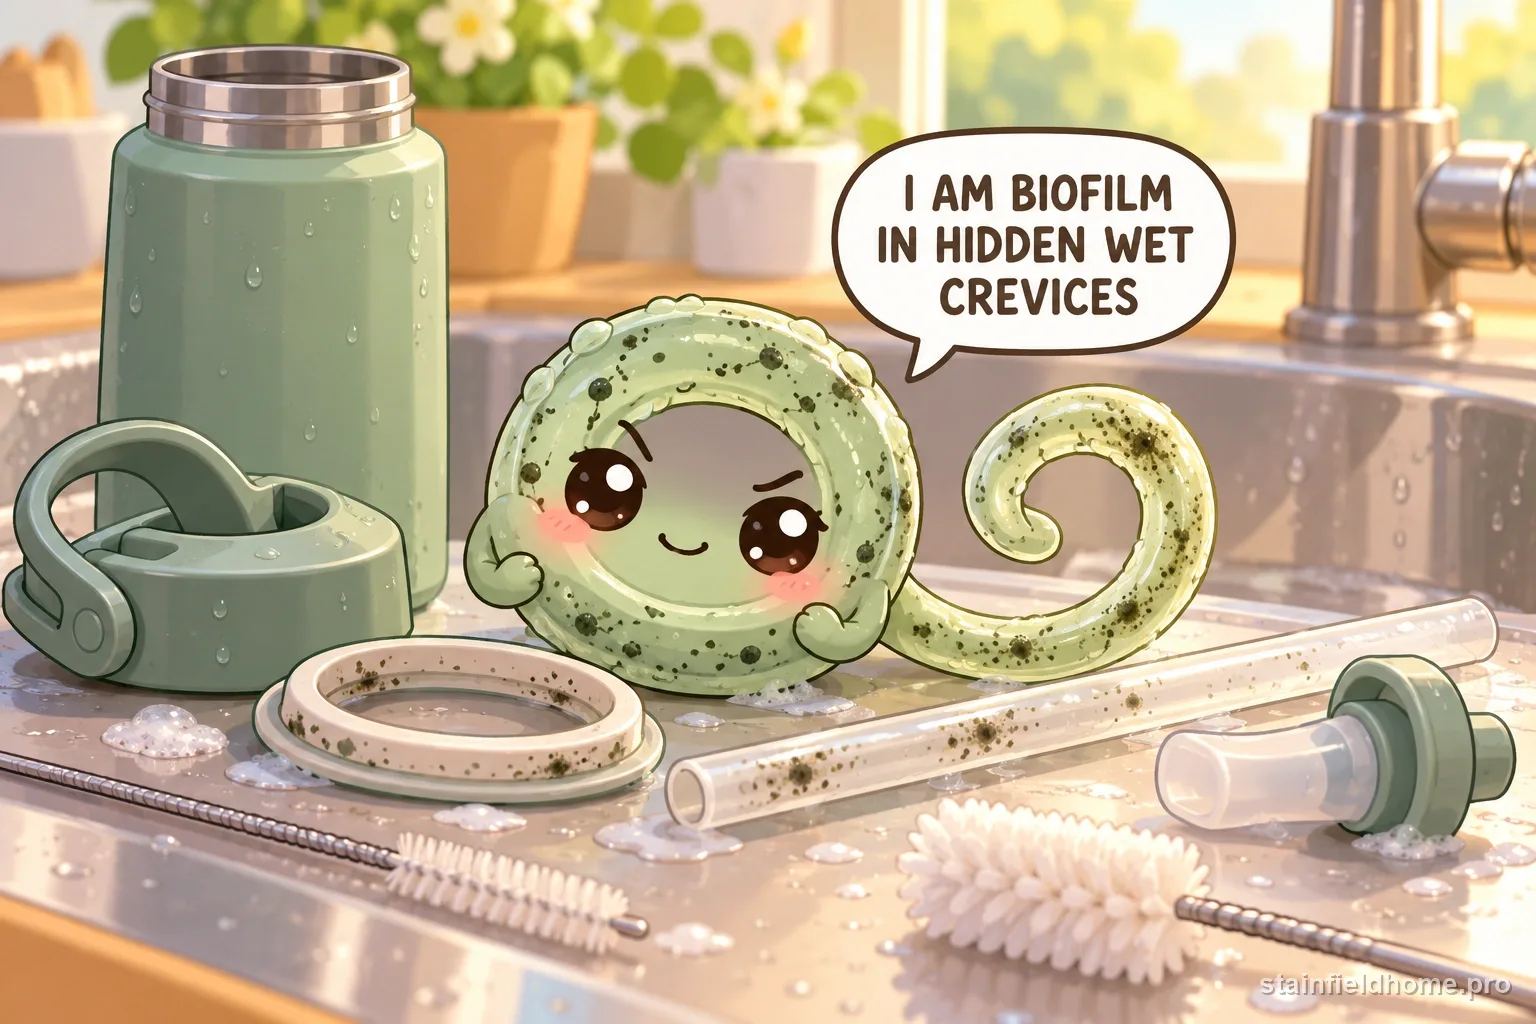
The black or pink specks in a reusable bottle are biofilm — a slimy community of mold and bacteria that anchors itself in the spots that stay wet and never get scrubbed: inside the straw, under the silicone gasket in the lid, in the bite-valve slit, and in the threads. Sugary drinks, milk, coffee, and electrolyte mixes feed it fast.
Rinsing does nothing to biofilm — it has to be physically scrubbed off every surface, or the part has to be replaced. That is why full disassembly is not optional here.
Take every part off
- 01
Following the bottle maker's guide, remove the lid, then pull out the silicone gasket or O-ring from its groove.
- 02
Separate the straw, the straw stopper or weight, the spout, and any bite valve.
- 03
Pop out any flip-lid seal.
- 04
Lay the parts out so you can see every surface — the gasket groove in the lid and the inside of the straw are the priority.
Scrub, do not just soak
- 01
Wash each part in hot water with dish soap.
- 02
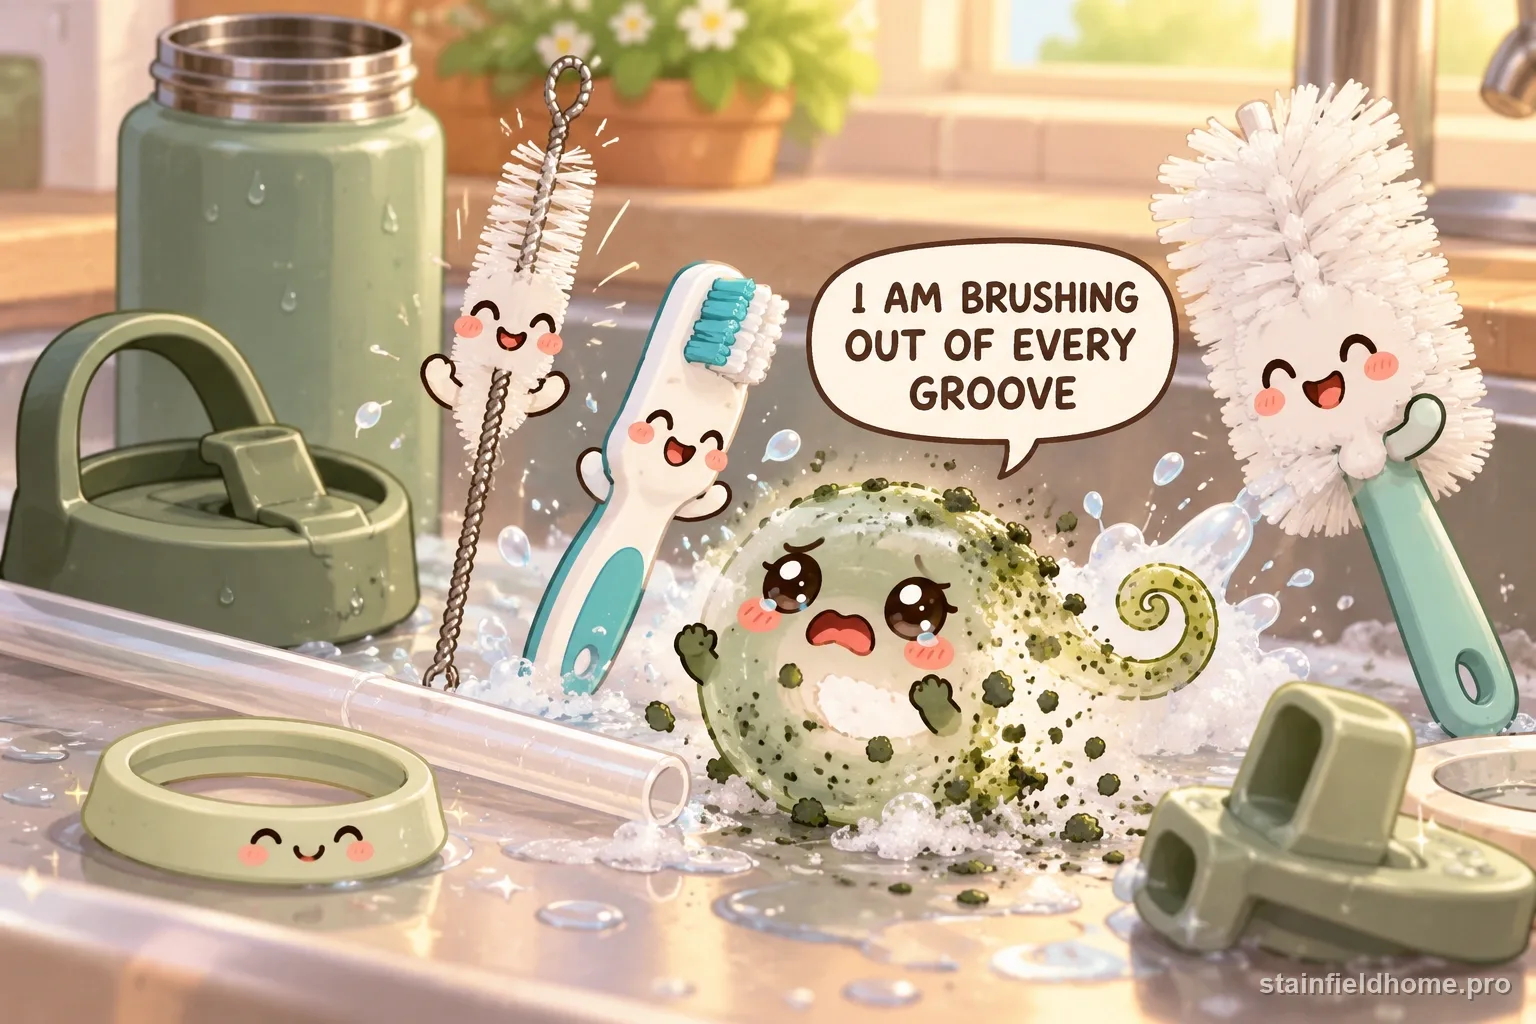
Run a straw brush all the way through the straw several times until it comes out clean.
- 03
Use a small soft brush or an old toothbrush around the gasket, in the lid threads, and in the bite-valve slit.
- 04
Scrub the bottle interior, especially the bottom edge and neck, with a bottle brush.
- 05
Rinse everything under running water.
An approved deeper clean for set-in biofilm
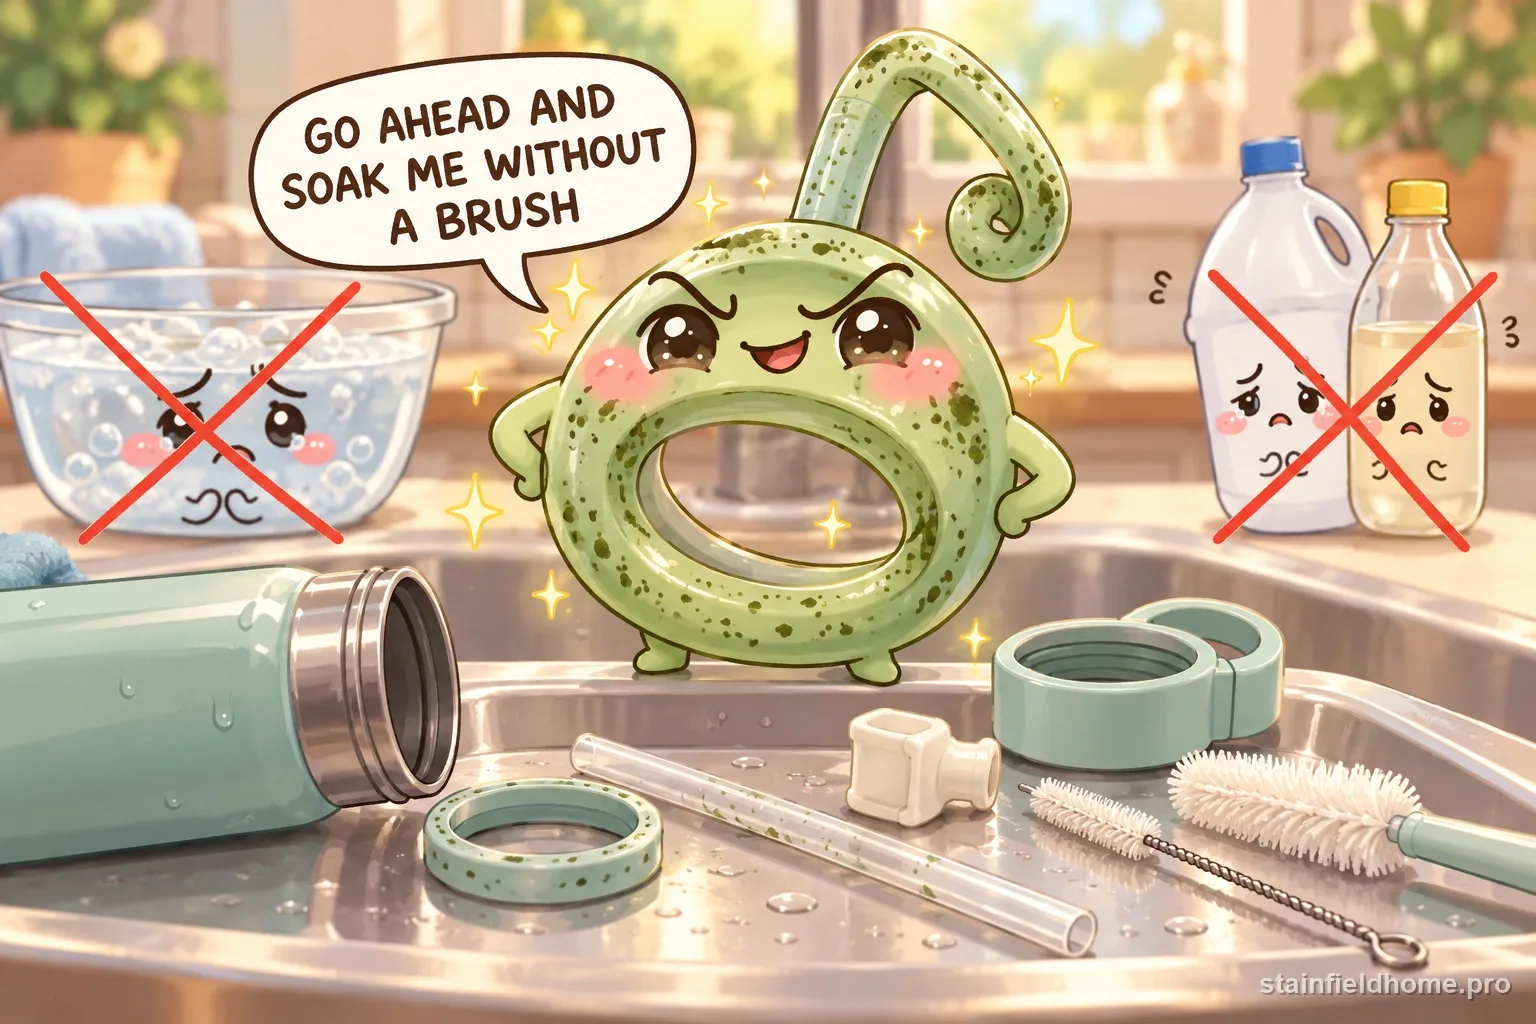
If scrubbing does not fully clear it, use the soak your bottle maker approves. CamelBak, for example, lists a soak of hot water with either dish soap, a couple tablespoons of baking soda, or a bottle-cleaning tablet; some brands approve a diluted bleach soak (about a teaspoon of bleach per liter) followed by very thorough rinsing.
Soak the parts fully submerged for the stated time, then scrub once more, rinse hard, and rinse again. Never mix bleach with vinegar or with baking soda.
Dry it right or it comes straight back
Biofilm regrows in hours if parts go back together damp. Air-dry every piece separately on a rack — the bottle upside down, the straw standing up, the gasket out of its groove — until bone dry.
Do not store the bottle assembled and sealed. Keep the lid off or loosely resting on top between uses so the inside can dry.
The bottle interior and the lid underside
While the parts are off, do not forget the two surfaces the straw and gasket touch. The inside of the lid — the recessed underside where the gasket seats and where drips collect when the bottle is upside down in a bag — grows the same black speckling and needs the small brush and hot soapy water.
The bottle's inner neck and the first inch below the threads is the other neglected zone; a bottle brush that only reaches the main body misses it. Run the brush right up under the threads, and hold the bottle to the light afterward to check the shoulder area is actually clean, not just the bottom.
When to replace instead of clean
- A straw or bite valve that still shows specks after a thorough scrub and soak — the biofilm is in the surface; replace it.
- A silicone gasket that is stained, swollen, torn, or smells even when clean.
- Any part the brushes cannot physically reach all the way through.
- Most brands sell replacement lids, straws, and gasket kits cheaply — far cheaper than drinking through mold.
Know which marks are mold and which are mineral or drink residue
Black, green, or pink specks with a slick or fuzzy texture may be microbial growth, but dark flecks can also be tea, coffee, or surface debris. White crust around the mouth is more often dried mineral or drink residue. The safe first response is still to disassemble, wash, and physically brush every accessible surface; appearance alone cannot tell you whether a part is hygienic. Do not taste-test a bottle to decide whether it is clean.
If you see fuzzy growth in the bottle body, a cracked cap, or residue inside a valve that cannot be opened according to the instructions, replace the affected component or contact the maker. A complex bite valve is not a good place to improvise with a knife, pin, or metal pick: puncturing a seal can create a leak and a new crevice that is harder to clean.
Use bleach only when the bottle maker gives a precise method
Do not transfer a bleach recipe from another brand or from a bottle body to a lid, printed finish, straw, or silicone seal. Concentrations and soak times vary, and some lids contain materials that discolor or weaken with oxidizers. Follow the exact manual for that model; if it does not authorize bleach, choose dish soap and brushing or a labeled tablet the maker approves.
Never combine bleach with vinegar, ammonia, or another cleaner, and do not leave an approved sanitizing solution in contact longer than directed. After any permitted soak, rinse until there is no cleaner smell or slippery feel, then dry every component separately. Keep cleaning products away from children and prepare solutions in a ventilated sink area.
Prevent the damp cycle that lets growth return
Wash the lid and straw promptly after flavored, sweet, dairy, or protein drinks; plain water left in a bottle is less nourishing than a sports drink or smoothie, but the hidden seal still needs regular cleaning. At the end of the day, empty the bottle, separate the straw and removable seal as the manual allows, rinse away soap, and leave each part open to circulating air.
A drying rack with pegs for straws helps prevent water from pooling inside a tube. Store the gasket flat or in a clean ventilated place so it does not get lost or stretched, and re-seat it only when fully dry. Before drinking, check that the seal is correctly installed and the lid does not leak; cleaning is complete only when the parts are clean, dry, and safely reassembled.
Common questions
FAQ
Can I put a moldy bottle straw in the dishwasher and call it done?
The dishwasher helps with accessible surfaces but often does not clear biofilm inside a narrow straw or in the gasket groove. Scrub the straw with a straw brush and the gasket with a small brush first, then use the dishwasher if the parts are dishwasher-safe, and air-dry the gasket separately afterward.
Is a diluted bleach soak safe for my water bottle?
Only if your bottle's manufacturer approves it — many do, at roughly a teaspoon of bleach per liter of water, followed by very thorough rinsing. Never combine bleach with vinegar or baking soda. If you would rather avoid bleach, a hot soak with baking soda or a bottle-cleaning tablet plus scrubbing usually works.
The mold keeps coming back within a few days. What am I doing wrong?
Almost always one of two things: a part is being reassembled while still damp, or the straw or gasket has biofilm embedded in the surface that scrubbing cannot remove. Air-dry every part separately and fully, store the bottle unsealed, and replace any piece that still shows specks after a deep clean.
Should I pull every seal out of every bottle lid?
No. Remove only parts the specific bottle instructions identify as removable. Some seals are designed to pull out with a tab; others are fixed or delicate and may be damaged by prying. Use a small soft brush around a fixed seal and contact the manufacturer if growth is trapped where you cannot safely reach it.
Can I reuse a gasket that is still stained after washing?
If staining remains but the silicone is intact, odor-free, and the maker allows it, a careful repeat of the approved cleaning method may help. Replace a gasket that is swollen, cracked, sticky, persistently musty, or still visibly contaminated after brushing; damage can compromise both hygiene and the seal. Compare it with the maker's replacement part and install the right model so the lid still seals correctly. If the gasket is molded into the cap or difficult to refit, do not stretch it with a tool; ask the brand for a replacement lid or fitting instructions.
Sources reviewed
Keep reading
Related guides
Spills and body oils on Bouclé sofas and chairs
How to Clean a Bouclé Sofa or Chair Without Flattening the Texture
Spot-clean a bouclé sofa or chair by its cleaning code, protect the looped pile from matting, and know which spills need a dry solvent instead of water.
Burnt-on grease and food residue on Air fryer basket
How to Clean Burnt-On Grease From an Air Fryer Basket
Break down baked-on grease in an air fryer basket with a soak and baking-soda paste, without scratching the nonstick coating or getting water near the heating element.
Permanent hair dye on Bathroom countertop
How to Remove Box Hair Dye From a Bathroom Countertop
Get permanent hair color off quartz, laminate, cultured marble, or sealed stone before it sets, using the mildest method the surface allows and never an abrasive pad.
Yellowed tape adhesive on Painted wall
How to Remove Yellowed Tape Residue From a Painted Wall
Take aged, hardened tape adhesive off painted drywall without pulling the paint, using warm heat, an oil to soften the gum, and the gentlest possible scrape.