The quick answer
Sweep or vacuum loose salt while the floor is dry, using a soft attachment to avoid scratches. Check the flooring maker's care instructions and test its approved cleaner in a hidden spot. Wipe a small area with a barely damp microfiber cloth and dry it immediately. Avoid vinegar, steam, soaking mops, and abrasives unless specifically approved. Stop if the finish lifts, boards swell, or a dark mark remains after drying.
What you’ll need
- Soft dust mop or vacuum with a hard-floor attachment
- Flooring-maker-approved wood floor cleaner
- Microfiber cloths
- Dry white towel
- Absorbent entry mat and boot tray
Tell loose salt from a floor stain
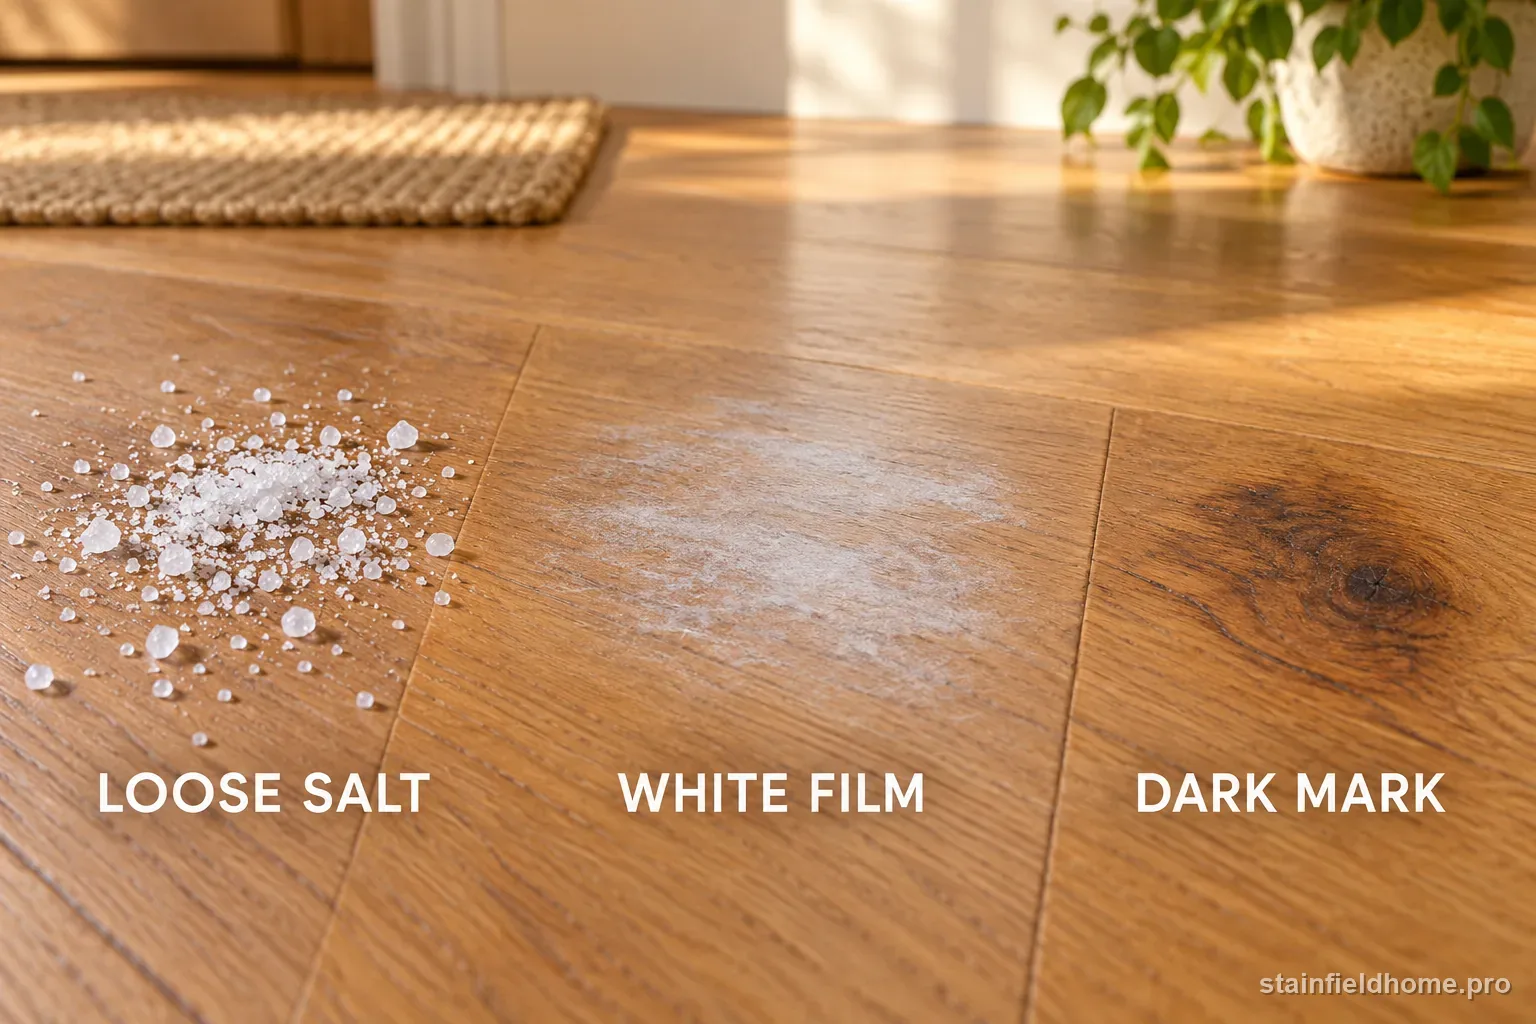
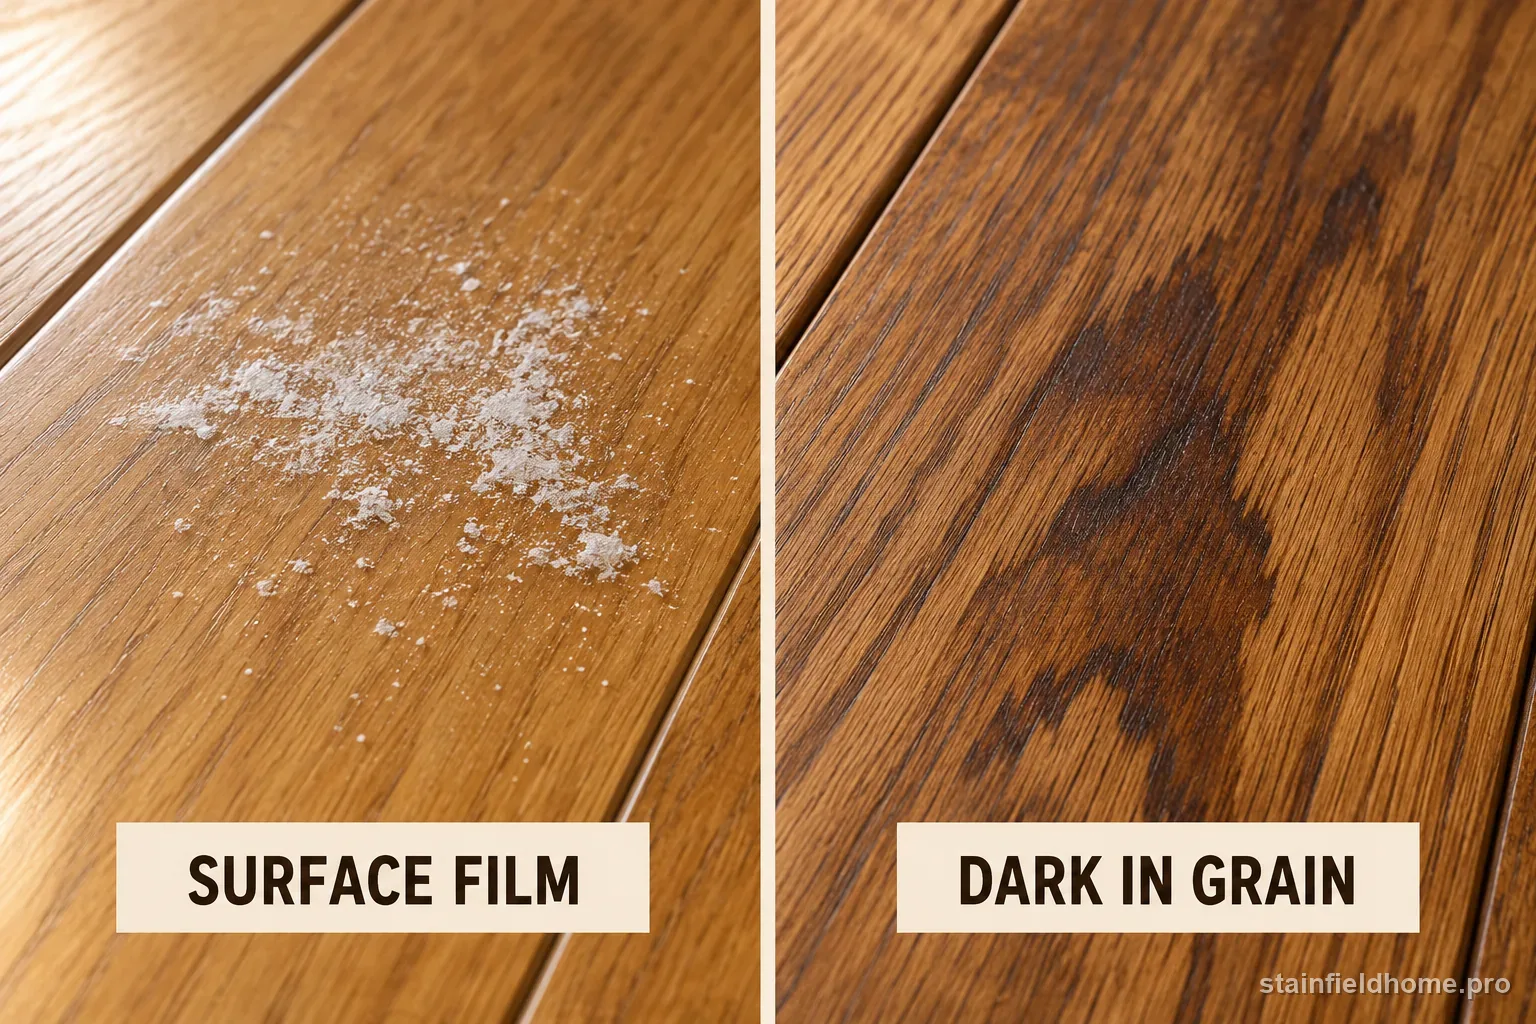
Winter salt on a hardwood floor is often a removable surface deposit, not a stain inside the wood. Rock-salt grains and tracked grit may scratch a finish when shoes grind them across the planks. A thin white or cloudy film can appear as wet slush dries and leaves mineral residue. A dark mark, raised edge, soft board, or peeling finish points to moisture or finish damage instead. The right first move depends on which condition you see, so inspect before reaching for a liquid cleaner.
Look closely in angled daylight. Loose crystals should move when you use a soft brush attachment or dry cloth; do not test this by dragging a shoe over them. A pale haze sitting on top may change when you wipe a tiny area using a finish-approved cleaner. A dark mark that follows the grain, a blackened seam, or a cloudy patch that stays after drying may be under the finish. Salt color alone cannot tell you whether a mark is superficial. Also check whether the floor is solid wood, engineered wood, site-finished, or factory-finished, and find the care instructions before wet cleaning. Look at the floor next to the entry too: the same wet footprint can leave a simple deposit on one plank and expose a worn finish at a doorway where shoes repeatedly scrape. If a mat is covering the mark, lift it and let both sides dry before judging the wood. Salt trapped beneath a damp mat can continue to hold moisture against the finish, and the mat itself may hide grit that will scratch the surface when dragged.
If the floor is waxed, oiled, unfinished, antique, or recently refinished, do not assume a general hardwood cleaner is suitable. Those surfaces may need a specific maintenance product. If you cannot identify the finish, use only a dry pickup for loose grit and ask the installer or flooring maker what cleaner is safe.
Remove dry crystals before wiping
A dry pass matters because dissolved salt can leave a broader film, while trapped grit can act like sandpaper under a damp pad. Do not use a stiff scrub brush, melamine sponge, scouring powder, or a scraping blade. Those tools may remove the finish along with the residue. If crystals are lodged in a gap, avoid forcing a pick or knife into the joint; a flooring professional can assess material trapped below the surface.
- 01
Keep foot traffic off the affected area so crystals are not ground into the finish. If wet slush is still present, blot it with a dry absorbent cloth rather than spreading it with a mop.
- 02
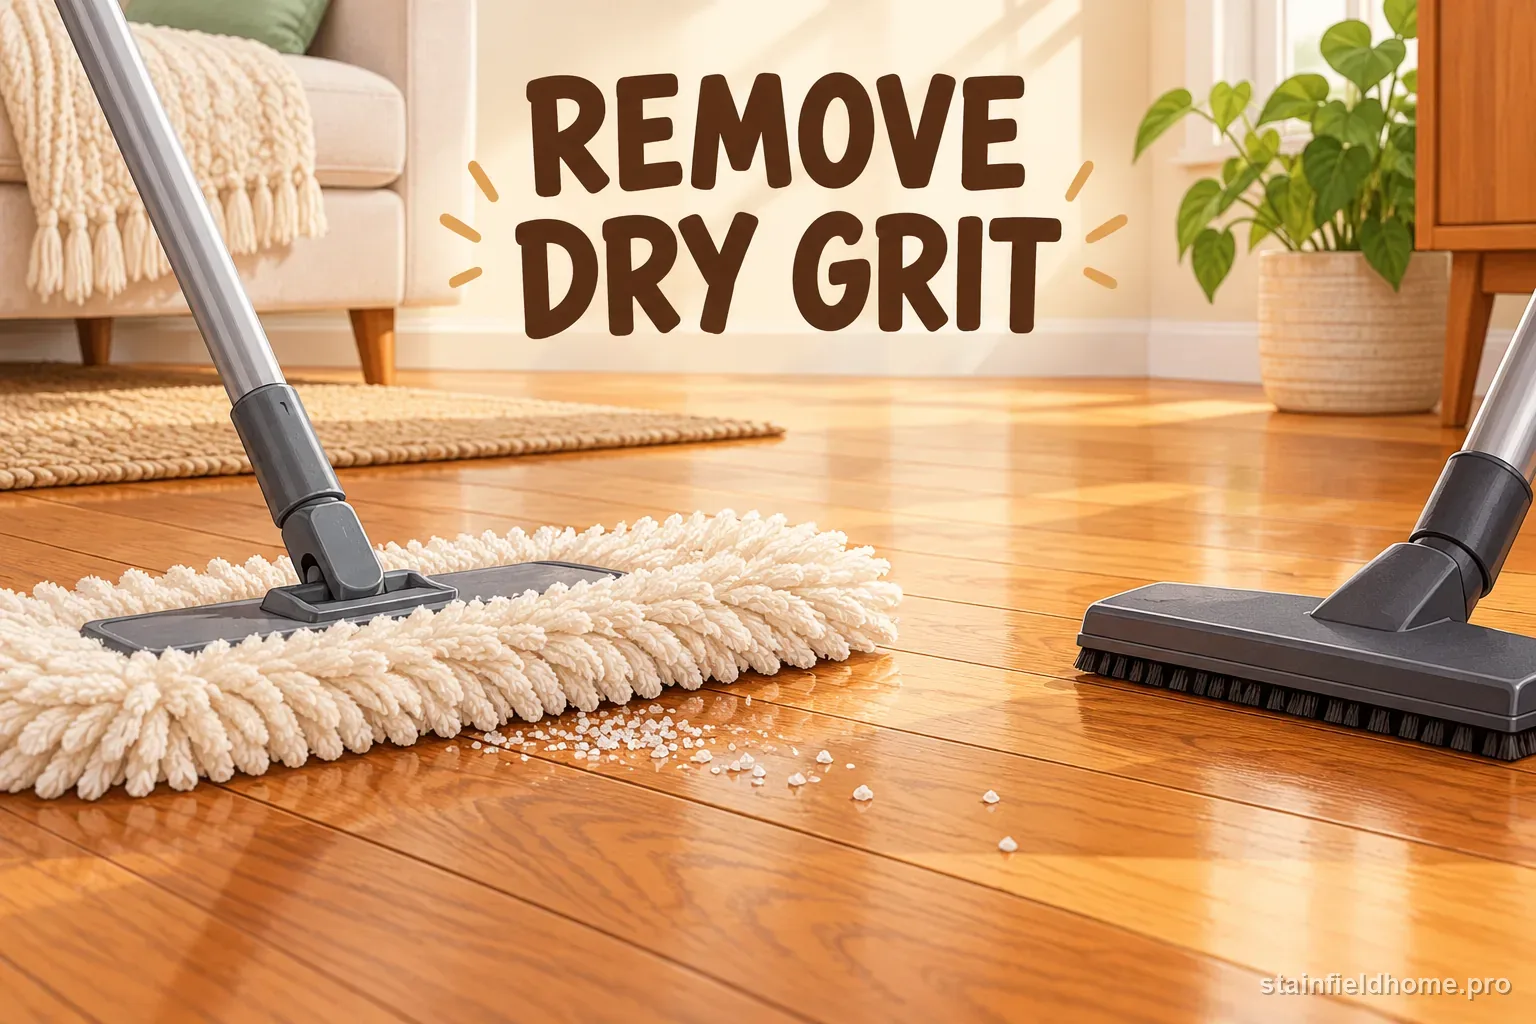
When the floor surface is dry, pick up loose salt and grit with a soft dust mop or a vacuum hard-floor setting. Use a clean attachment without a beater bar; rough bristles and spinning brushes can scratch the finish.
- 03
Work from the outside toward the center and lift the collected crystals from the floor. Shake or empty the mop away from the wood so salt does not fall back onto the clean area.
- 04
Inspect seams and the edges of a rug or mat. If granules remain, lift them with a soft brush or vacuum rather than wetting them in place.
Choose and test a finish-safe cleaner
Start with the product named in the floor maker's maintenance instructions. If those instructions allow a neutral, pH-appropriate wood floor cleaner, use that product exactly as labeled. Do not assume that a cleaner labeled for tile, laminate, or general hard floors is safe on hardwood. Avoid homemade vinegar recipes as a default: flooring guidance differs by finish, and Nydree specifically cautions that vinegar may harm a floor finish. Merry Maids recommends a vinegar-and-water solution for wood and tile, but does not identify the finish type. The safer choice for an unknown floor is its own manufacturer-approved product, not a generic recipe.
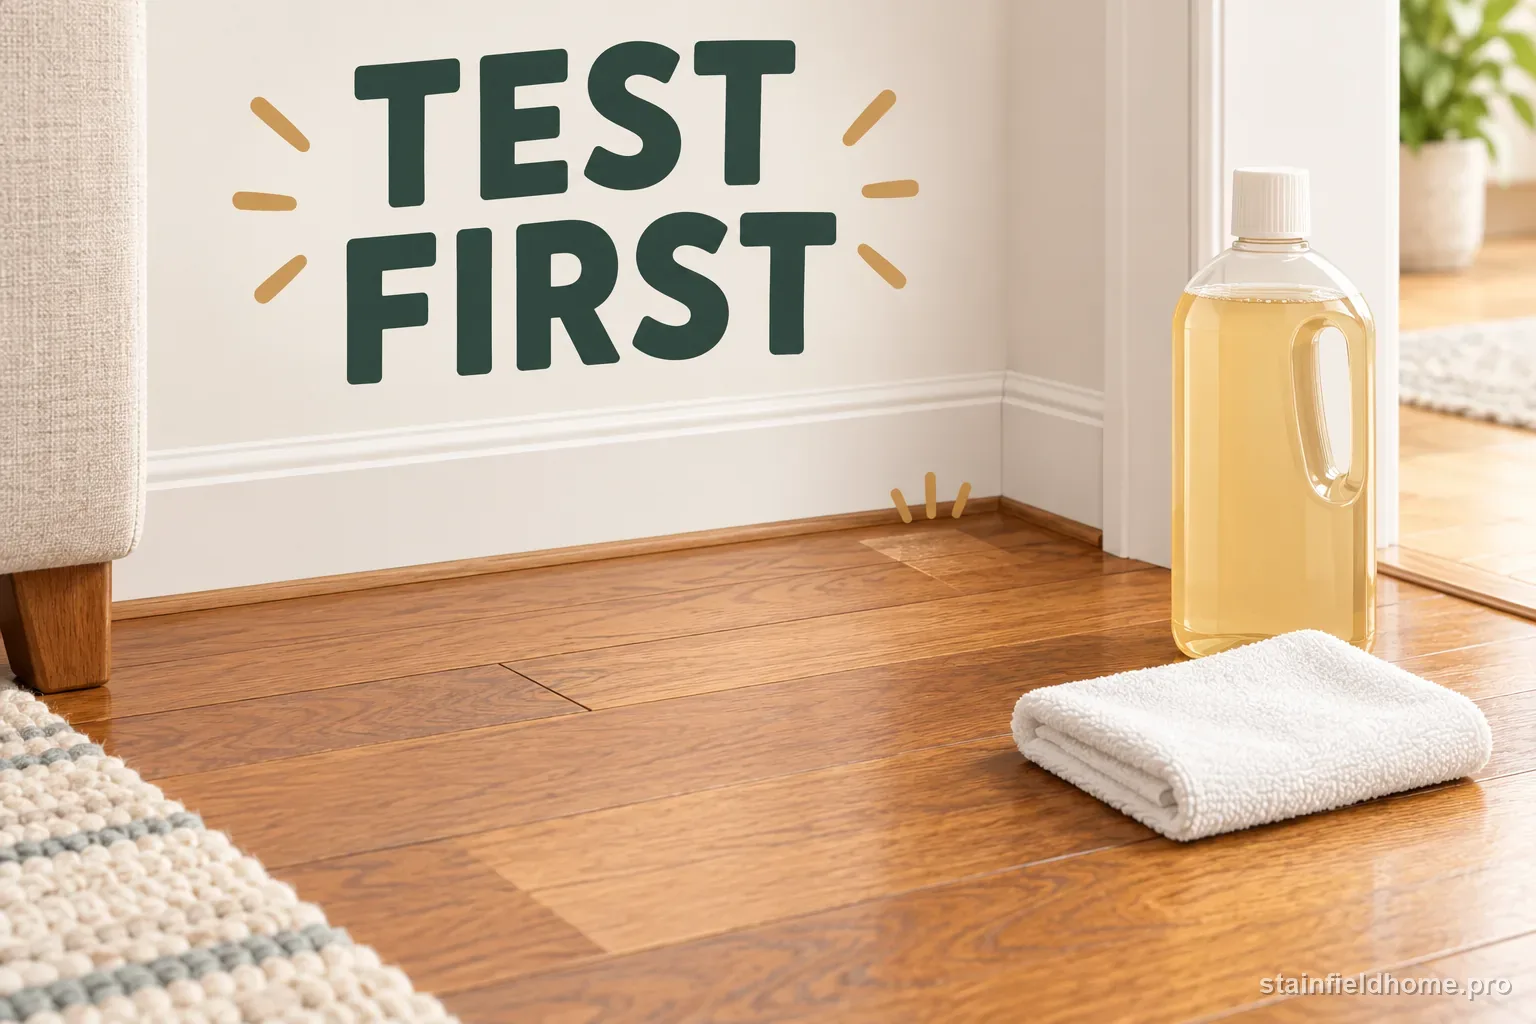
Before treating the visible area, apply the cleaner to a discreet location such as behind a door or beneath a movable piece of furniture. Follow label directions, wipe with a clean white microfiber cloth, and let the test dry fully. Check for color transfer, dullness, tackiness, whitening, or a change in sheen. If anything changes, stop and contact the installer or manufacturer. A small test is not permission to use more liquid than the label allows.
Wipe the salt film with minimal moisture
Do not leave a cleaner sitting on the floor for several minutes unless its label and your floor maker specifically direct that dwell time. Wood can absorb moisture at joints, edges, and worn finish. A microfiber cloth gives you control over how much liquid touches the surface; a wet string mop or standing spray does not. Keep windows or room fans at normal airflow if needed, but do not aim a heater or hair dryer at the boards.
- 01
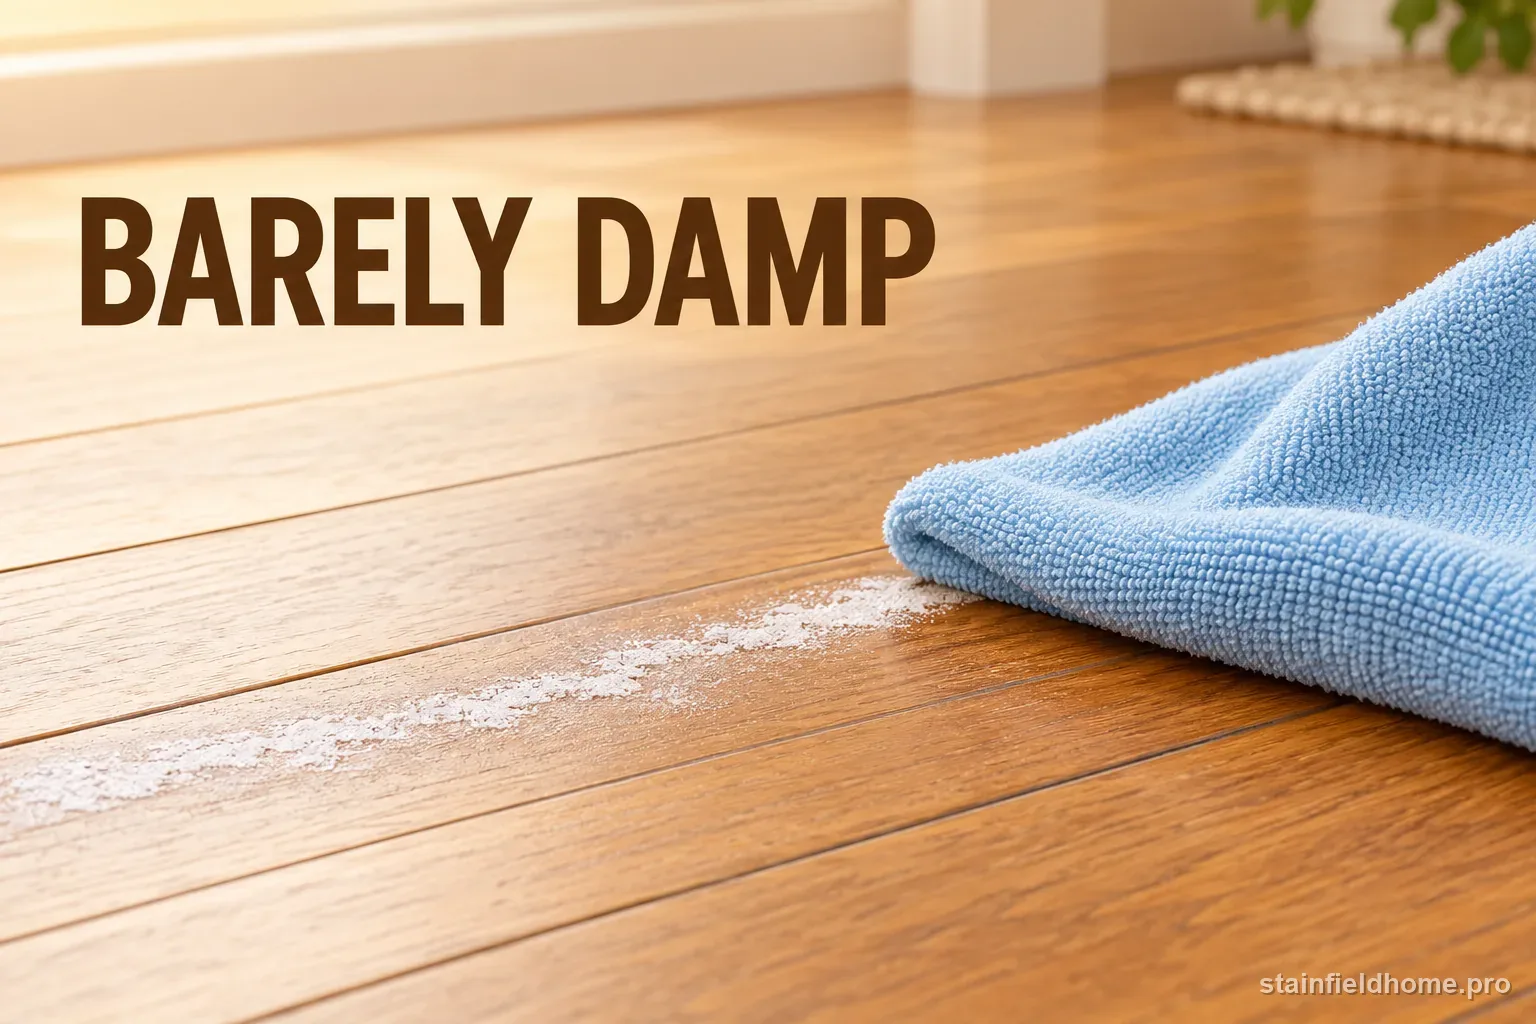
Dampen a microfiber cloth lightly with the approved cleaner. It should feel just damp, not drip when held up. Do not pour cleaner directly onto the wood or soak a mop pad.
- 02
Clean a small section at a time, moving along the plank direction. Use light, even passes and turn the cloth to a clean side as residue lifts.
- 03
If the product label calls for a clean-water wipe, use a second cloth that is barely damp with clean water. Otherwise, follow the label without adding an extra rinse step.
- 04
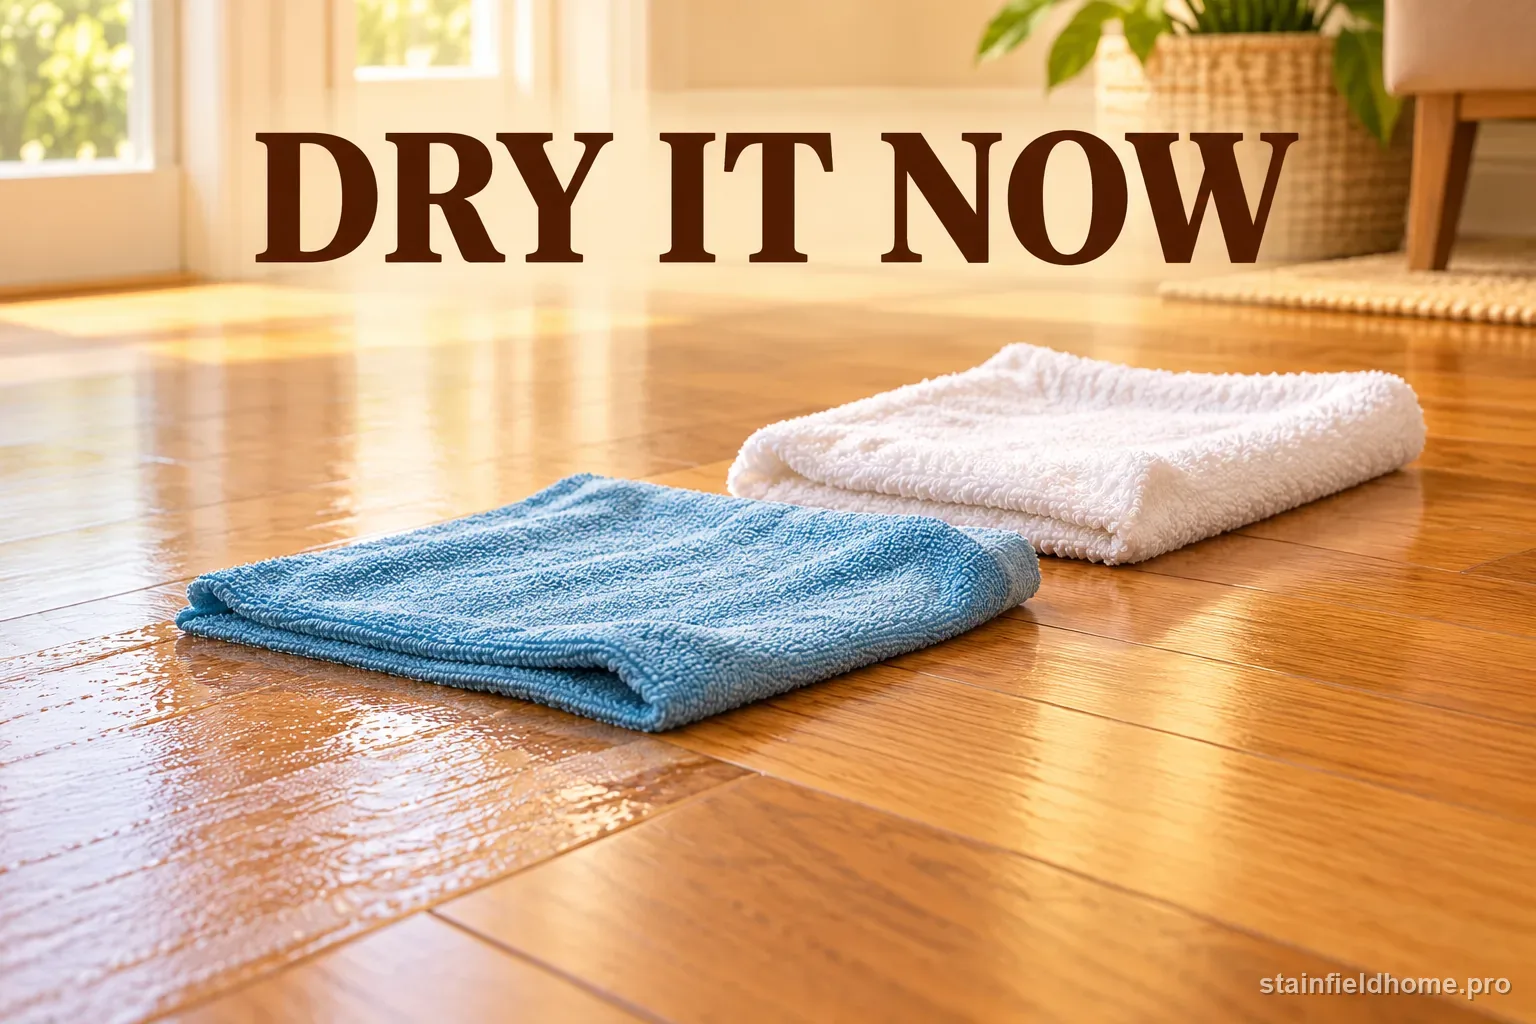
Dry the section immediately with a clean towel. Check seams and board edges for moisture, then continue to the next small section only when the first is dry.
Reassess after the floor is fully dry
A damp plank can look darker or cloudier than it will once dry, so wait until the treated area has returned to the same dry condition as the surrounding floor. Inspect it in daylight from more than one angle. Give a room-temperature floor adequate time to air dry; do not speed the process with concentrated heat. If you are unsure whether it is dry, compare the sheen and temperature with a nearby unaffected board rather than touching it with a cleaner again. If white grains or a light film remain, first check that the cloth was clean and that the selected product is approved. One more gentle pass with a fresh cloth may lift residue that the first pass loosened. Dry immediately again.
Do not respond to a lingering mark by increasing the cleaner concentration, adding vinegar, or scrubbing harder. A chalky deposit may be remaining salt; a dull patch may be a worn or altered finish. If the spot feels sticky, wipe only with the maker-approved product and fresh cloth. If the floor looks different after it dries or the white haze returns, stop and ask the installer whether the finish needs professional attention.
Use the mark's appearance to decide what comes next
This comparison is a triage guide, not a way to diagnose the floor construction remotely. A white haze can have several causes, and some finishes show water damage differently. The visible boundary between the stain and surrounding boards can also be misleading if the floor is still damp. When the surface is clean but the mark remains, make note of the product used and the time the spill sat before calling for advice.
| What you see | Likely situation | Safer next move |
|---|---|---|
| Dry white grains | Loose de-icing salt or grit on top | Vacuum or sweep gently before using any liquid. |
| Thin pale film | Dried slush or mineral residue on the finish | Use the maker-approved cleaner on a barely damp cloth and dry at once. |
| Cloudy area that stays | Possible finish change or moisture beneath the surface | Stop repeated cleaning and contact the installer or flooring maker. |
| Dark grain mark or raised seam | Possible water intrusion or wood discoloration | Keep the area dry and arrange a flooring professional's assessment. |
| Dullness after a cleaner | Possible cleaner/finish incompatibility | Stop using that product and request finish-specific advice. |
Know what to avoid and when to stop
Stop and call a flooring professional if boards cup, swell, lift at the seams, or feel soft; if the finish bubbles or peels; if a dark mark remains after loose salt and surface film are removed; or if the spill reached beneath a rug or tree stand and stayed wet. A broad salt trail in a commercial entry may need a finish-specific maintenance plan. Tell the professional whether the floor is engineered or solid if known, what cleaner you used, and whether the mark changed after drying. Avoid sanding or spot refinishing as a do-it-yourself next step because color and sheen can be difficult to match.
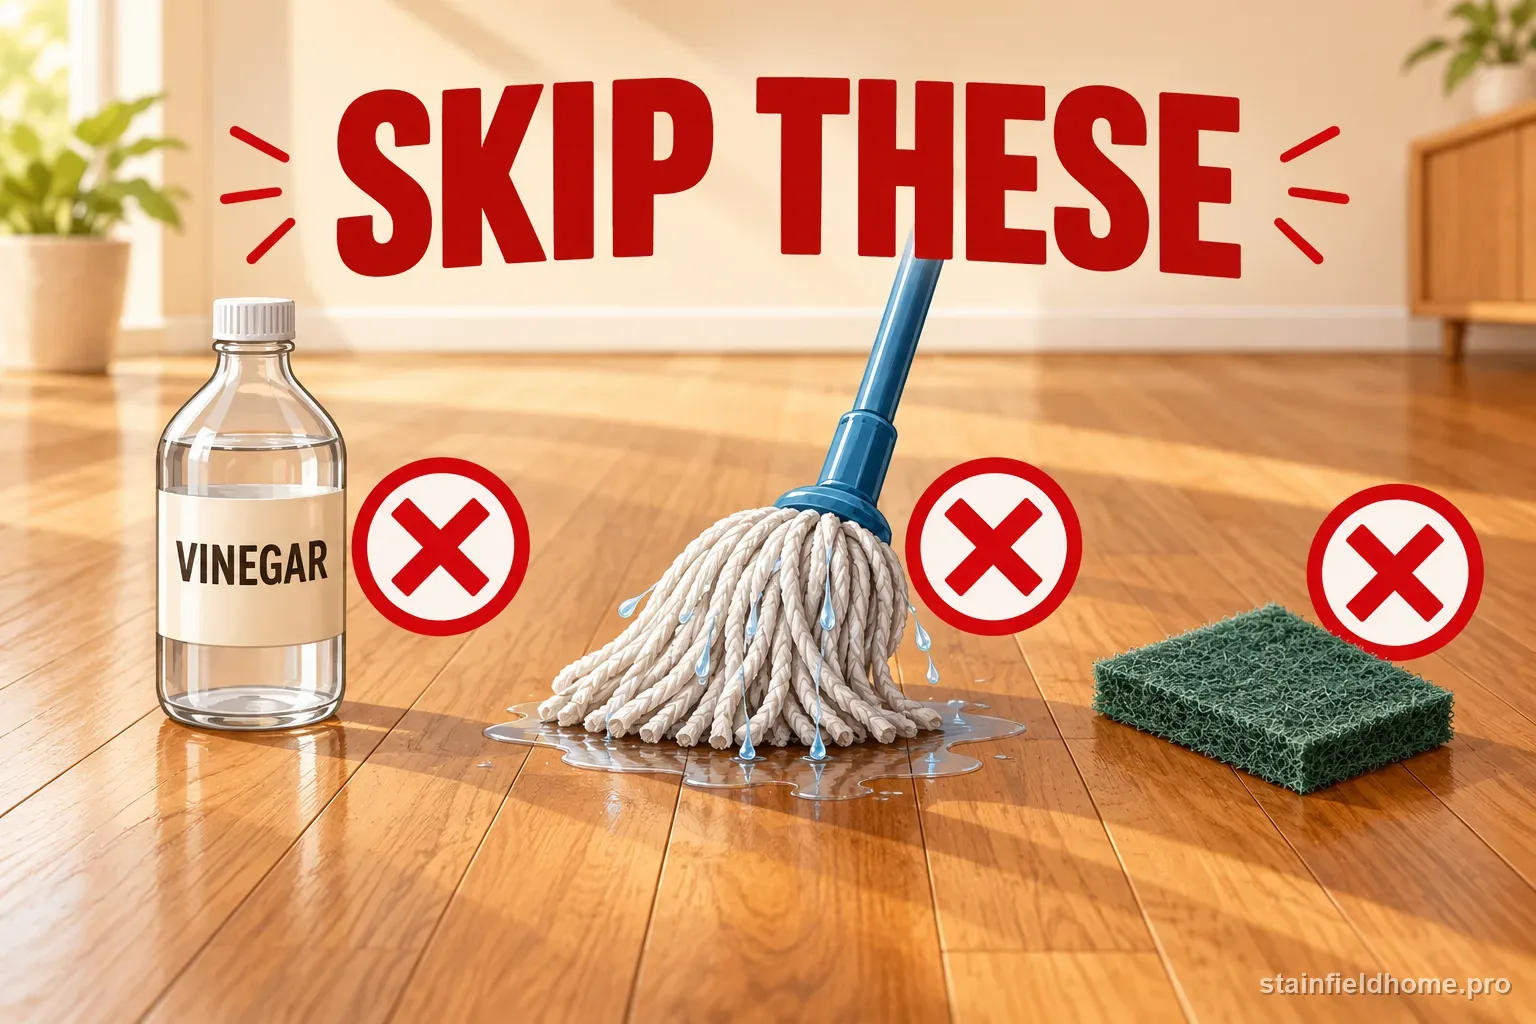
- Do not use vinegar, lemon juice, ammonia, bleach, oil soap, or a solvent unless your flooring maker specifically approves it for the finish.
- Do not mix cleaners. Never mix bleach with ammonia, vinegar, or another product.
- Do not steam clean, flood the floor, leave puddles, or use a stiff brush, abrasive pad, or scouring powder.
- Do not apply wax, polish, or a restorative coating to hide a haze before confirming that the existing finish accepts it.
- Do not keep repeating a treatment if the floor becomes dull, tacky, raised, discolored, or soft.
Keep salt from being tracked in again
Set a sturdy scraper mat outdoors and an absorbent mat indoors, with enough space to take several steps before shoes reach bare wood. Use a waterproof boot tray for wet footwear, and empty it before meltwater can spill over. Mats should have a backing approved for finished wood; some rubber or plastic backings can discolor or trap moisture, so check the flooring maker's guidance and lift mats periodically to let the floor breathe.
During a storm, inspect the entry mat and tray often. Shake or vacuum salt from the mat away from the floor, and blot slush as soon as it appears. A dry dust mop can pick up stray crystals during regular winter cleanup. Ask household members and guests to remove wet shoes when practical, and avoid pushing a salty mat across the finish. Prevention works best when the mat itself does not become a wet, gritty reservoir. If a mat has a rubber backing, read both the mat and flooring care instructions before leaving it in place for a long stretch. Lift it periodically and check for trapped dampness or a change in sheen. Replace a mat that stays saturated, and keep the tray on a stable surface where it cannot slide or tip.
Choose mats with an absorbent top layer and a backing approved by the flooring maker, and wash or replace them before salt builds up. Keep a small towel near the entrance for wet boot soles, but use it to blot, not drag, across the planks. A boot tray should have a raised lip and enough capacity for meltwater so drips do not run beneath it. If the entry gets wet repeatedly, inspect the floor and the underside of the mat after each storm; drying both surfaces prevents a hidden damp patch from lingering against the finish.
For shared entrances, place a second mat where people naturally pause to remove shoes, rather than relying on a narrow strip that everyone steps over. Sweep hard grit from the approach outside before it reaches the threshold. During freeze-thaw weather, check the doorway edges and plank seams for moisture, then dry them with a clean cloth. Avoid placing a new protective coating on the wood without confirming it is compatible with the existing finish. A simple routine of dry pickup, mat care, and prompt blotting is safer than repeated chemical treatment.
Common questions
FAQ
Does vinegar dissolve salt on hardwood floors?
Vinegar can dissolve some salt residue, but it is acidic and may affect a wood floor's finish. Use it only if your flooring maker approves it for the specific finish; otherwise choose the approved wood cleaner and a barely damp cloth.
Can winter salt ruin hardwood floors?
Salt crystals and the grit tracked in with them can scratch a finish, while slush that sits at seams or under a mat can expose wood to moisture. Remove dry grit promptly, wipe with a finish-approved cleaner, and dry the area right away.
Is dish soap safe for salt stains on wood floors?
Do not use dish soap unless the flooring maker's care instructions approve it. Some soaps can leave residue or dull the finish. A labeled wood-floor cleaner is the safer default for an unknown finish.
What neutralizes salt stains on hardwood?
Most white winter residue is a surface deposit that can be lifted with the floor maker's approved cleaner, not a stain that needs a chemical neutralizer. Avoid acidic or concentrated mixtures unless the finish maker specifically recommends them.
What if salt has dried on the floor for several days?
Vacuum or sweep loose crystals first, then test the approved cleaner in a hidden place. Wipe a small area with a barely damp microfiber cloth and dry it immediately. Stop if a haze remains, the finish changes, or boards show swelling or darkening.
Sources reviewed
Keep reading
Related guides

Winter salt on Suede boots
How to Remove Winter Salt Stains From Suede Boots
Remove white winter salt rings from suede boots with controlled moisture and careful nap restoration; avoid soaking or heat-drying the leather.

Pine sap on Winter coat
How to Remove Pine Sap From a Winter Coat
Remove pine sap from a winter coat with a label-first method for washable shells, down, wool, and waterproof finishes, plus clear stop points.
Christmas tree water on Wood floor
Remove Christmas Tree Water Stains From Wood Floors
Triage fresh spills, white haze, dark marks, and stand residue on wood floors, with finish-safe cleaning and clear next steps to call a pro.

Sweat and makeup on Yoga mat
How to Remove Sweat and Makeup From a Yoga Mat
Clean sweat, skin oil, and makeup from PVC, TPE, rubber, or polyurethane yoga mats without stripping grip or damaging the surface.